We created a WordPress plugin—Static Pages—that enables you to easily import and publish a static website on WordPress. If you are a Slides or Startup customer, then you can download the plugin for free, otherwise, you’ll have to purchase it.
You should note that the Startup template is not a WordPress theme, it’s just the front-end part of a site. It is suitable for such use-cases as adding a landing page for your shop or blog, adding a page with a Mailchimp subscription form to your site, using it to quickly perform A-B tests on your site, etc.
Installing Static Pages
Before we can use it, we first need to install the Static Pages plugin. Download the plugin. It comes in a .zip file. Don’t unzip it. You’ll upload it to WordPress as it is.
Open your WordPress Dashboard and select Plugins > Add New from the menu.

On the Add Plugins page, select Upload Plugin and select the plugin from your computer.

Click on Install Now to install the plugin.

Next, activate the plugin. You will then see it listed on the menu:
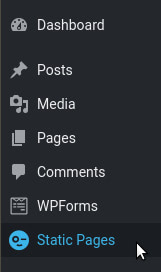
Selecting Static Pages from the menu will display a page with a list of your uploaded static pages, which should be empty right now.
Uploading Your Startup Website to WordPress
Now, let’s upload our Startup website to WordPress.
Click the Upload Archive button:
![]()
Then select the zip archive containing your Startup website and Upload it.

You should then see the fields shown below:
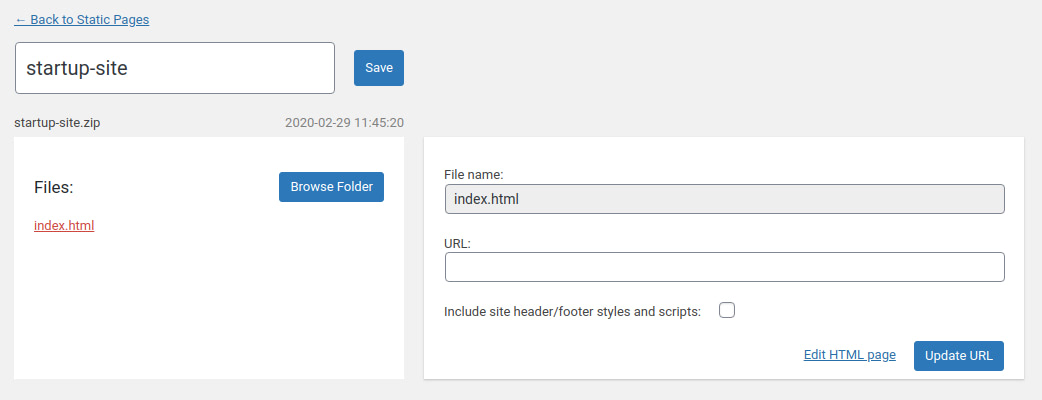
If instead, you only get the fields shown below, then you need to make some changes to your Startup template archive and upload it again. Follow the Fix outlined below the image.
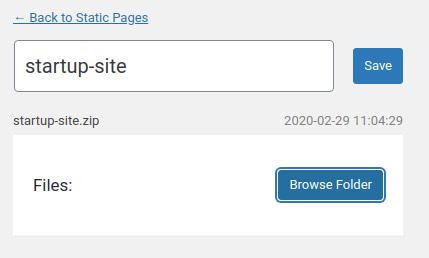
Fix: For the Static Page to work, you need to ensure that the Startup website files aren’t placed in a folder when archived. If you just uploaded your exported Startup file as it was, then the website files will be in a folder when unzipped. If you zipped up the Startup website folder yourself, you’ll get the same result. To prevent this, go into the root folder of your Startup website, select all the files and folders and compress them. This will create an archive containing the files, without placing them in a folder. Now delete the previously uploaded Static Page on WordPress and upload this new archive.
Setting the Page’s URL
You can rename the Static Page:

You can also set the URL that the page will be served from. Use / if you want it as your homepage (https://example.com) or a different string (e.g. campaign) that will be appended to your site’s URL ().
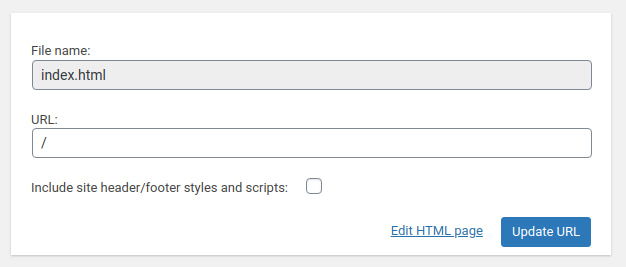
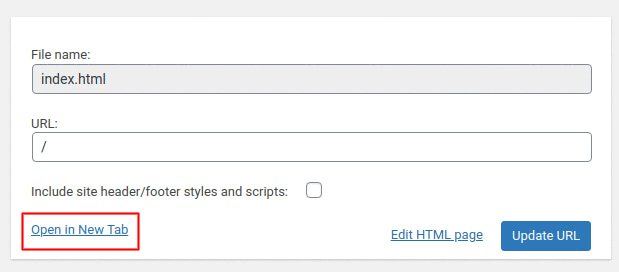
After specifying a URL and saving the change with the Update URL button, you should see an Open in New Tab link. Use it to open the static page you just added.
You can use the Static Pages plugin to add several static webpages to your WordPress site, each with a different URL.
If you’d like to find out how to host your Startup website on GitHub Pages, we have a guide for you.
