Explore the seamless integration between the Postcards email builder and Constant Contact by exporting your custom email templates.
In this guide, we’ll delve into the straightforward procedure for exporting your email templates to your Constant Contact account, ensuring that your email campaigns maintain a uniform, professional appearance with minimal effort.
We have released new email templates for Constant Contact.
Video Tutorial
Steps to Follow
Step 1: Initiating the Newsletter

Welcome to the Postcards app, your companion in seamless email template creation and integration. To embark on our tutorial journey, we begin by opening a newsletter template. Simply double-click on your desired choice and familiarize yourself with its customizable features.
Step 2: Preparing for Export

After ensuring your email template embodies your desired look and message, let’s pave the way for its journey to your Constant Contact account. Navigate to and click the “export” option located in the upper right corner of your screen.
Step 3: Navigating to Integrations

A dropdown menu gracefully appears, revealing several options. Without hesitation, let’s move forward and click on “integrations”, unlocking a world of one-click solutions encapsulated in a small, convenient pop-up window.
Step 4: Selecting Constant Contact

Among the various integration options, Constant Contact stands ready. By clicking on its designated “plus” button, we propel ourselves into a streamlined import process, guided by intuitive pop-up windows.
Step 5: Authenticating the Account
An invitation to sign into your Constant Contact account emerges. Offer your credentials and enter a space where synchronization between Postcards and Constant Contact begins to take form.
Step 6: Permitting Access

Postcards gently request your approval to access the campaign and contact data from Constant Contact. Honor this request by clicking “allow access”, fand orging a link that assures your template’s successful import.
Step 7: Confirming the Import
A reassuring notification and hyperlink make their entrance, promising a glimpse into your Constant Contact account. A simple click transports you to the templates page, where your freshly imported email template awaits acknowledgment.

Step 8: Ensuring Consistency

Validate the successful import by inspecting the new template. Click, explore, and note its identical nature to the version crafted within the Postcards app. This consistency ensures your communications remain unified, irrespective of the platform.
Prerequisites
- A Designmodo account
- A Constant Contact account
- A text editor that can open HTML files
Video Version (Legacy)
Steps
1. Create and export a Postcards Template
The main thing we need is a Postcards template for the HTML code.
In the Postcards app, create a template. Mine looks like this:

Next, we want to export this and use the generated HTML code.
In the top right corner of the app, press “Export” and press “Download as zip”
There will be an option called “Host images online.” Make sure this option is checked. Your screen should look like this:
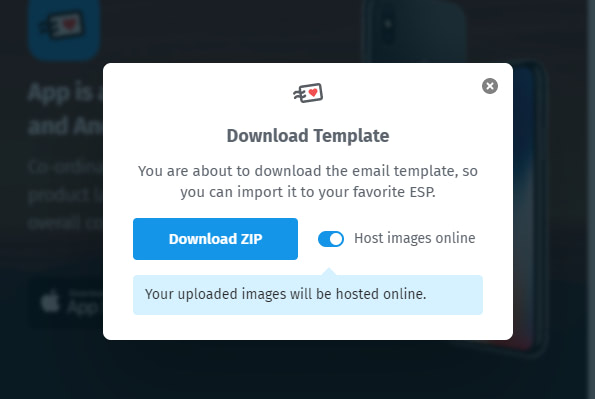
Press “Download Zip” and extract the file into a folder. My folder looks like this:
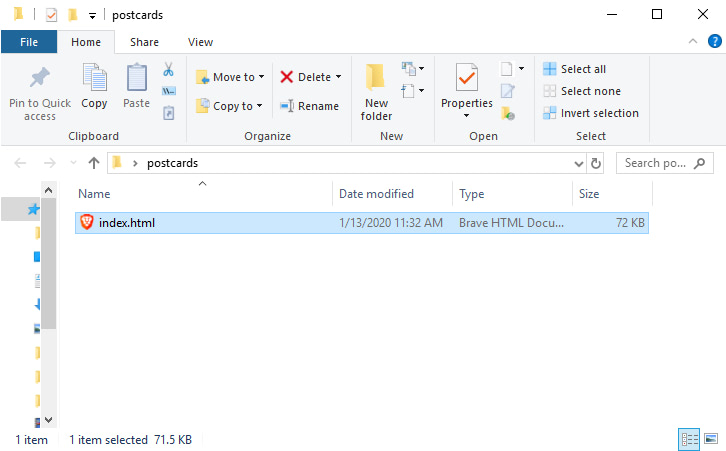
If you open this file in your browser, you should see the Postcards template you just created.
Now, we have the code we need to add to our Constant Contact email template.
2. Create an email with custom code in Constant Contact
There are multiple ways to create a custom email template in Constant Contact. You could go to the dashboard where you’ll see an option to “Create an Email” like this:
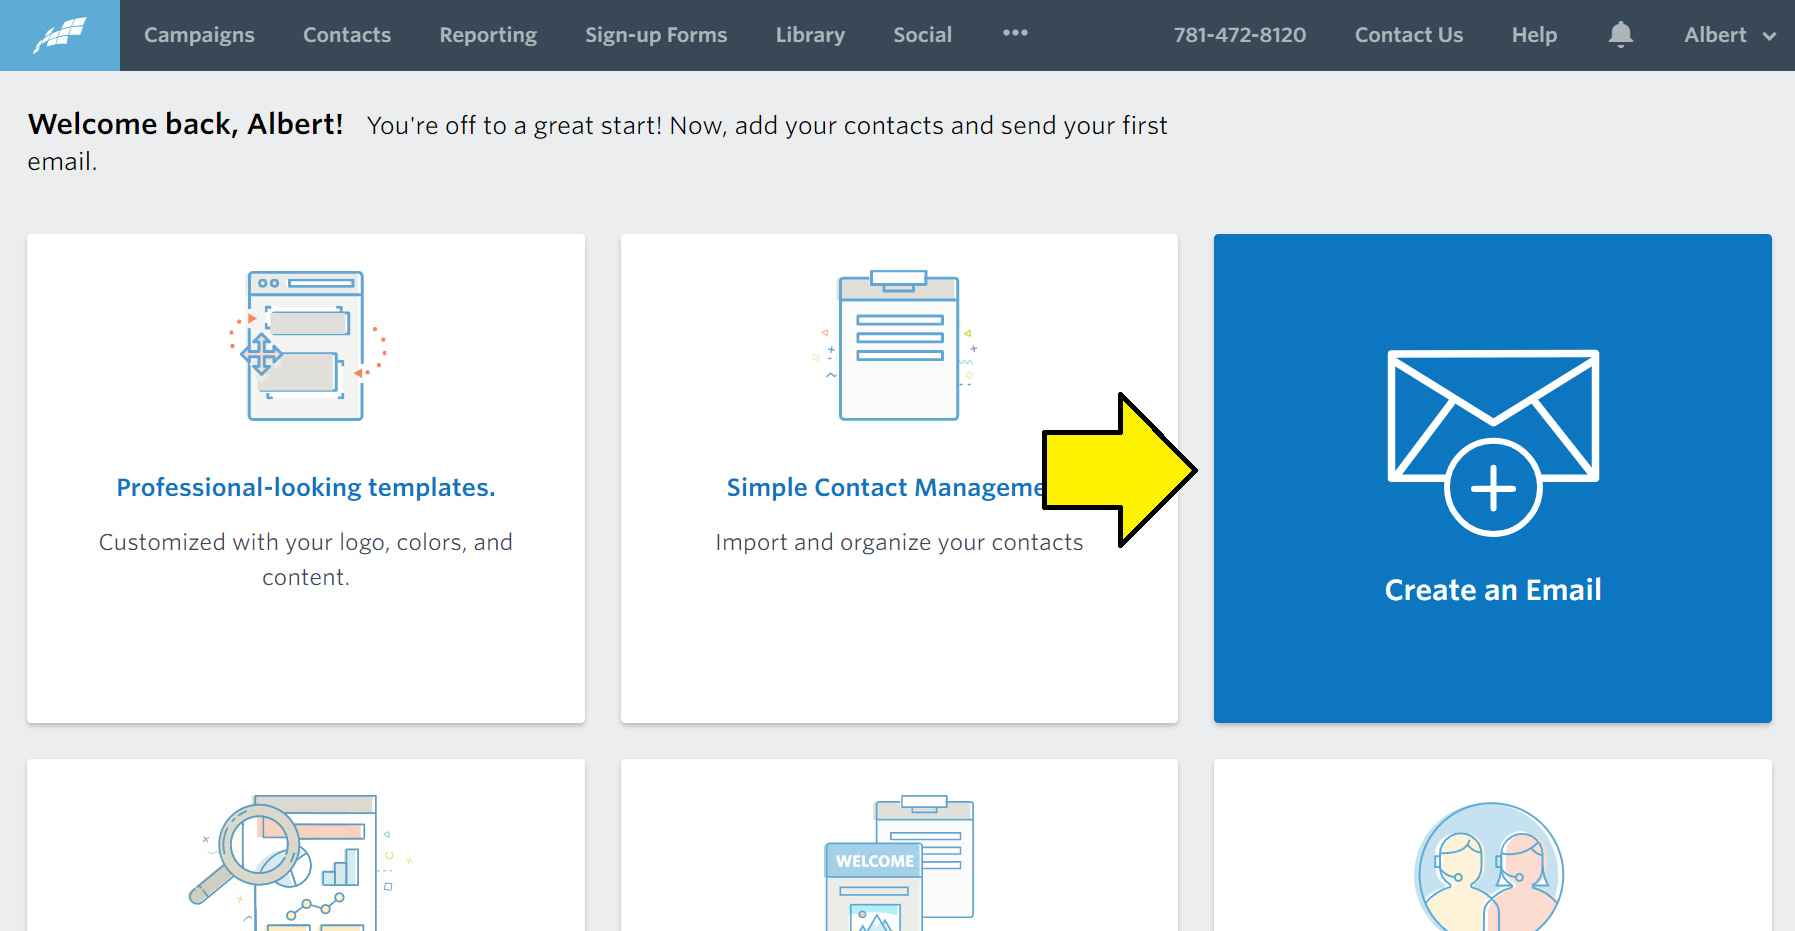
Or you can go to the Campaigns page and click the “Create” button in the top right corner:
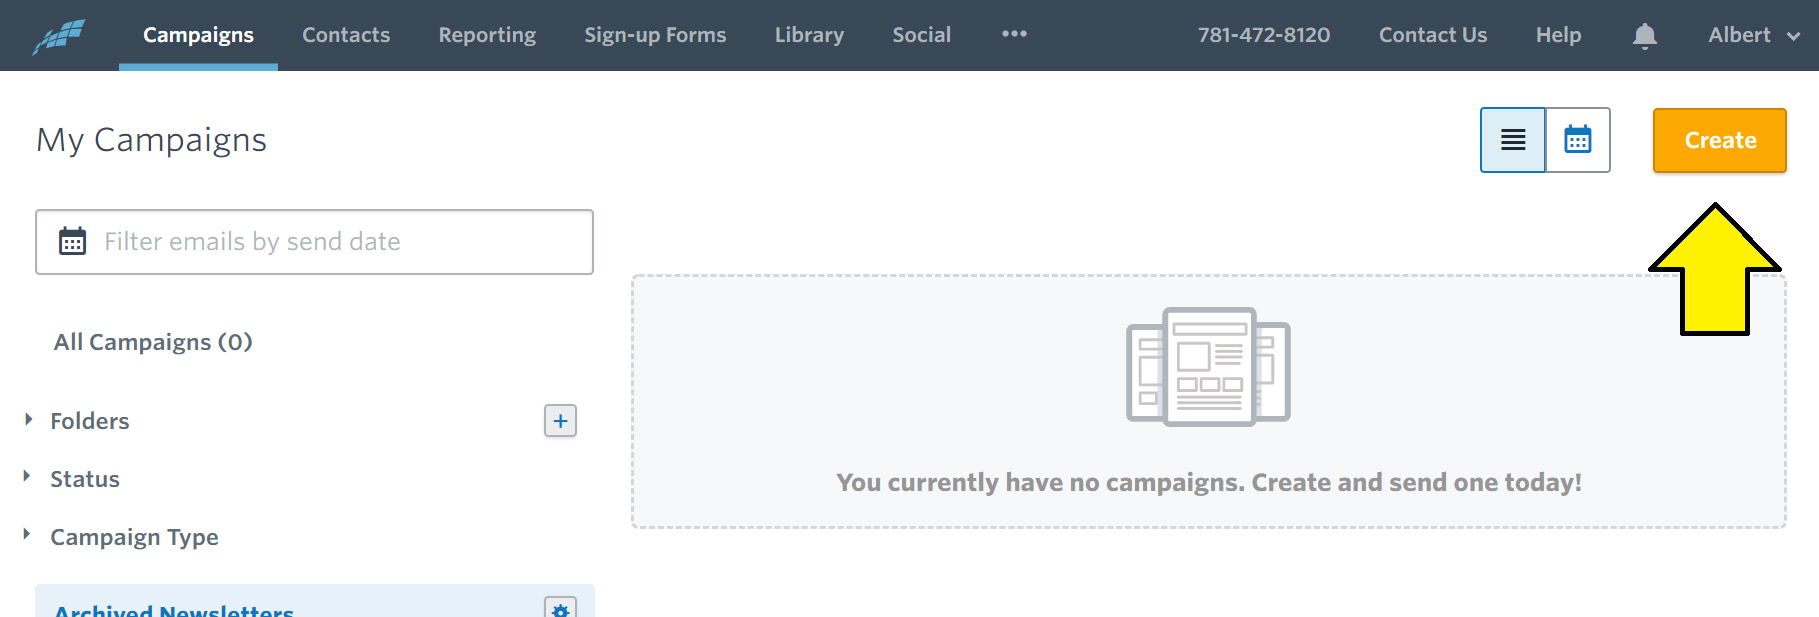
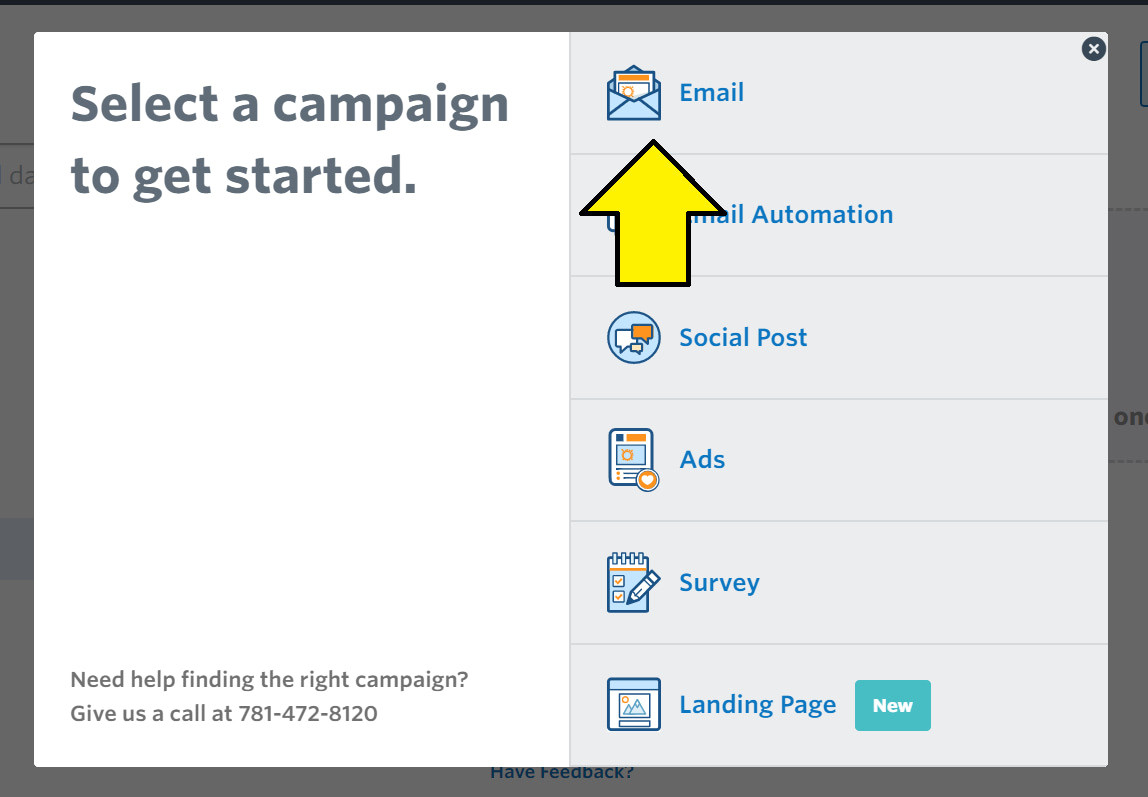
And then press the “Email” option in the modal that opens:
Both options will take you to the Template Selection page that looks like this:
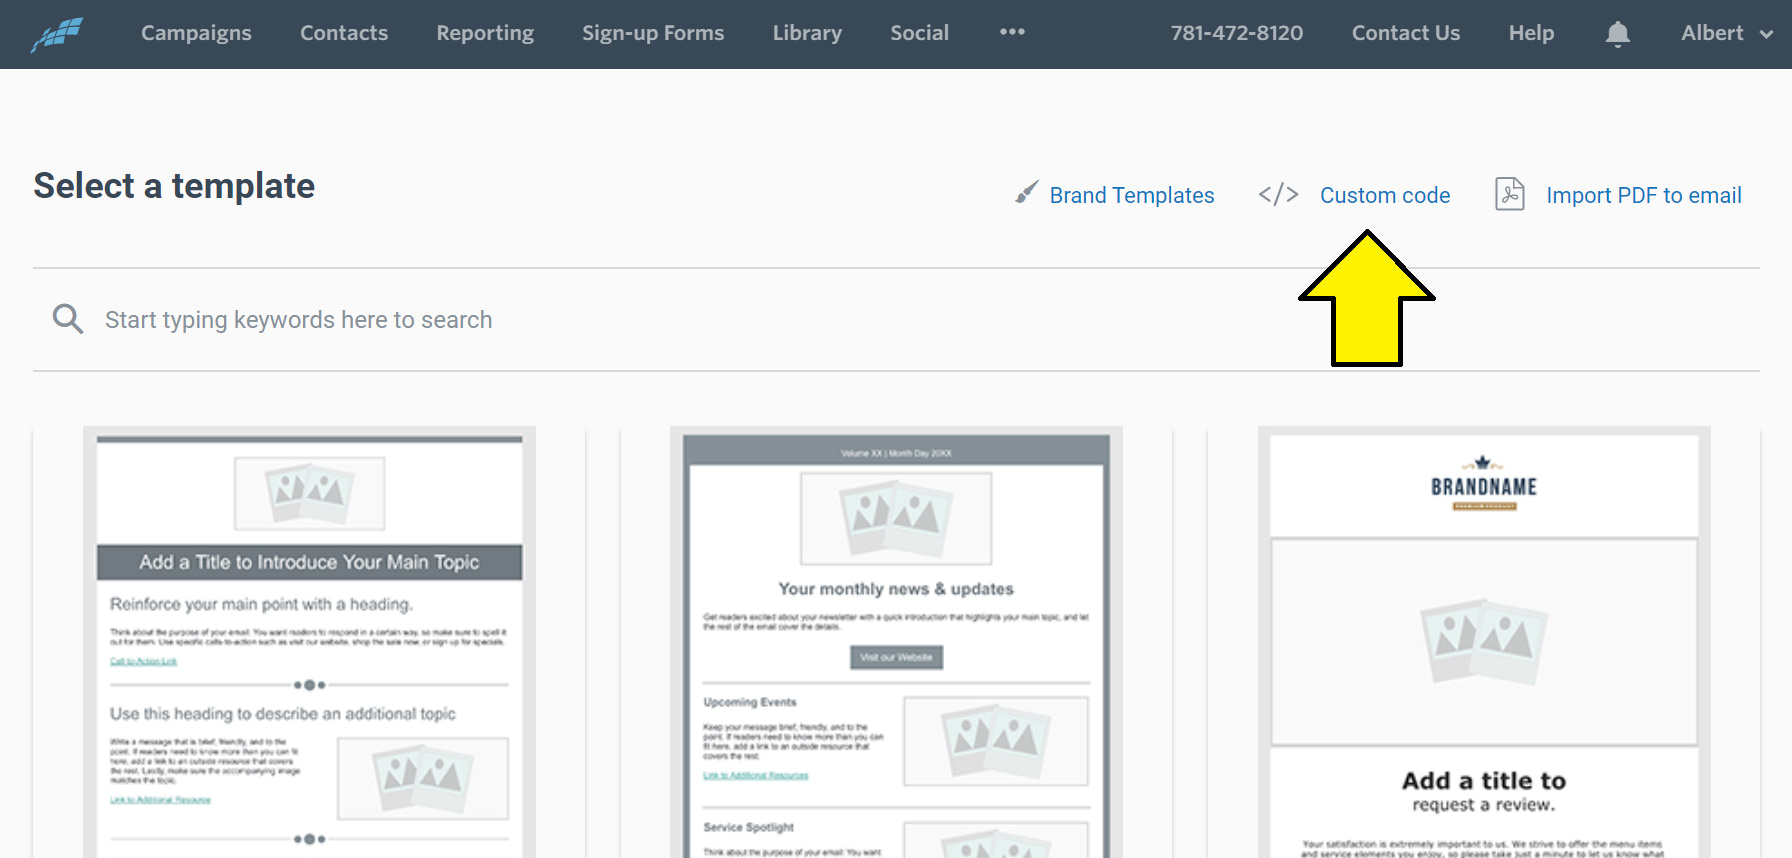
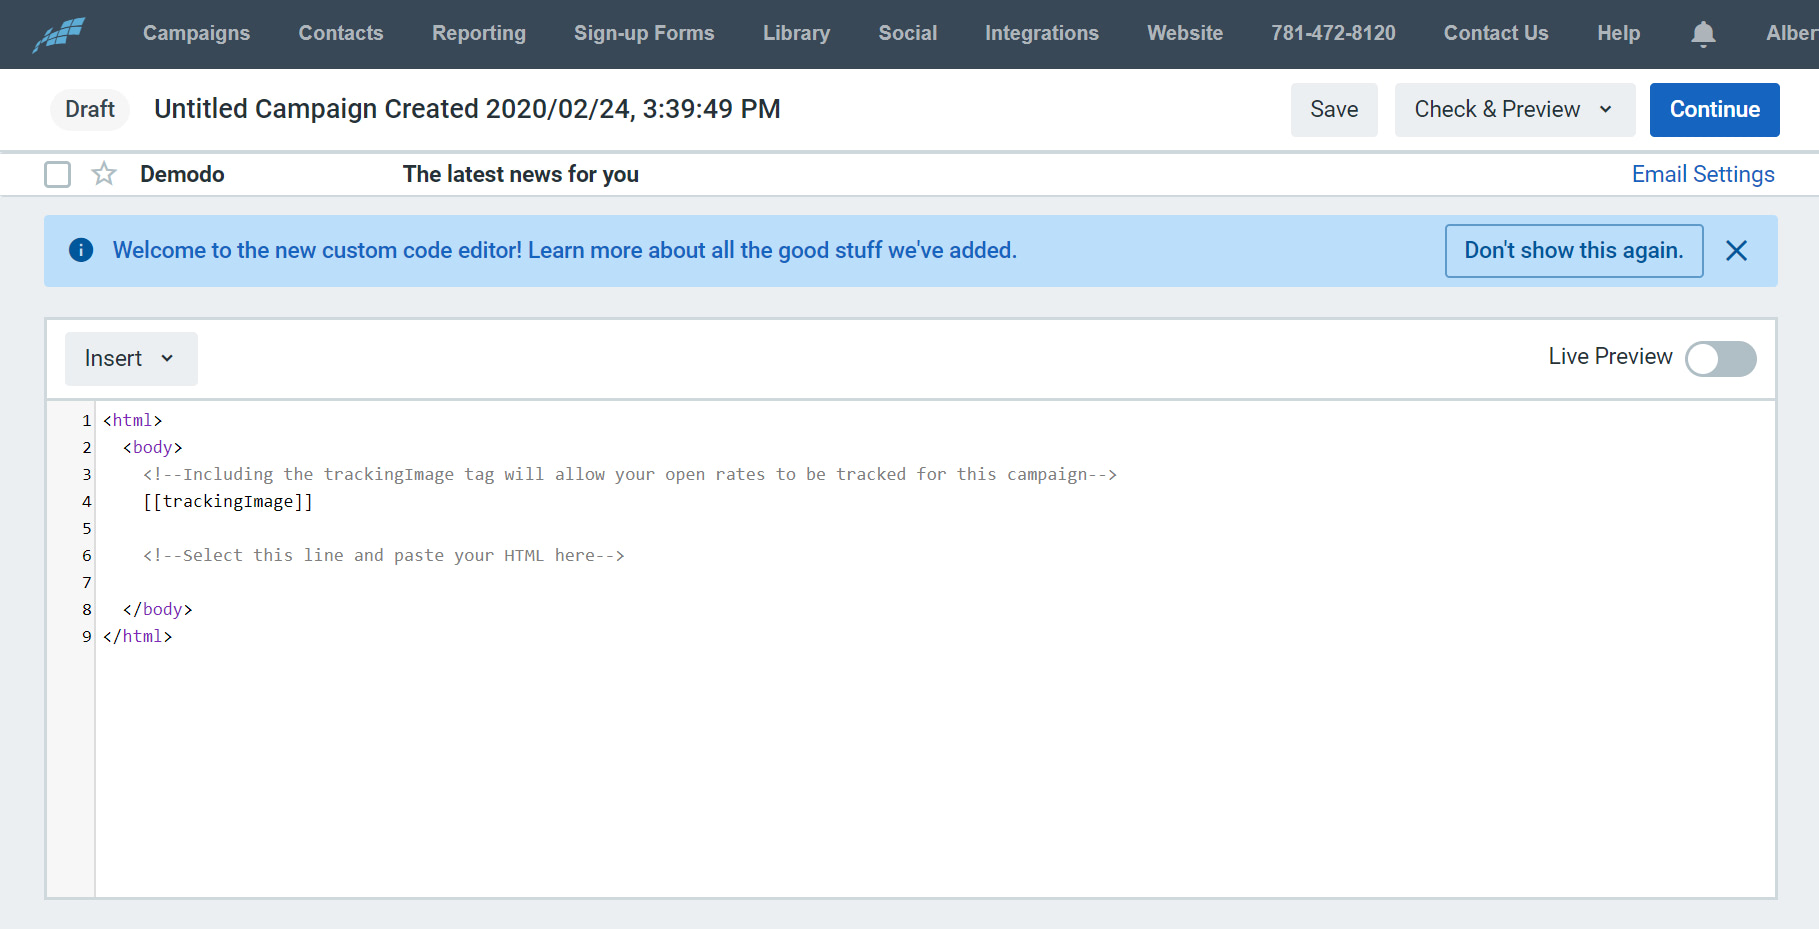
Press the “Custom Code” option in the top right and that’ll take you to the Constant Contact code editor page:
3. Copy the Postcards template code into the Constant Contact editor
Open the index.html file you downloaded from Postcards in a text editor. I’m using Visual Studio Code so my screen looks like this:
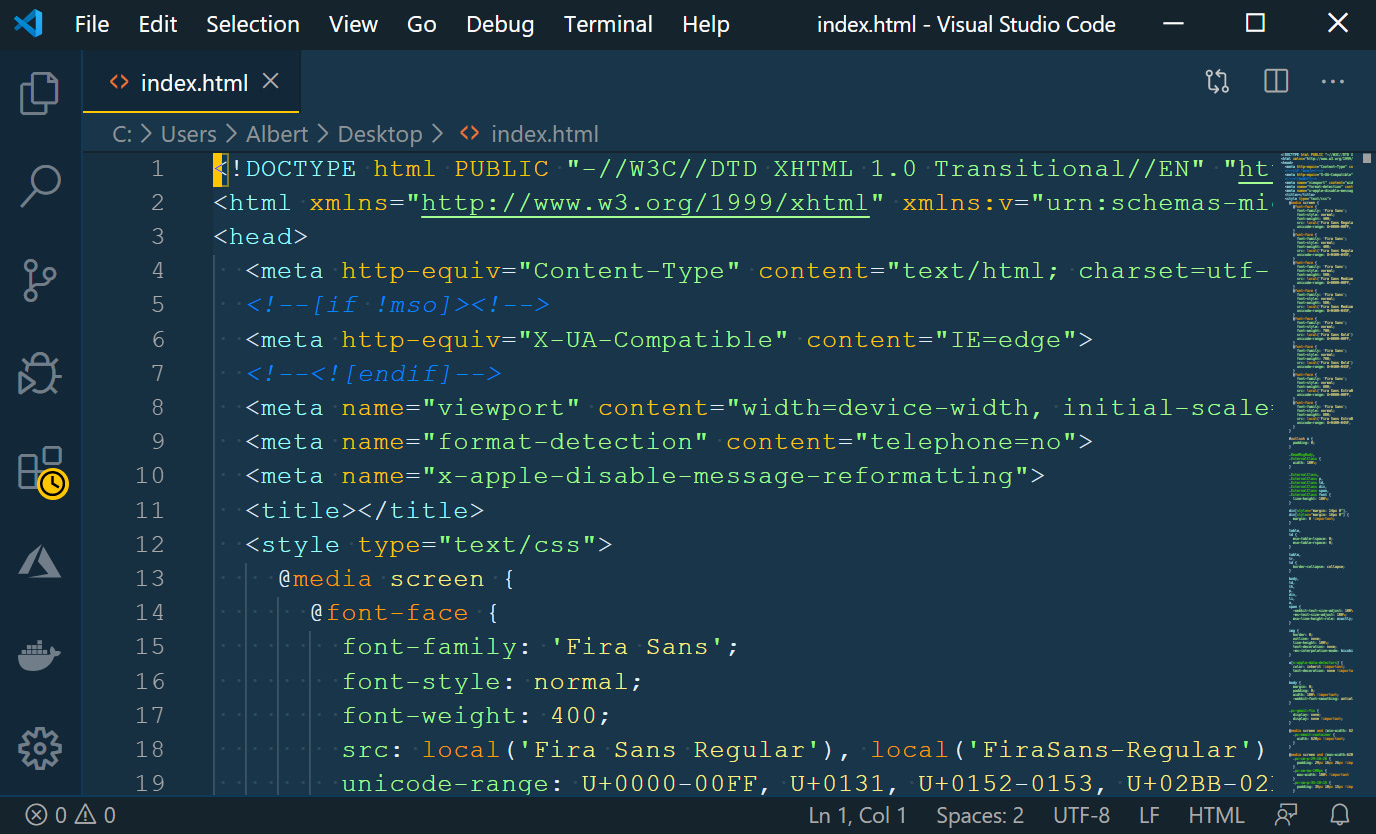
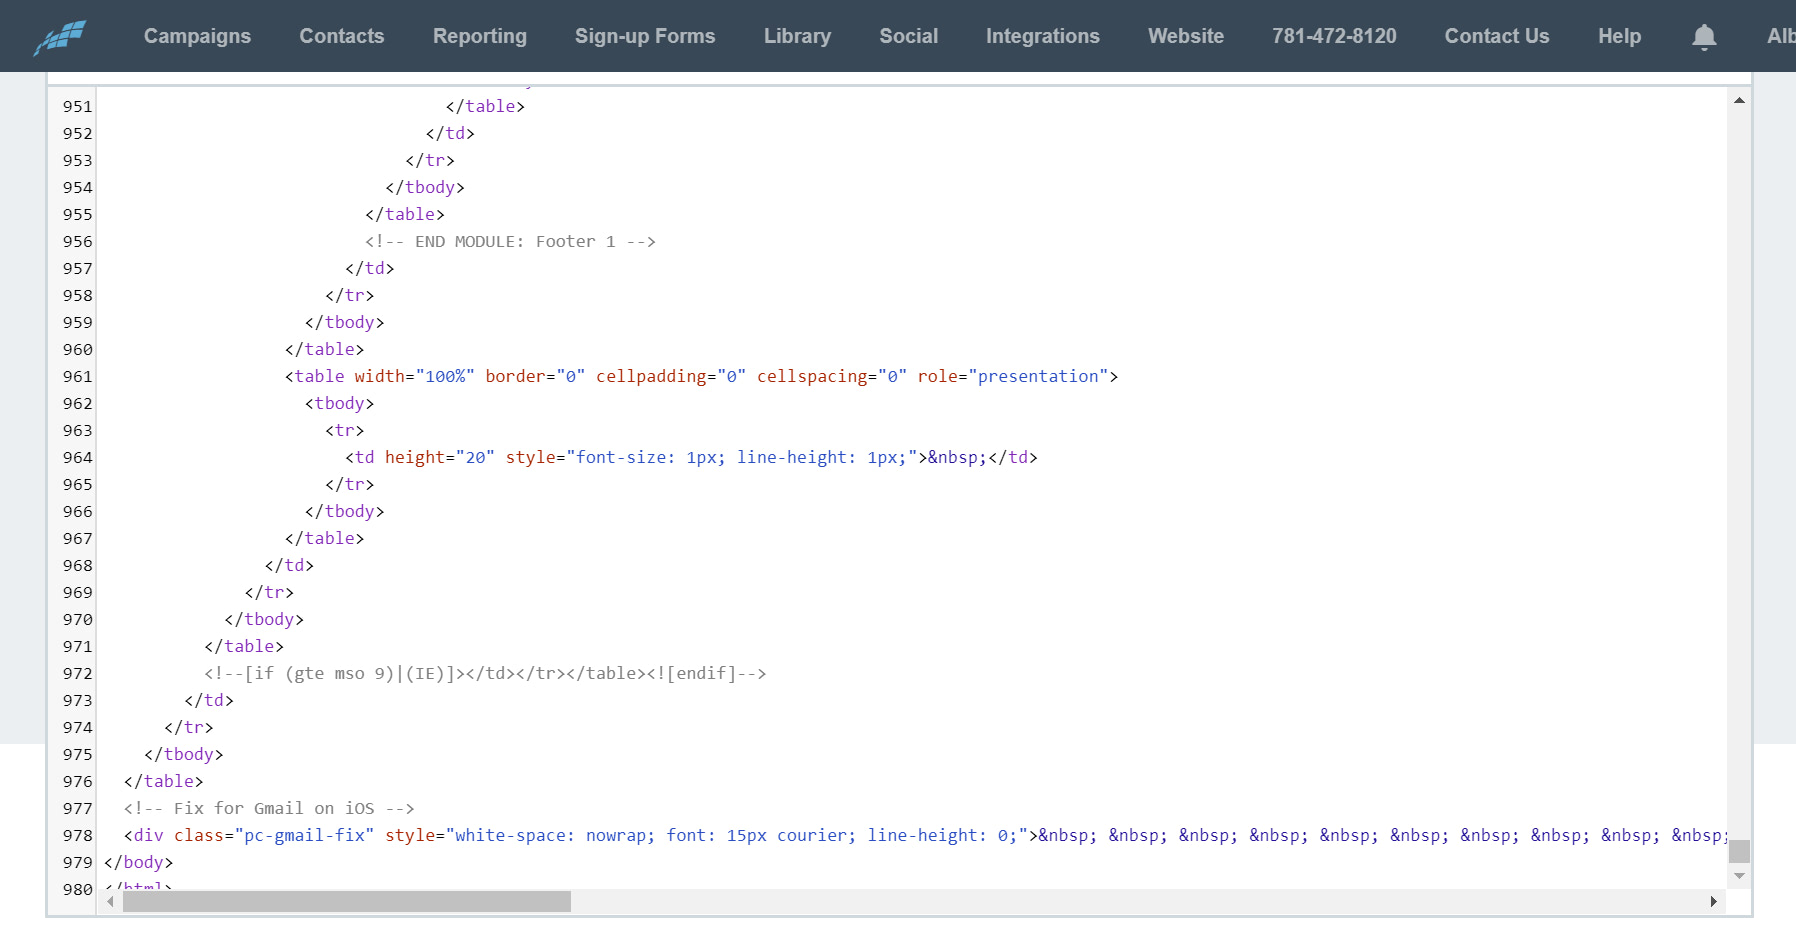
Copy and paste all the code in this file into the Constant Contact editor replacing everything that was already there.
Your screen should look like this:
If you select the “Live Preview” option in the top right corner of the editor, you’ll see a preview of the email we added in the code:
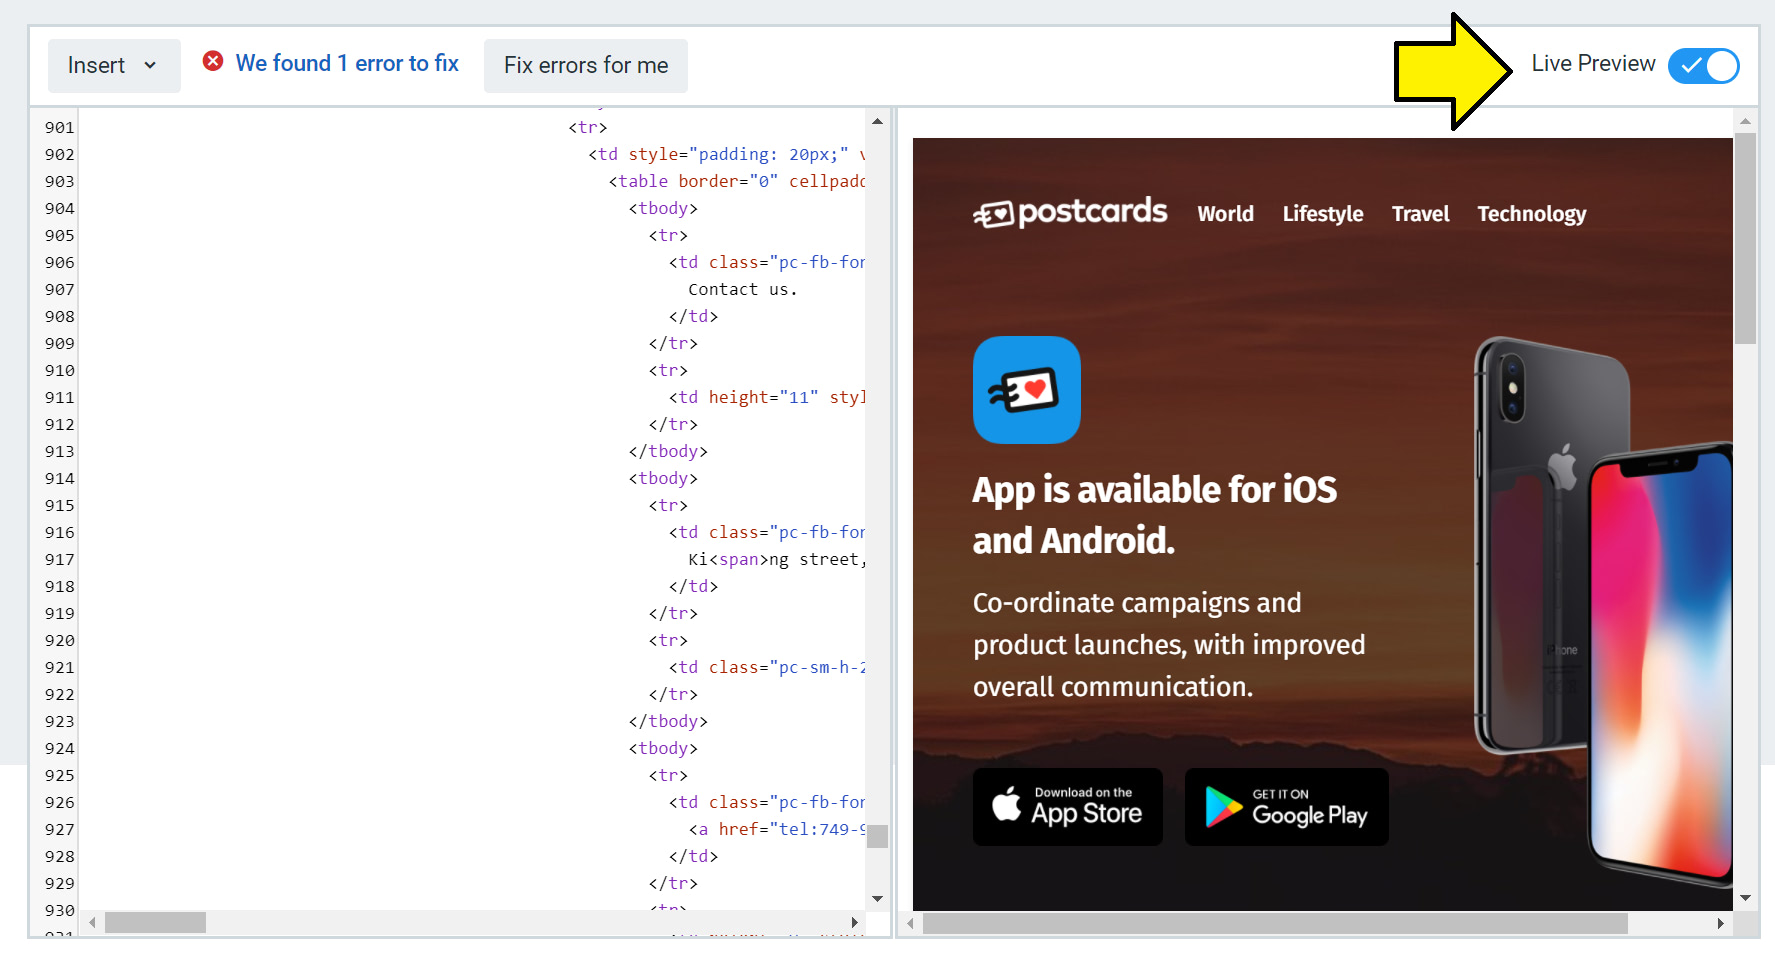
If you see this, then great! We have most of what we need to be done.
4. Add personalization to your email
For great emails, adding personalization to your emails can help a ton. Personalization means adding things like names, companies, or any other kind of detail about your subscriber.
But we can’t hard code every name in an email so we rely on code and tags to do that for us.
A tag inserted into an email is replaced with the recipient’s information when the email gets sent.
In Constant Contact, it’s easy to insert tags in your email.
In the top left corner of the editor, there’s a drop-down menu for insertion options:
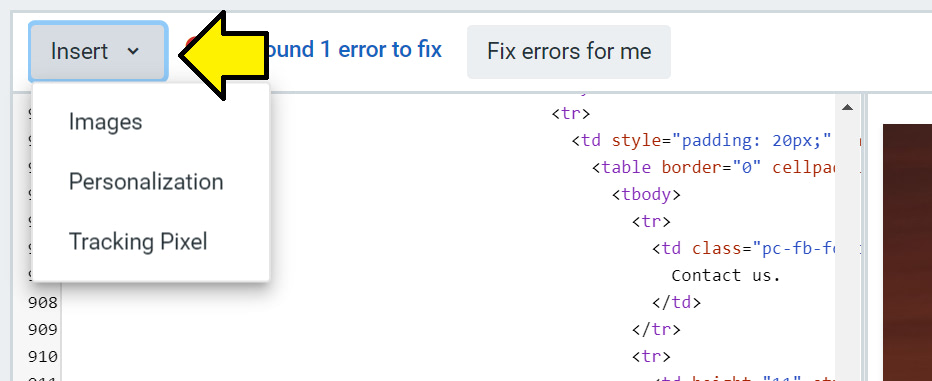
If you select the “Personalization” option a modal with options will appear:
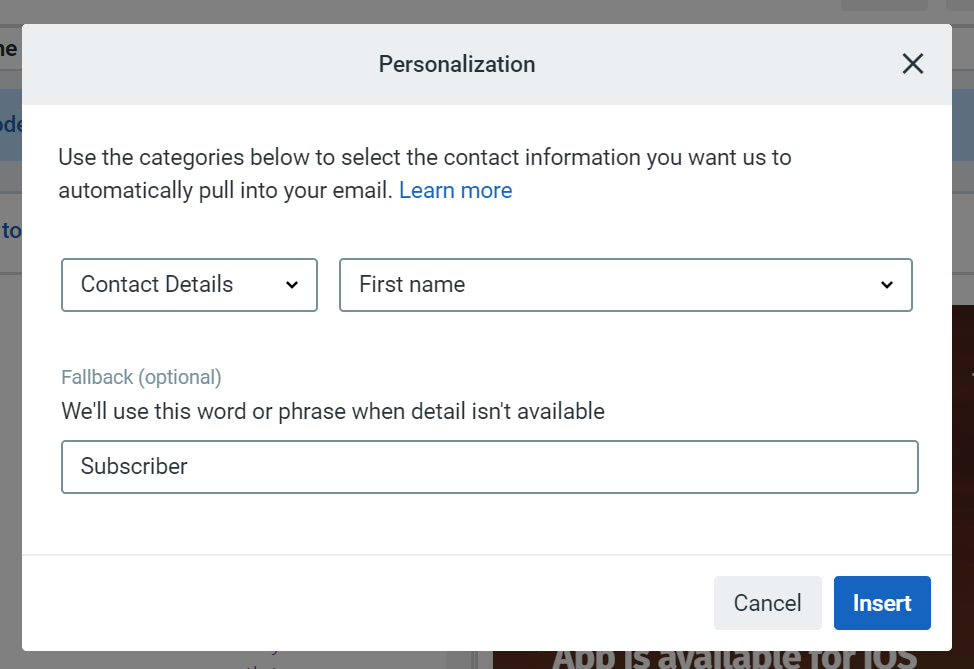
Here, you’ll find options for types of personalization tags you can enter like First name, Company, Address, and others.
You can also add a fallback text if that detail isn’t available.
For this example, let’s use the First name tag with a fallback of “Subscriber.”
If you press the Insert button, it’ll insert the tag wherever your cursor is located or at the bottom of the editor:
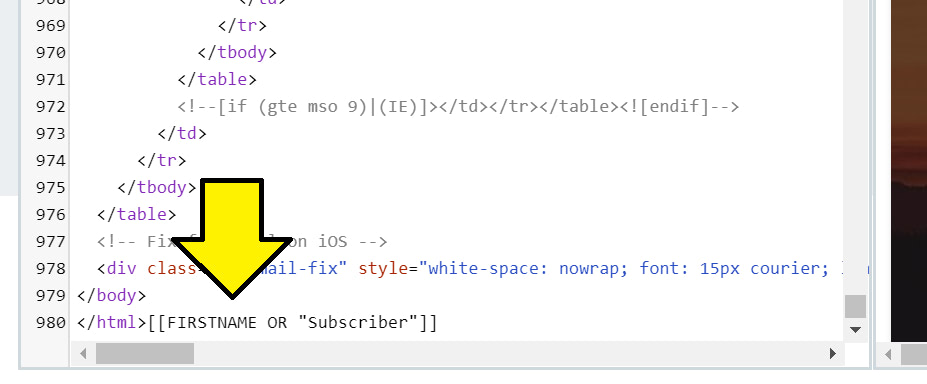
Copy this tag and then delete it if it was inserted where you don’t want it to be.
To find the part of the template where you want to add the tag, you can search for the text in the template. If you want to add the first name to the title section, copy the title and then search for it. If you can’t find the text, try searching for a shorter part of the text.
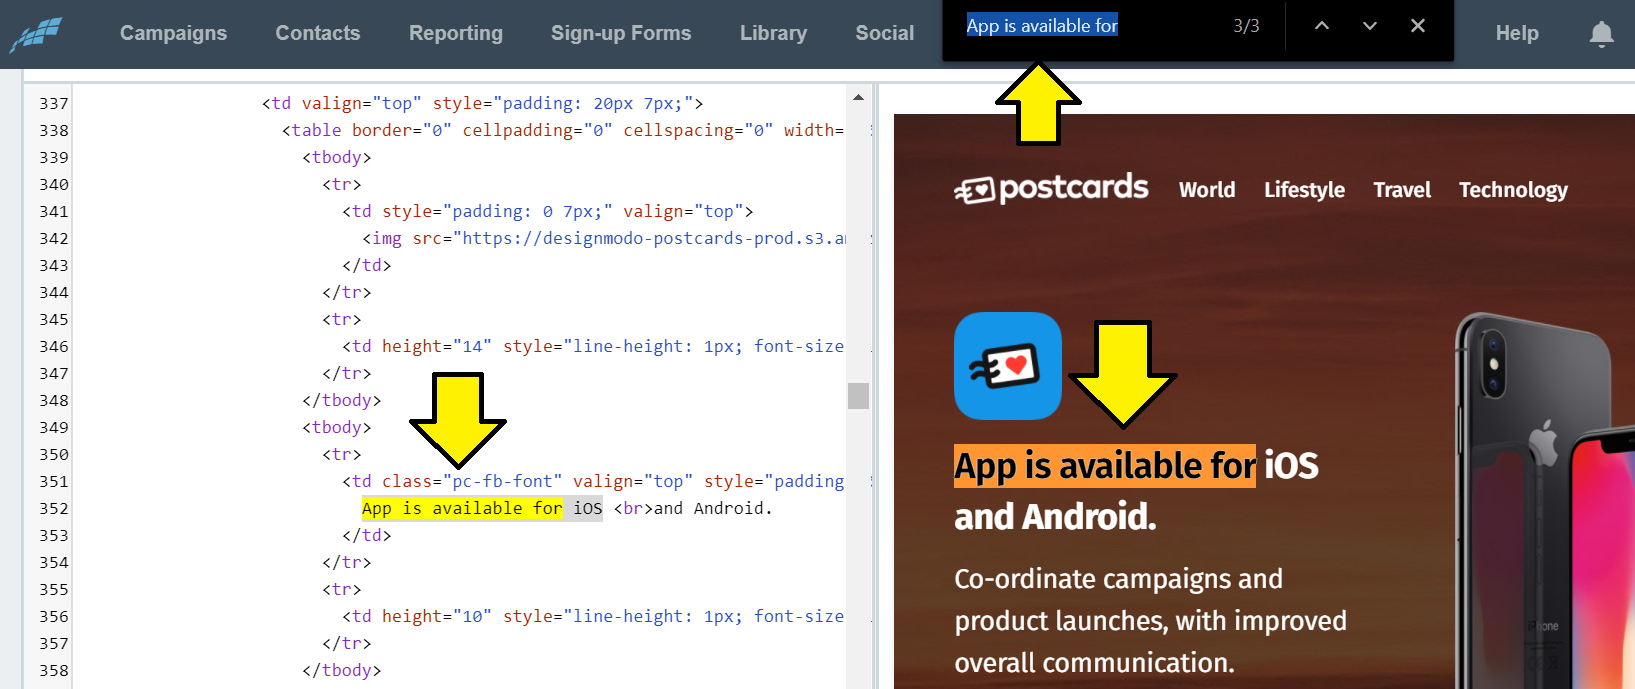
If the search isn’t working for you then scroll through the code until you find the text.
Next, insert the tag where you want it to be added:
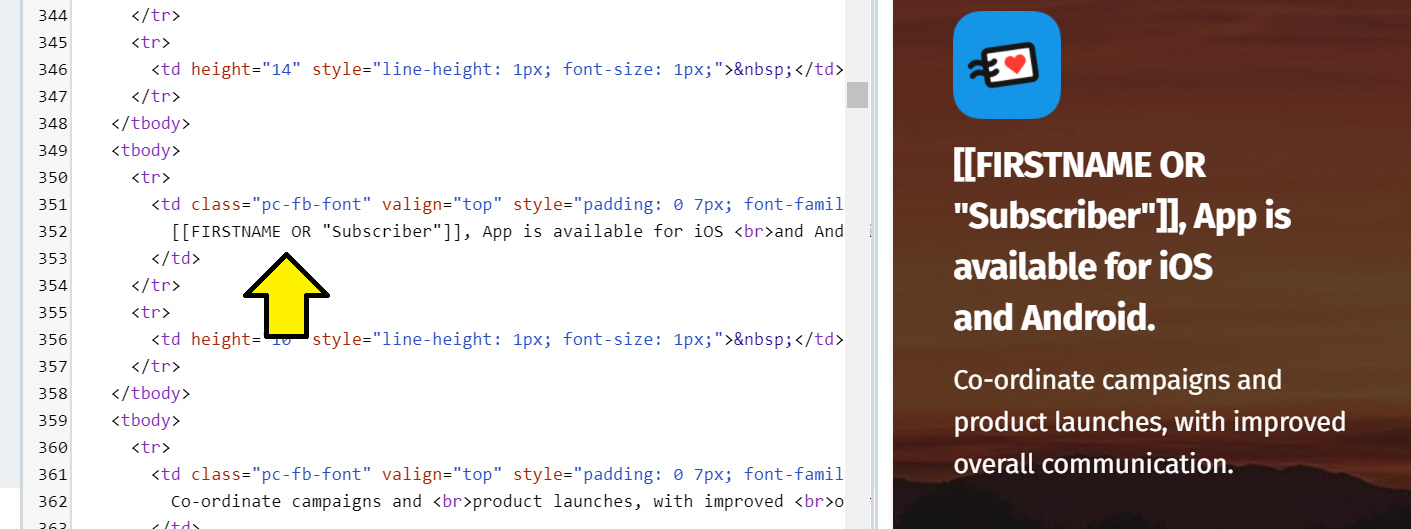
The tag will change to the recipient’s data when the email is sent or to the fallback value.
5. Update the email header
To update the subject, from name, and email options, click the email preview image at the top of the page:

That’ll open a modal where you can customize more options:

When you’re done editing the email, press continue in the top right corner of the editing page.
You can also allow Constant Contact to fix your errors if you have any.
6. Update the email footer
After you press continue, you’ll reach this page:

If you press the preview image, the preview modal will appear. At the bottom of the preview, you’ll see that there’s a footer that contains Constant Contact’s logo and other information.

If you’re looking to remove this footer, that isn’t possible.
According to Constant Contact’s knowledge base article:
“Constant Contact does not offer a way to completely eliminate, obscure, or “white-label” references to Constant Contact in your campaigns. However, paying customers can request to have the Constant Contact logo removed from their emails.
To do this, please contact a support representative for assistance. There is no fee to remove the logo. If you want to add your logo to the email footer in place of the Constant Contact logo, there will be a customization charge.”
You can edit some fields and values in the footer though according to this article.
At this point, your email is ready to use in your campaigns!
You can send yourself a test email to see how it looks through the preview options.
I sent myself a test email and this is how it looks:

What we covered
- How to export a Postcards template.
- How to create an email template in Constant Contact with custom code.
- How to insert the Postcards HTML code in the Constant Contact code editor.
- How to insert personalization tags in the email.
- How to update the footer.
