How Image Works in Postcards
Images are one of the most powerful elements in your layout. They help to grab attention, communicate visually, and enhance branding. Whether it’s a logo, product photo, or illustration, a well-placed image makes your email or design feel more alive.
Important: If you cancel a paid plan, hosted images remain available during a 14-day grace period. If the plan is not reactivated, hosted images and CDN assets, custom fonts, and Preview links are permanently deleted after 14 days.
To add an image, click the big blue plus (+) button in the top-left corner to open the Modules panel, then navigate to Basic Modules and choose the image type you want to add.

A single image is your go-to module when you want to insert one image into the layout. It’s perfect for:
- Logos
- Product photos
- Illustrations

We’ll go through the main image options that could be found in the right panel:
- View options (Desktop, Mobile)
- Alignments
- Positioning
- Sizes
- Opacity and Borders
- Image Source
- Link
- Border
- Shadows
- Anchor
- Hiding options
- Brand Assets

1. View options (Desktop, Mobile)
This option gives the possibility to switch viewing from Desktop to Mobile or vice versa, use the keyboard shortcut M to switch instantly.

While editing in Mobile view, any settings (described below) you apply will override the Desktop settings. This allows your design to adapt fluidly between devices without duplicating content.
Note: Only the content itself, such as text and links, remains consistent across views. This separation enables a fully mobile-optimized design without affecting how it appears on the desktop.
2. Alignments
You can align the image in the following ways:
- Left – aligns the image to the left edge of its container
- Center – centers the image horizontally
- Right – aligns the image to the right edge of its container
This can be useful when you’re working with smaller images or when the layout needs visual balance.
Note: Why you might not see any change
If your image is set to 100% width (it stretches to fill its container), alignment won’t have any visible effect - the image already takes up the full horizontal space, so there’s no “room” to align it left or right.

3. Positioning
In the email builder, images can only be moved using margins, not padding.
Margins add space outside the image; that’s how you shift an image to the right, left, or away from other elements around it.
So when you want to reposition an image, margin is the correct and supported tool.

4. Sizes
When inserting an image, you’ll typically be able to adjust its:
Width: How wide the image is
Height: How tall it is
There are two main ways to define size: in pixels (px) or in percent (%). By default, image sizing is set to percent (%); to switch to pixel (px) sizing, click the percent (%) icon next to the size value and change it to px.

Pixel (px)
Defines the image size in a fixed number of screen pixels.
Example: 300px width means the image will always be 300 pixels wide, no matter the screen size.
Good for:
- Precise control
- Logos or icons that should never scale too much
Percent (%)
Defines the image size relative to its container.
Example: 100% width means the image will stretch to fill the full width of the container.
Good for: Images that need to scale naturally across devices
By default, image height is auto, and that’s a good thing, especially in email design. Here’s why:
- It maintains the aspect ratio (the natural shape of the image)
- Prevents distortion or squishing
- Adapts automatically when width changes (especially with % sizing)
- Works well on both desktop and mobile
5. Opacity and Corner radius
The Opacity setting controls how transparent an image is. You can type a value or drag left/right to decrease or increase the percentage.
- 100% = fully visible
- 0% = completely invisible
- Values in between = partially transparent
Opacity is useful for subtle background images, overlays, watermark-style images, or visual layering without removing the image entirely.

The Corner radius setting lets you define how round the corners should be.
The higher the value, the more curved the corners.

You can also customize each corner individually—top-left, top-right, bottom-left, and bottom-right—by clicking the small downward arrow icon next to the corner value to expand the individual controls.
Useful for:
- Creating speech bubble-like containers
- Making only the top or bottom corners rounded for a specific visual effect
6. Image
- Upload: This lets you instantly upload an image from your device.
- Direct URL: Ideal if you already have your brand images hosted online. Just paste the image link, and it will load directly into the button.
Alt text (short for Alternative Text) is a written description of an image.
It appears in the place of the image when:
- The image fails to load
- Email clients have images turned off
How to Write Good Alt Text?
- Keep it short and descriptive
- Imagine describing the image out loud to someone who can’t see it
Note: Avoid things like: “Image of” or “Picture of” - just describe the subject.

7. Link
You can turn any image into a clickable link - for example, linking a product image to a product page or a banner to your website.
However, use with care:
- Not all users will understand that an image is clickable
- If the image doesn’t load, the link is lost
Better practice: Always pair linked images with linked text or buttons for accessibility and clarity.
Link Types
- You can link to a URL (external page)
- Or link to an anchor (a specific section in your email, if defined earlier)

8. Border
Adding a border to an image can help visually separate it from the background, especially if:
- The image has a white or transparent background
- You want to give it a framed look
- You need to make it stand out in the layout
By default, the border is turned off.
When enabled, the border usually defaults to 1px solid - but you can:
- Adjust the thickness
- Change the style (solid, dotted, dashed)
- Choose a color that fits your design
Tip: If you don’t want a border anymore, just set the size to 0 - it will be removed entirely.

9. Shadows
Box Shadow adds a shadow behind the entire image, giving it depth or a floating effect.
To make the shadow visible, you can tweak:
- X offset – how far the shadow moves horizontally
- Y offset – how far it moves vertically
- Blur – how soft or sharp the shadow appears
- Color – choose any tone to match or contrast your design
- Opacity – control how strong or subtle the effect is
Note: Shadow effects are mostly visual and may not appear the same everywhere. Support is limited in some email clients, including Outlook, Gmail, and Windows 10 Mail, where shadows may not render properly or at all.

10. Anchor
Anchors let you create internal navigation by allowing images to scroll to specific sections within the same email.
In this section, you can create an anchor by naming a specific spot in your content, for example, “top”.
Later, you can link to it using #top from a Link.
Note:
- Anchors only work in a few email clients, such as Apple Mail or some web-based clients.
- Major platforms like Gmail, Outlook, and Windows Mail do not support anchor scrolling, so this feature won’t function for all recipients.
Use anchors for subtle in-email navigation when targeting clients that support them, but avoid relying on them for critical actions.

11. Hiding options
Sometimes, based on your design or client needs, you may want an image to appear only on mobile or only on desktop.
The Hiding options allow you to control exactly that:
- Choose to hide the image on mobile, desktop, or show it on both.
- This is useful when you want to tailor content for different screen sizes, for example, showing a larger image on mobile or hiding duplicate actions on smaller layouts.
You can quickly spot hidden elements using the keyboard shortcut M, as shown in the View Options.
When the hiding option is applied, a new icon will appear in the Layers panel - a crossed-out computer for Desktop or a crossed-out phone for Mobile. This helps you quickly identify which elements are hidden on specific devices, so you won’t forget later.

12. Brand Assets (presets Images)
When you’re working with images, you can now quickly access all the assets you’ve added to your Brand Preset. Simply select any image element in your project, and you’ll see a four-dot button that opens your Brand assets in the top-right corner of the editor.
Note: This icon will only appear if Brand Presets is enabled for your project.

This panel gives you one-click access to all the image assets you’ve defined for your brand, making it easy to maintain visual consistency across every email.
How to Add Brand Assets
To upload images into your Brand Preset:
-
Deselect all modules and elements so you’re at the project level.
(This opens the global settings panel on the right side.)
- In the right panel, go to Brand Presets.
- Either create a new preset or click Edit Preset Style on an existing one.
- In the Brand Assets section, click the plus (+) icon to create a new placeholder.
- Select the placeholder and upload your brand image (logos, icons, product images, etc.).
Once added, these assets will appear automatically in the Brand Assets panel whenever you select an image element in your project, allowing you to insert them instantly without re-uploading.
For more details on how Brand Presets work, visit: Brand Presets
Add more images (elements)
Besides using the main plus (+) button in the top bar, you can also add elements directly within the Layers panel on the left.
When navigating through the Layers structure, hovering above or below a specific element will reveal a small plus (+) button.

Clicking it will prompt a bubble of available elements that can be inserted in the exact position - for example, you can quickly add another image inside the same module below the existing one.

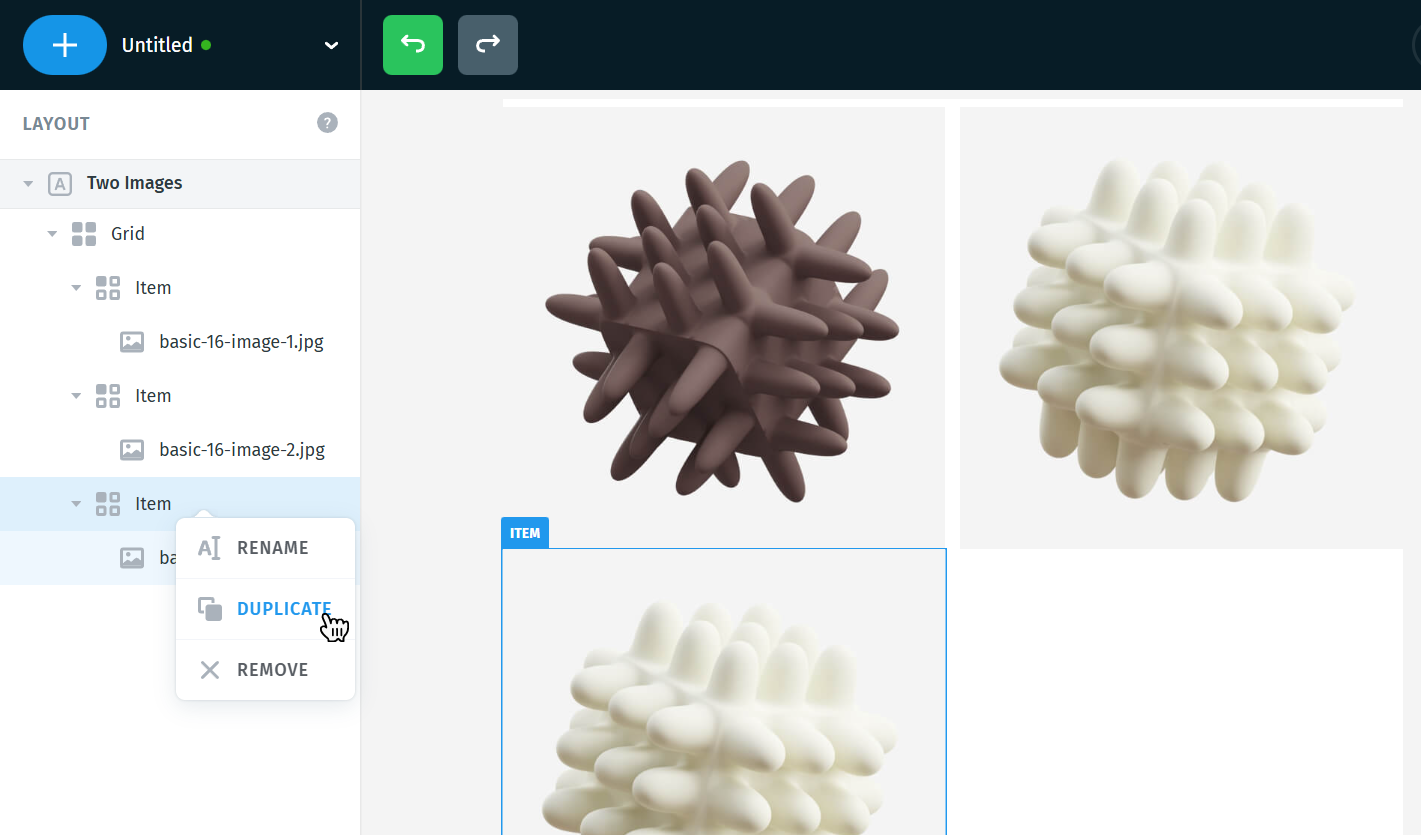
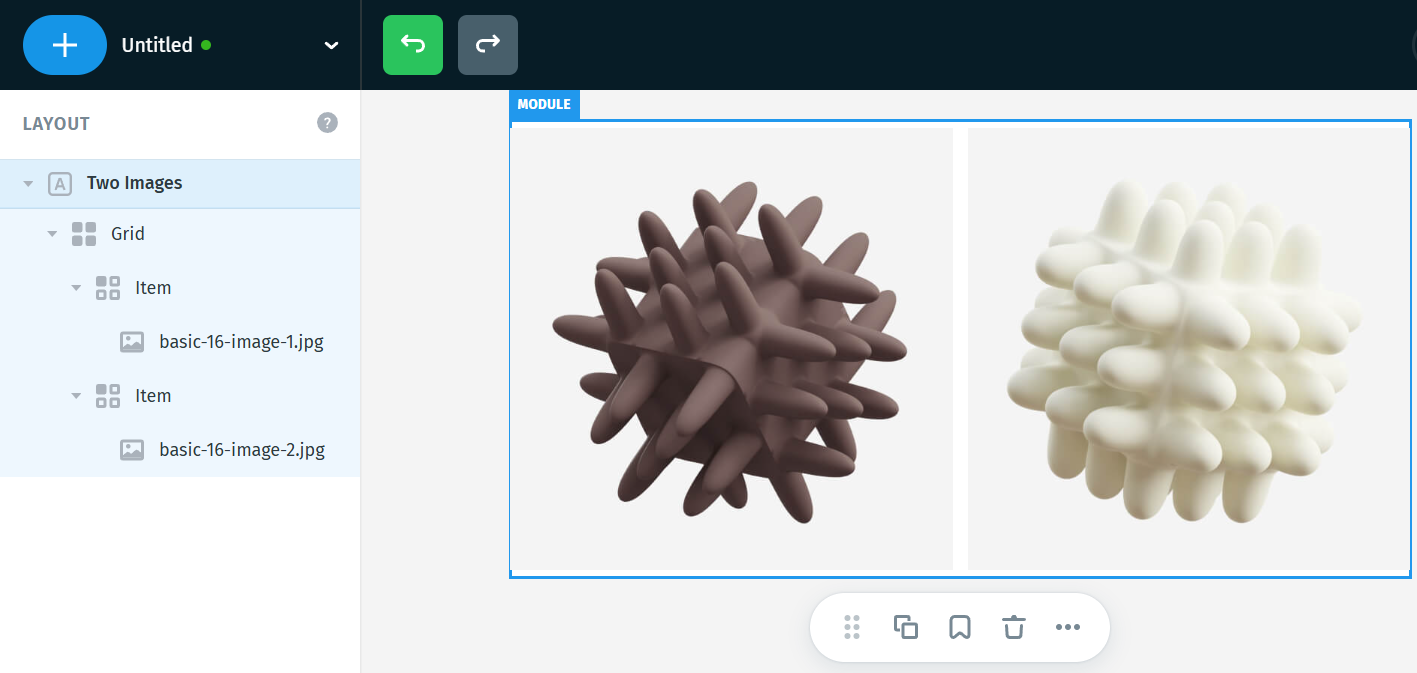
Two Images
This module is a quick way to display two side-by-side images, already placed inside a grid layout.
It’s useful for showcasing:
- Two products
- Before/After
- Two logos side by side
To add more:
- Right-click on the image’s grid item > choose Duplicate
- Or use the shortcut: Cmd+D (Mac) / Ctrl+D (Windows)