How to create a campaign with a custom HTML email in Vertical Response using a Postcards template.
In this tutorial, we’ll be creating an email campaign in Vertical Response using a template from Postcards.
Prerequisites
- A Designmodo account
- A Vertical Response account
Steps
1. Create and export a Postcards template
The main thing we need is a Postcards template for the HTML file.
In the Postcards app, create a template. Mine looks like this:

Next, we want to export this and use the HTML code that’s generated.
In the top right corner of the app, press “Export” and press “Download as zip”
There will be an option called “Host images online.” Make sure this option is checked. Your screen should look like this:
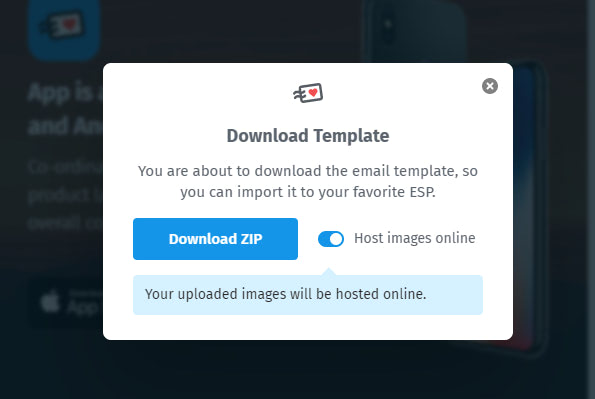
Press “Download Zip” and extract the file into a folder. My folder looks like this:
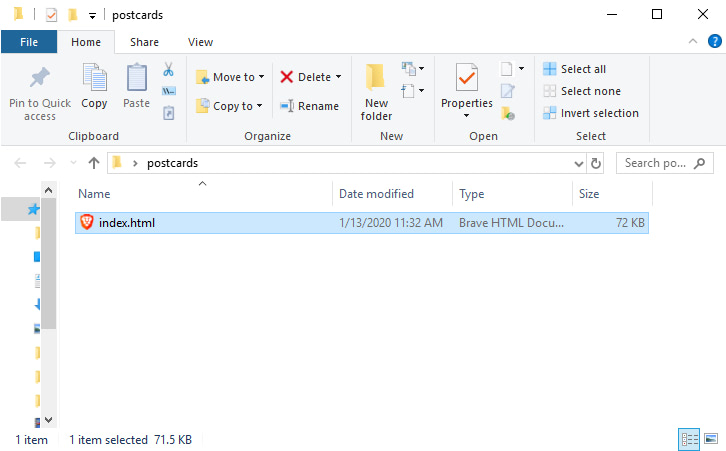
If you open this file in your browser, you should see the Postcards template you just created.
Now, we have everything we need to create a campaign in Vertical Response.
2. Create a new campaign in Vertical Response
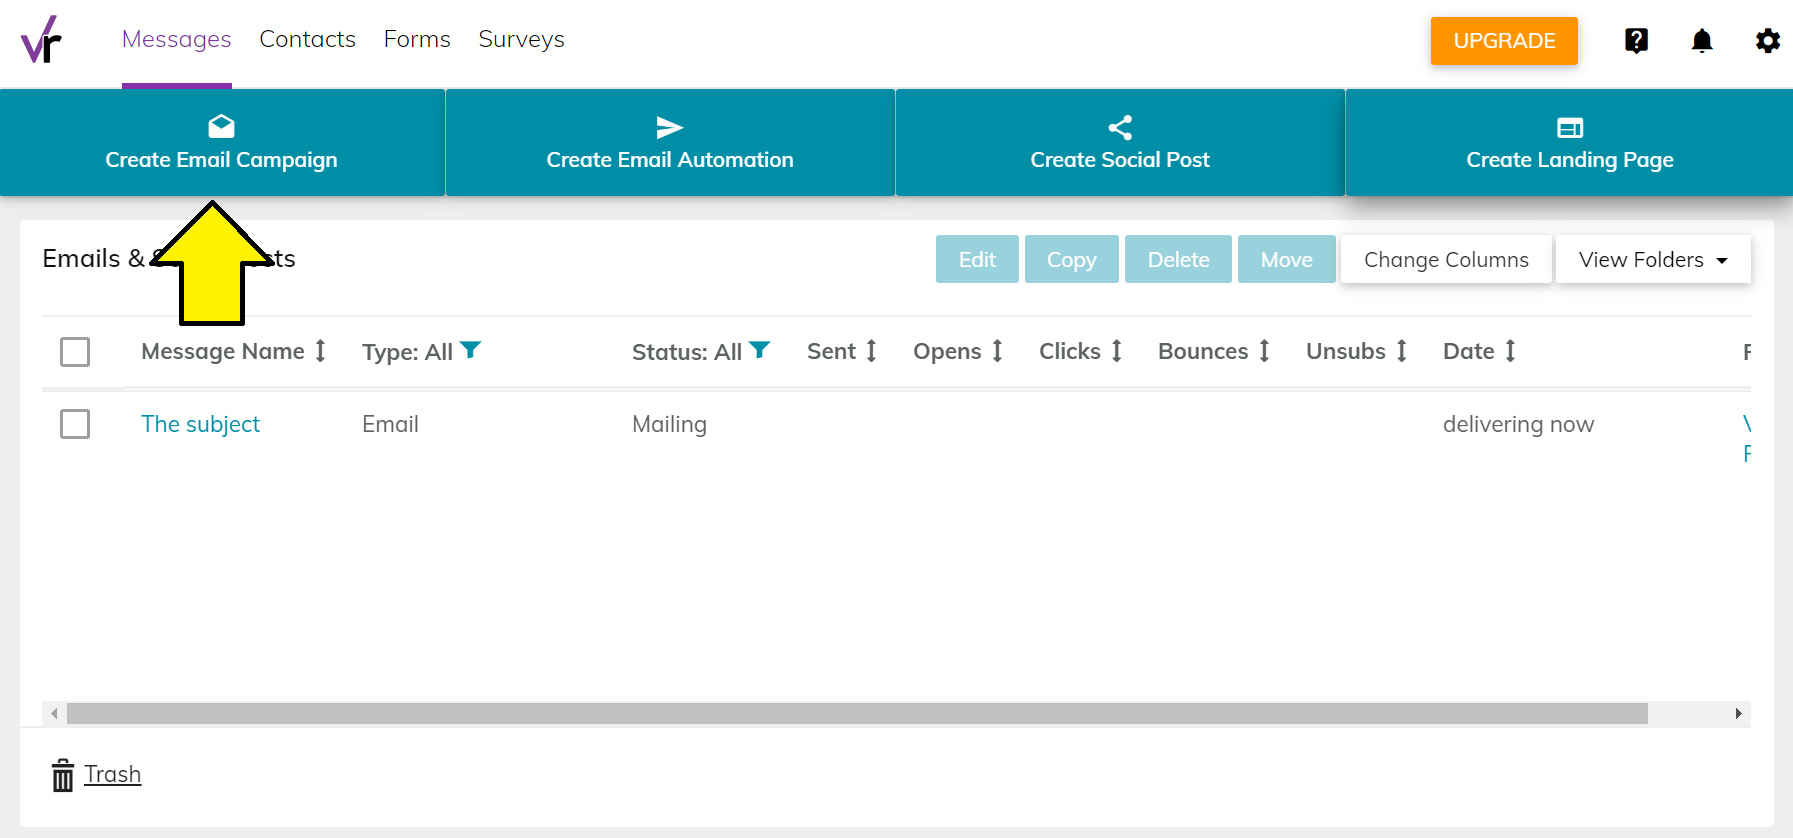
In your Vertical Response dashboard messages tab, select “Create Email Campaign” like this:
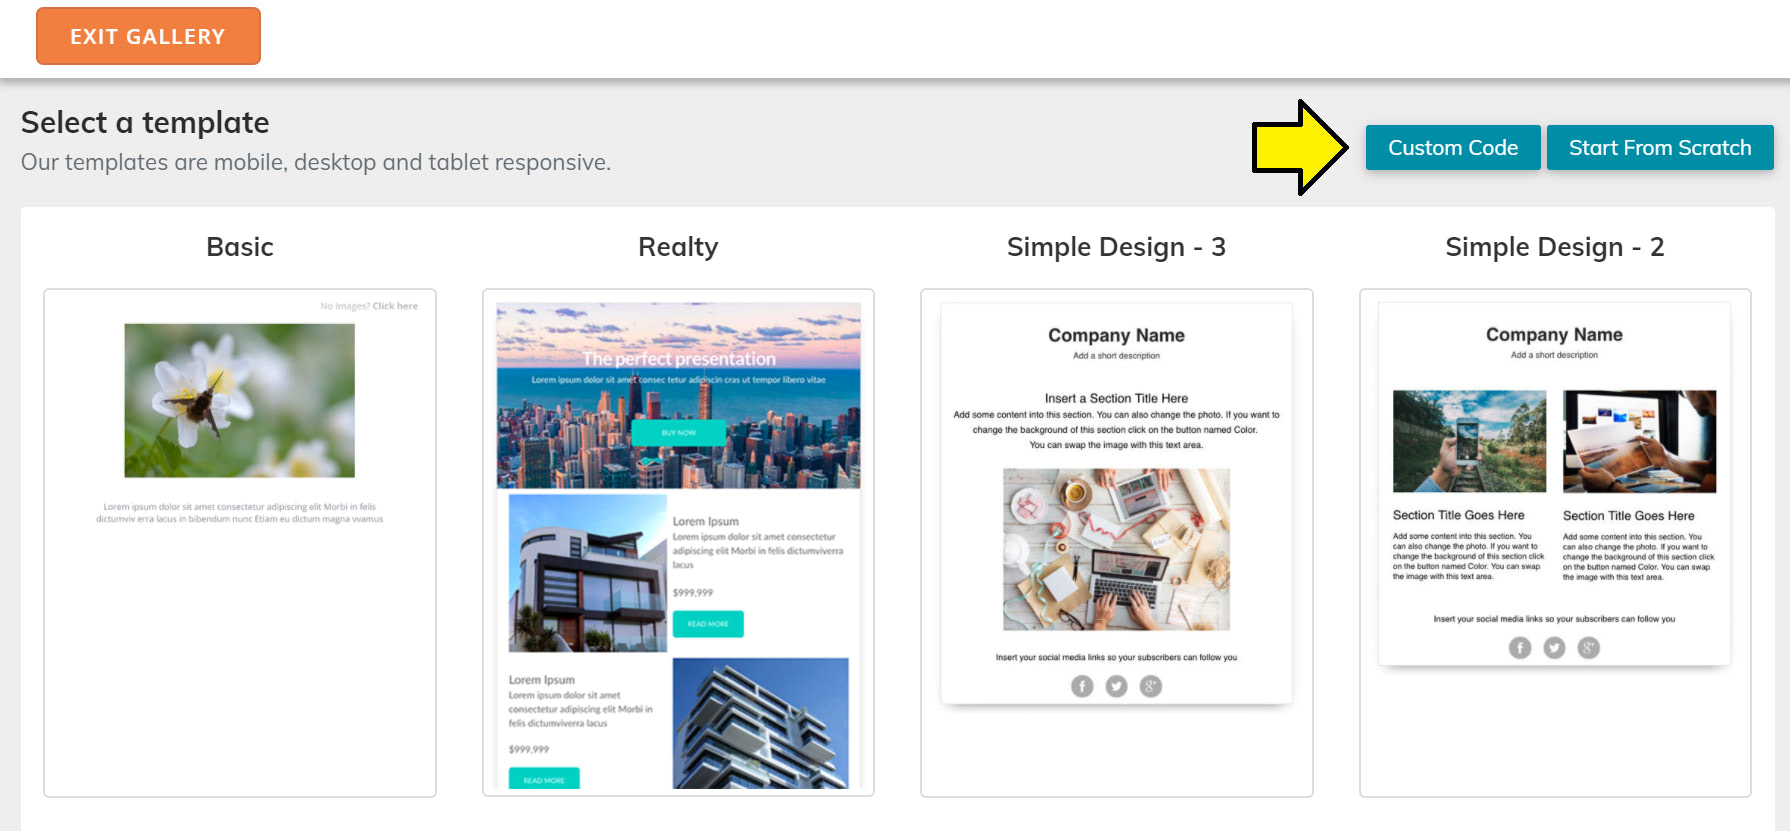
In the “Select Template” page, select the “Custom Code” option:
In the editor page that appears, select the “HTML CODE” option and then select “IMPORT HTML” at the bottom of the page:
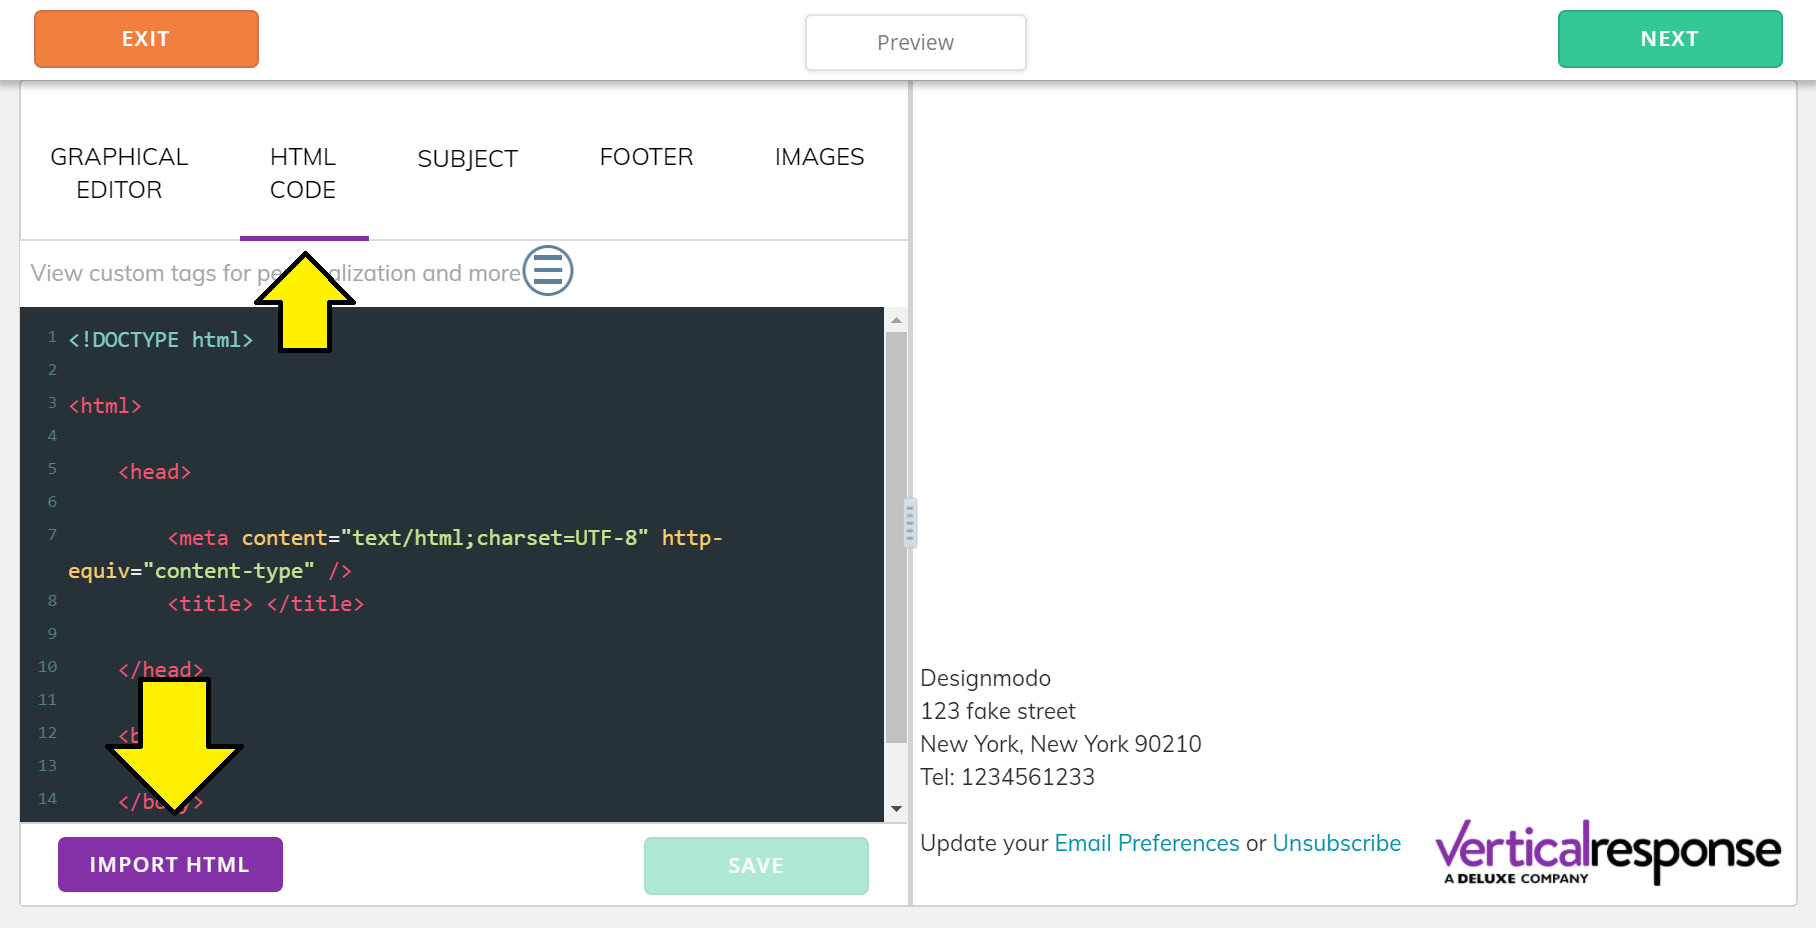
Find and upload the index.html file that you downloaded from Postcards earlier.
You can also open your index.html file in a text editor and copy and paste all the contents into this editor which will accomplish the same thing.
Once this is done, your screen should look like this:
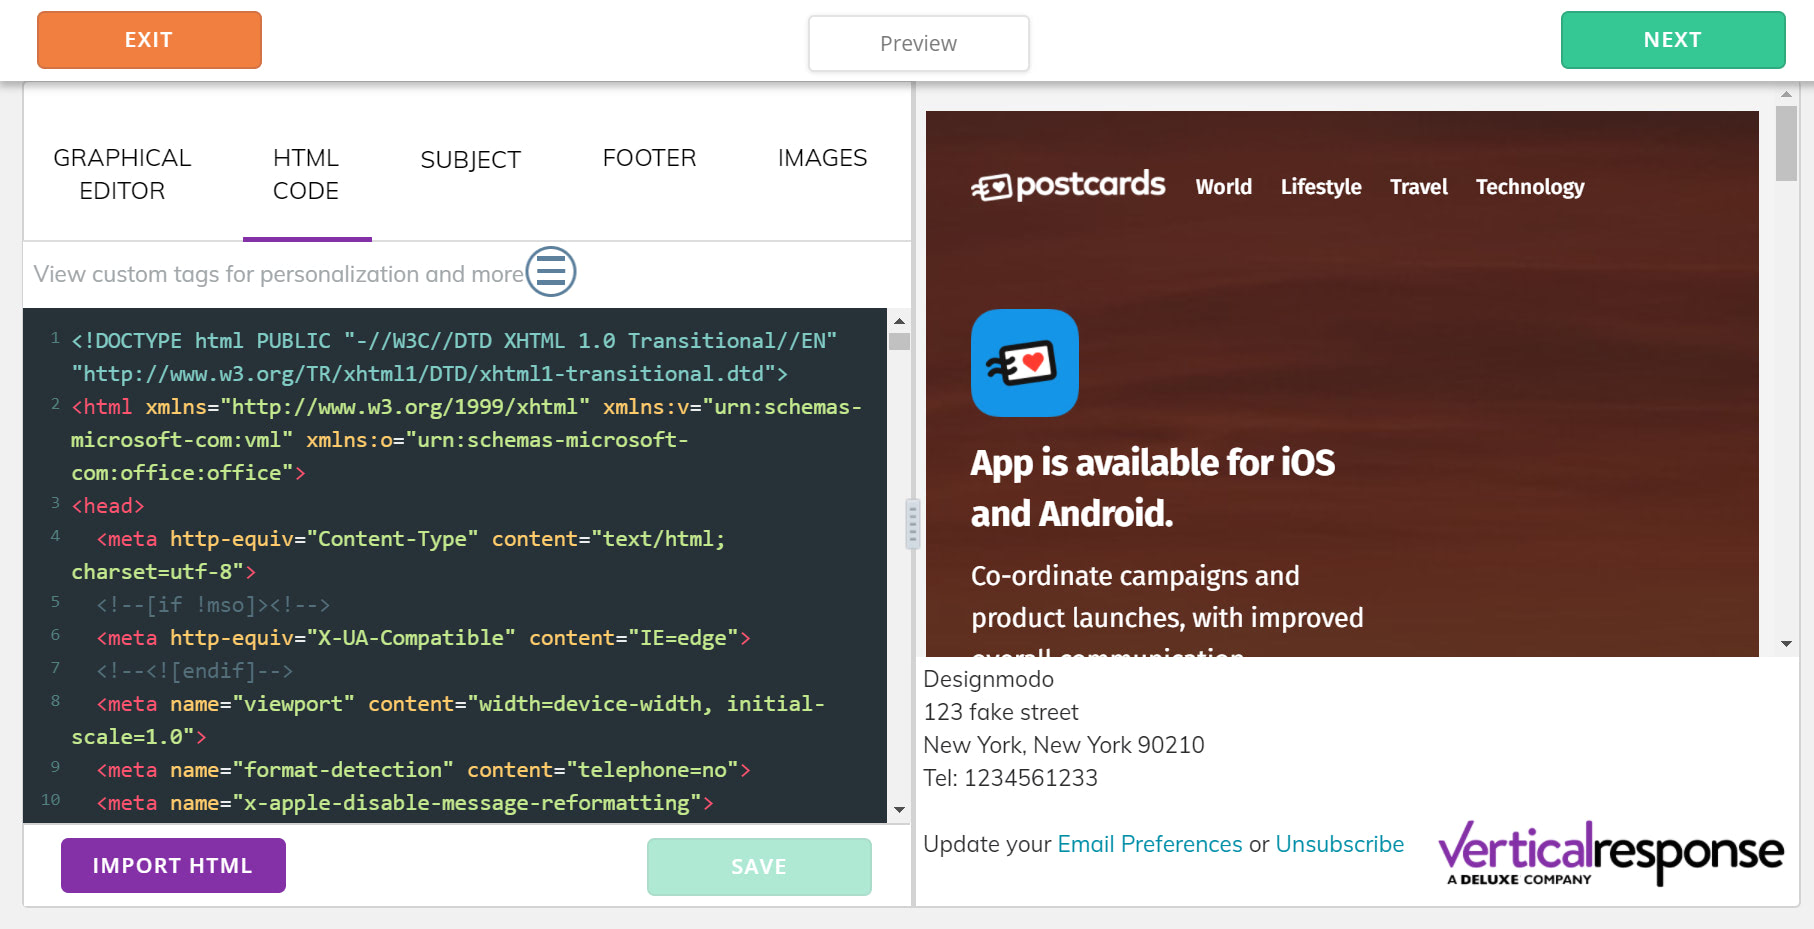
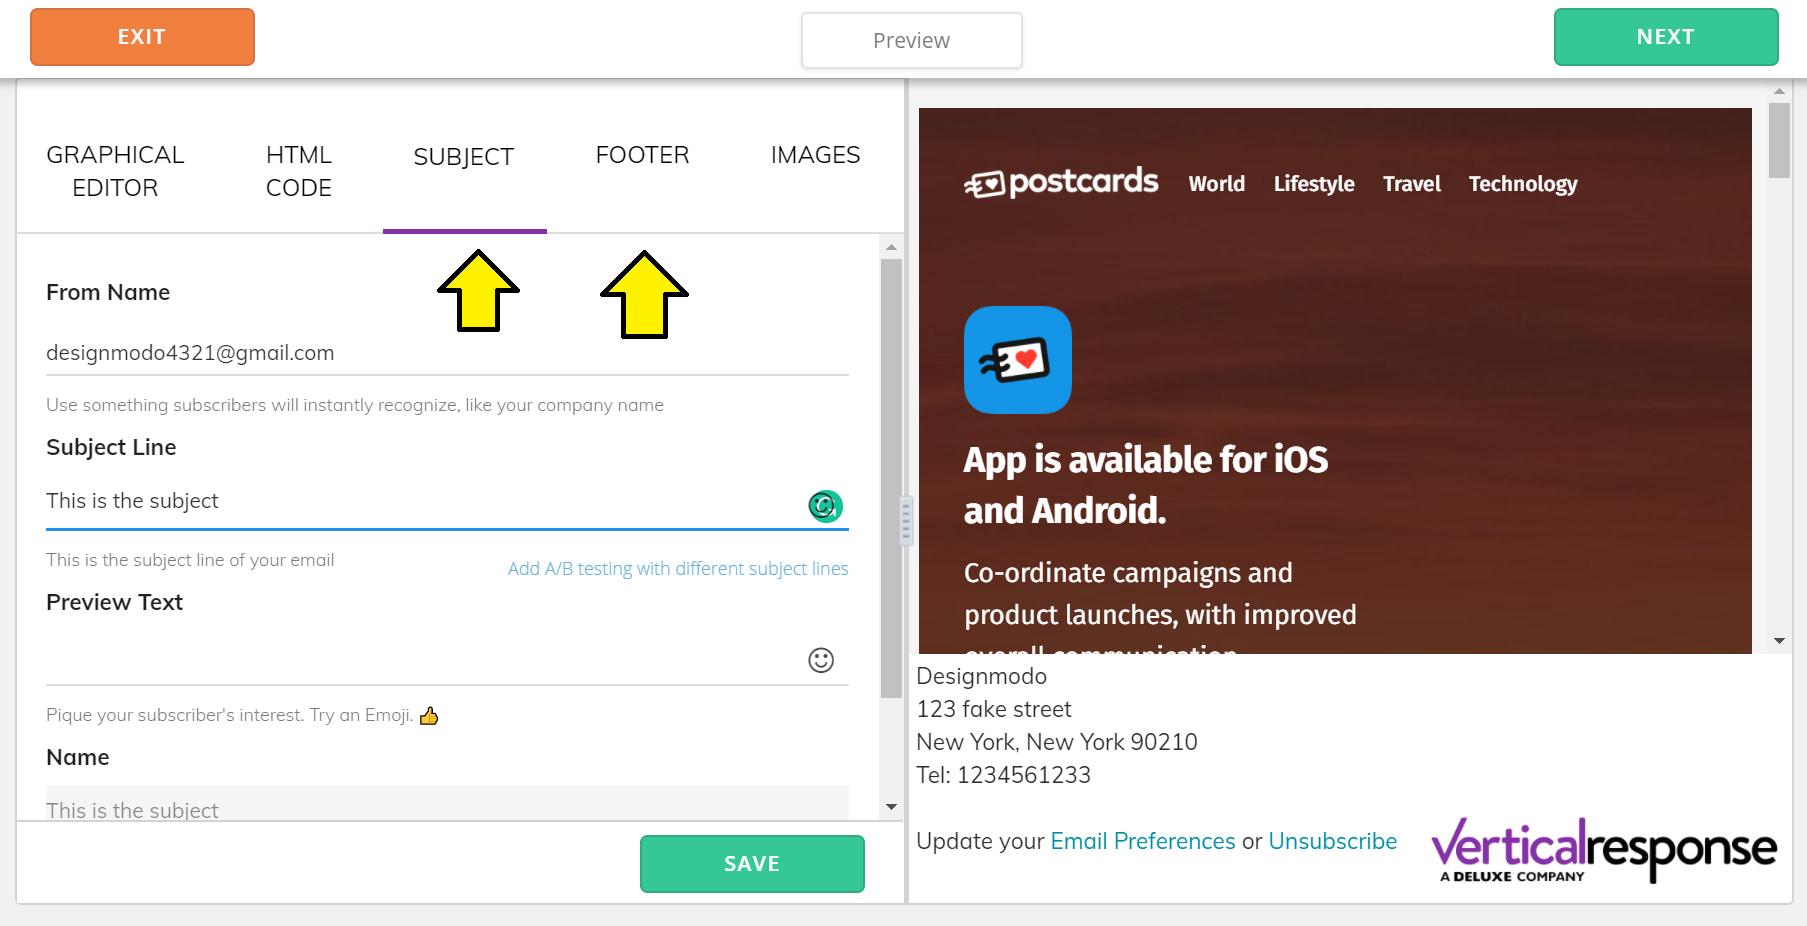
After this, you can click the “SUBJECT” and “FOOTER” menu options to edit those values:
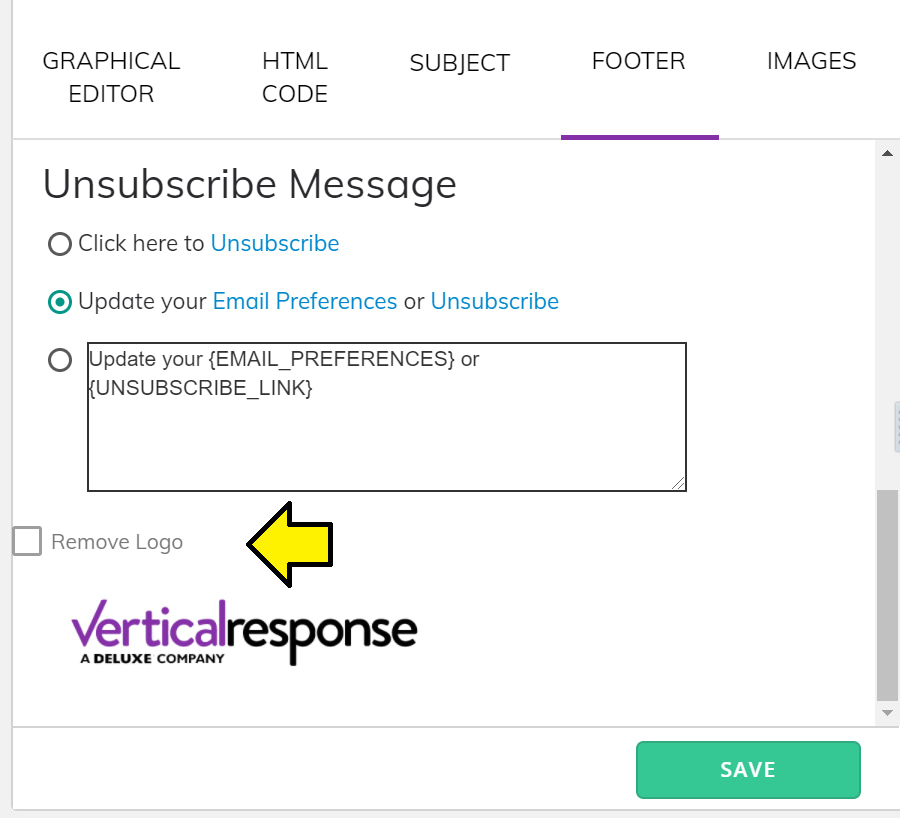
The footer is required for email marketing purposes. Addresses and unsubscribe links are required for businesses sending emails. If you want to remove the Vertical Response logo, you have to be a paying user.
3. Add personalization to your email
Once your email template is set, you can add some personalization using the Vertical Response graphical editor:
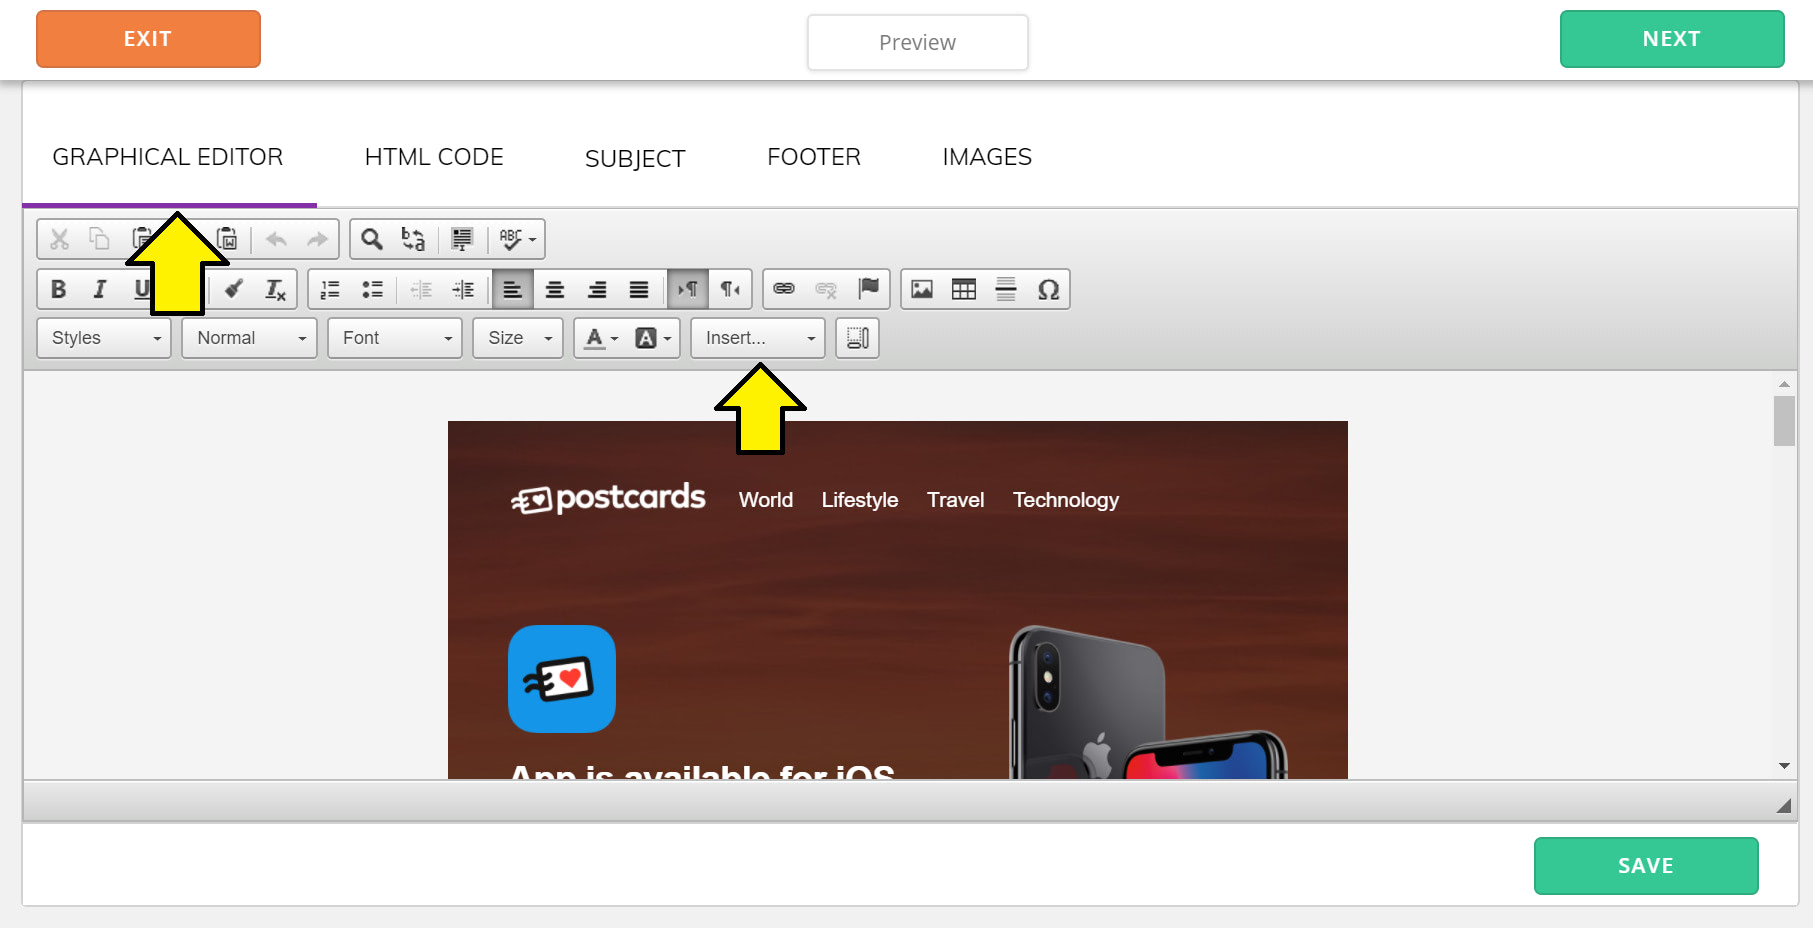
Personalization tags allow you to personalize your email. For example, you can insert a tag that uses the recipient’s first name in the email.
Since you can’t manually update each recipient’s first name in an email you have to rely on tags.
If you press the “Insert” dropdown menu option, you’ll see all the personalization options you can add to your email.
If you place your cursor in the part of the template where you want to add some personalization tags and then select the tag from the dropdown menu, it’ll insert the tag where your cursor is placed like this:
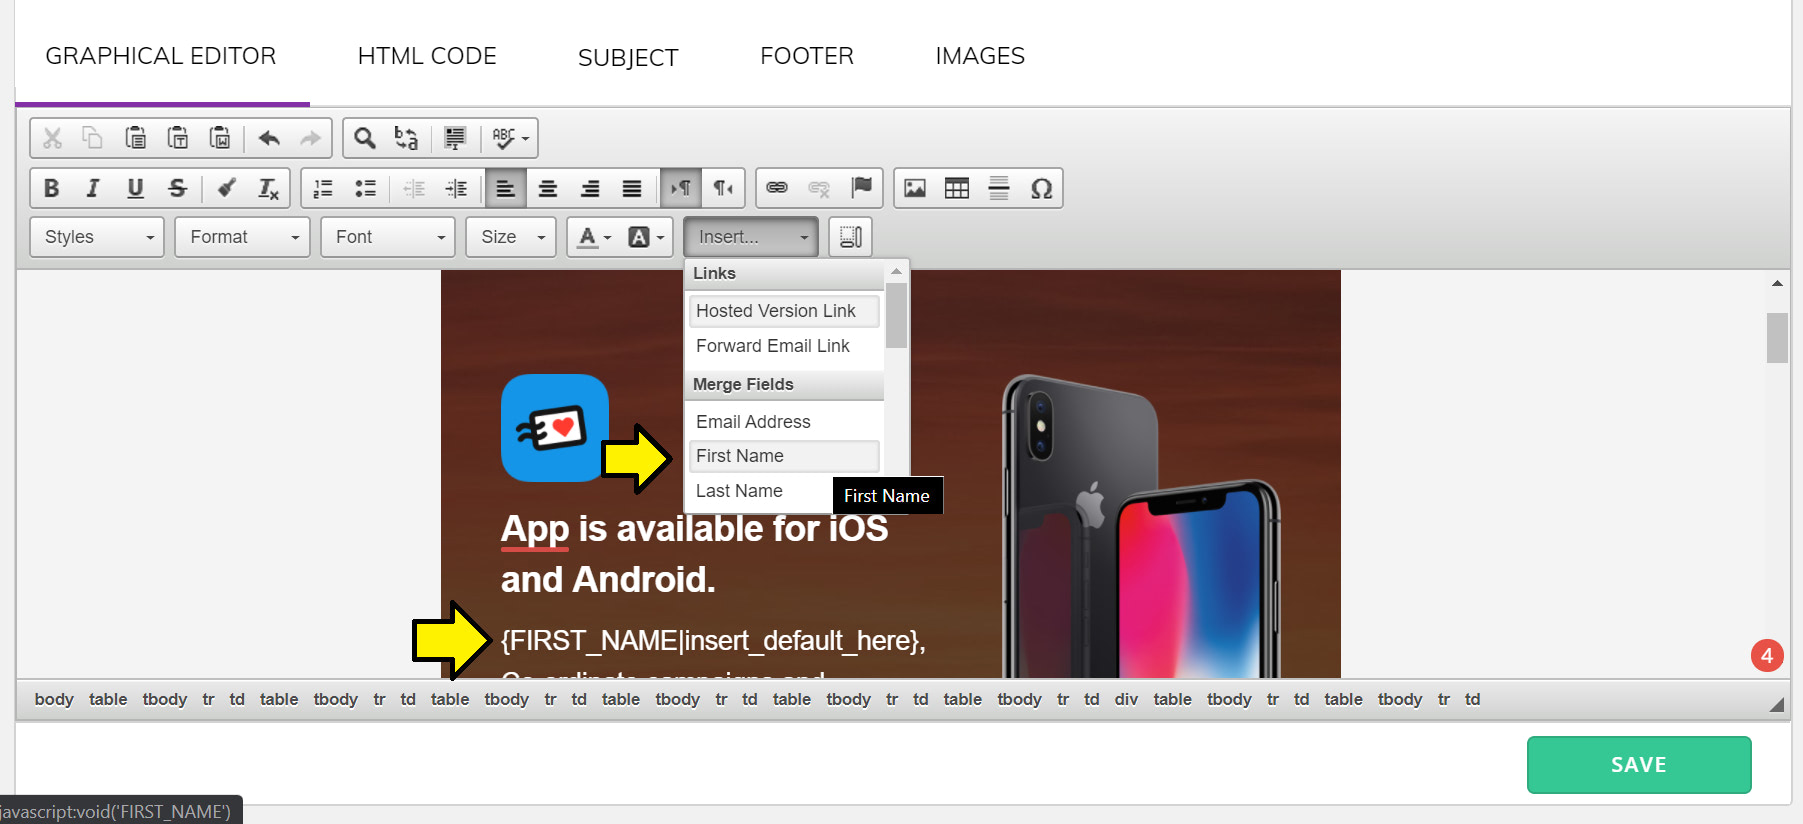
After you’re done adding personalization, your email campaign is ready to go. You can send yourself a test email by pressing the “preview” button in the top middle of the page.
What we covered
- How to create a template in Postcards.
- How to create an email campaign using custom code in Vertical Response.
- How to add personalization to your Vertical Response email message.
