In this tutorial, we’ll be creating a custom HTML email in Mailerlite using a Postcards template.
Prerequisites
- A Designmodo account
- A Mailerlite account
- A text editor that can open HTML files
Steps
1. Create a Postcards template with Mailerlite tags
The first thing we need is a Postcards template with Mailerlite tags in them. We want to add the tags in the first step so we don’t have to edit the code later.
We’ll be adding two tags here, the unsubscribe tag and the name tag. They look like:
{$unsubscribe}
{$name}
In the Postcards app, I created a template that consists of a Header 7, Content 4, Feature 5, Call to Action 1, and Footer 1. It looks like this:
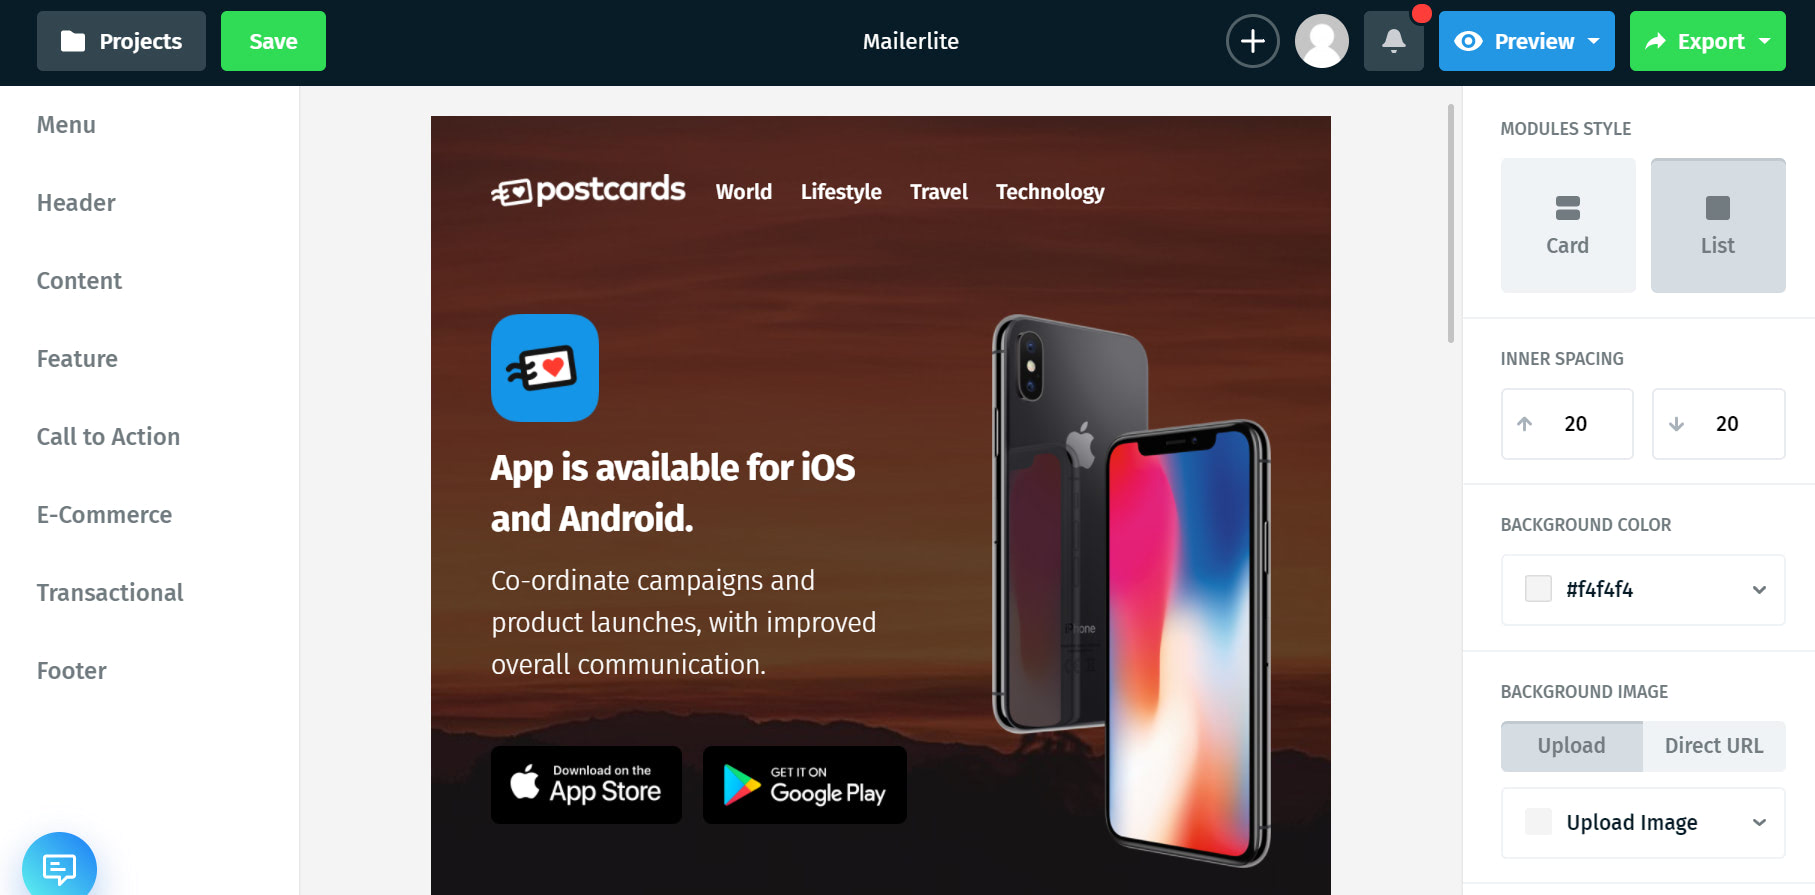
Let’s first add the name tag to the Header.
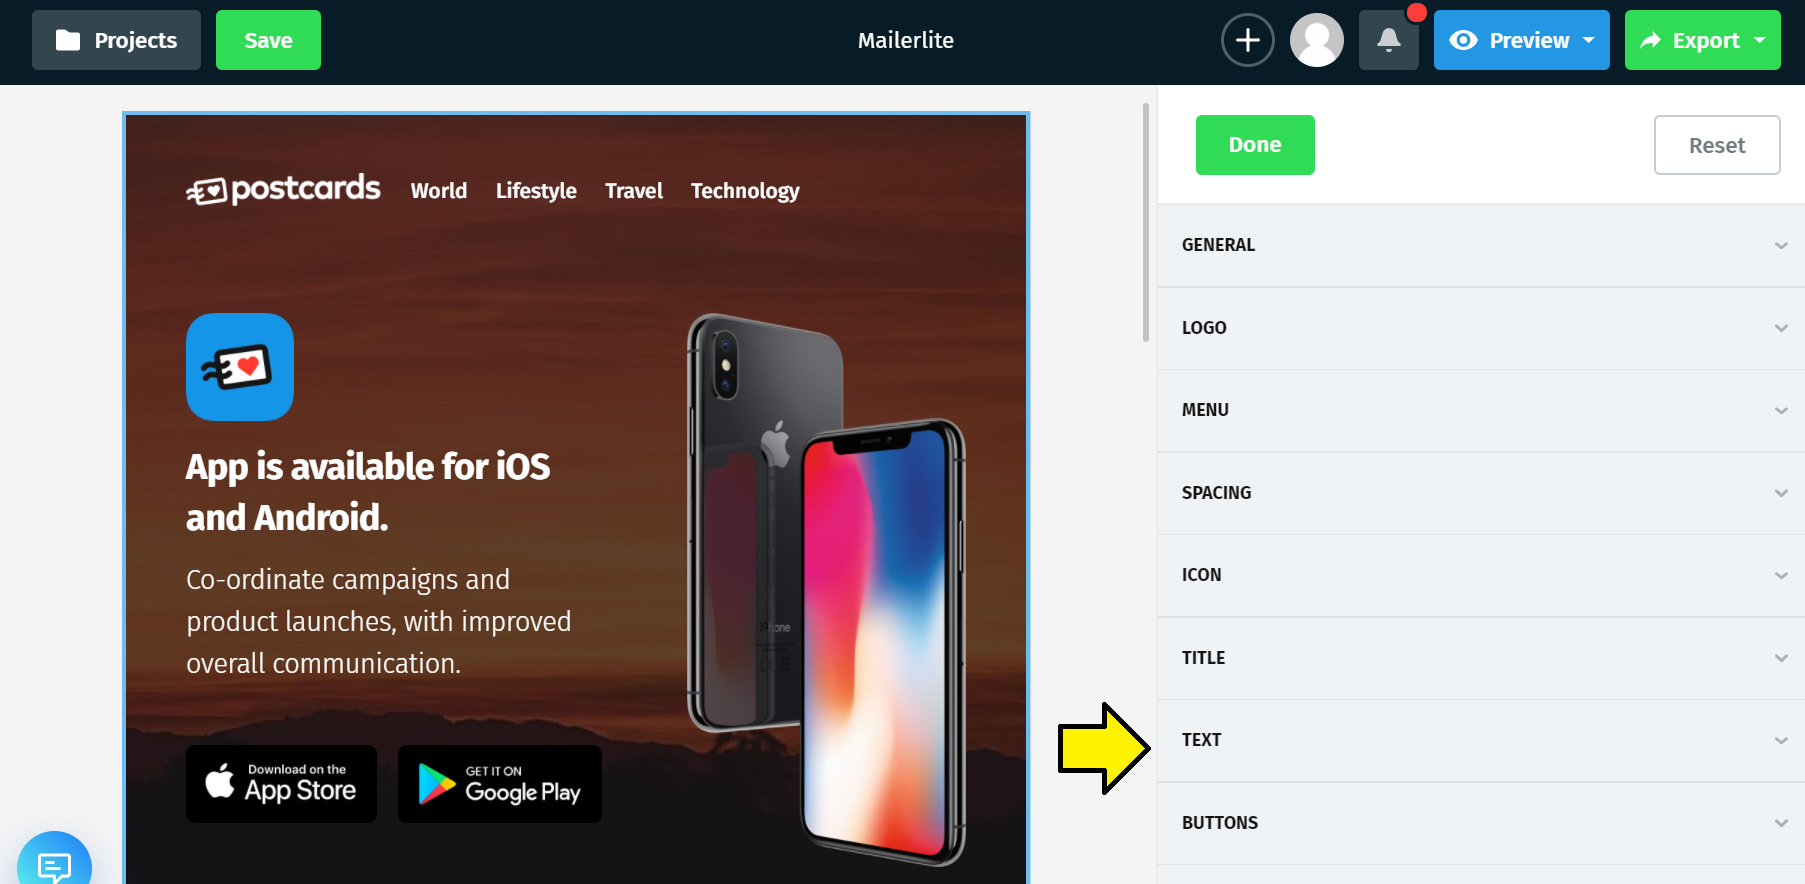
Click the Header image to open up the options to edit it and then click the “Text” field.
In the text editor that appears, add the name tag to the start of the text like this:
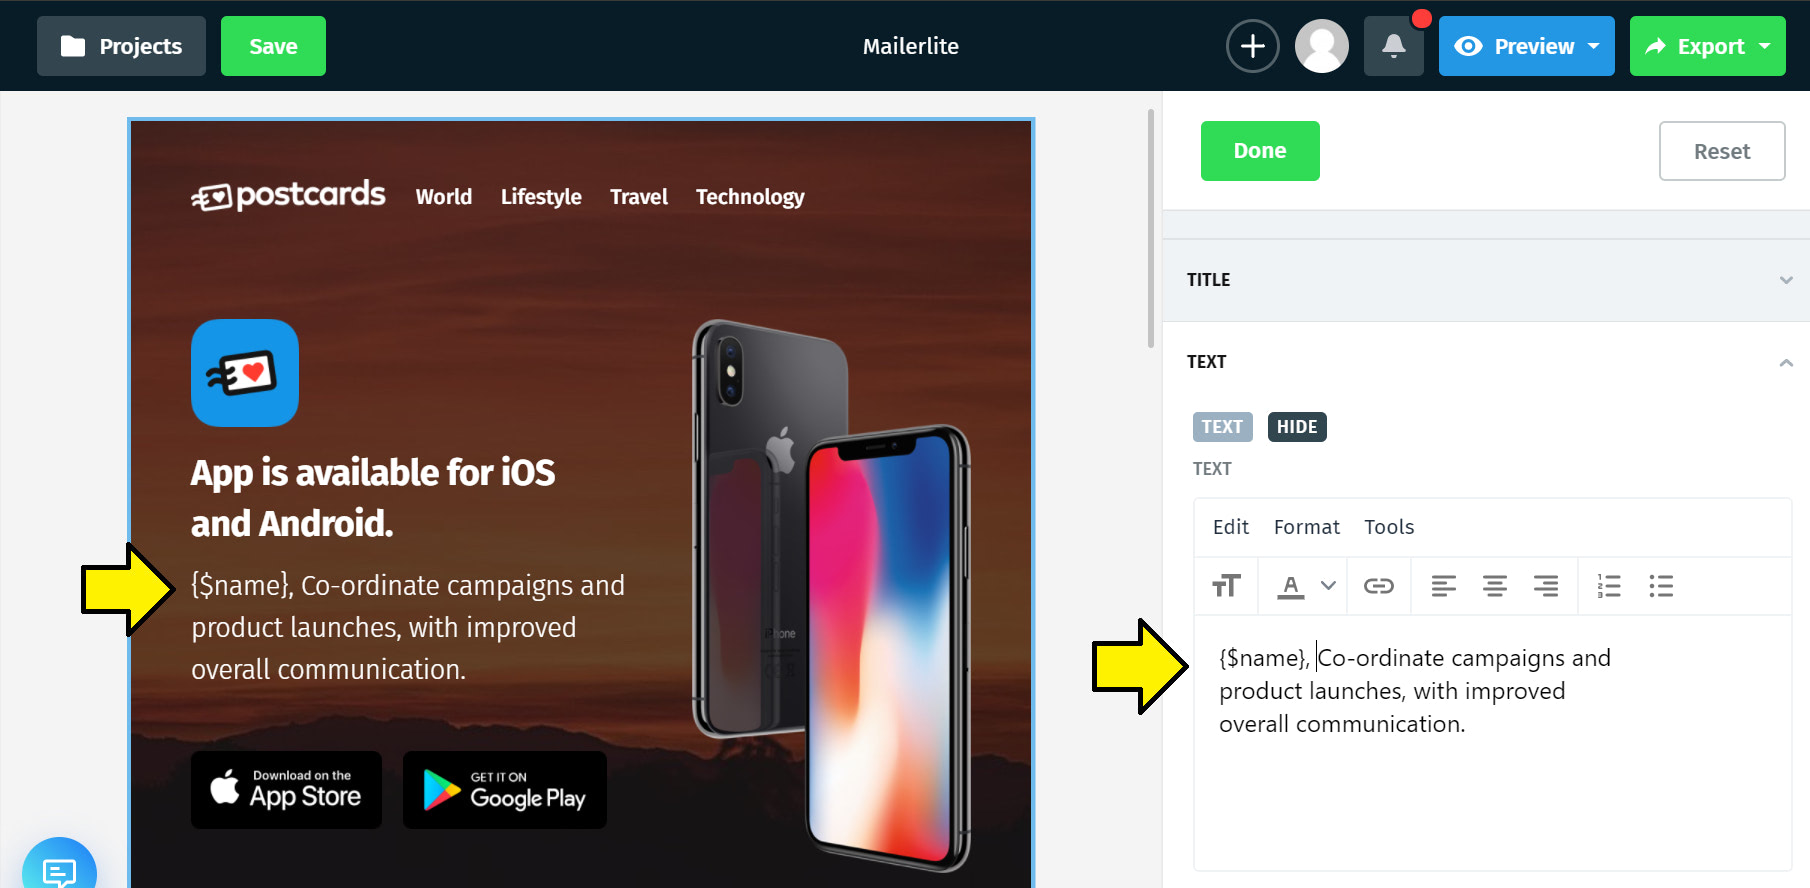
That will update the preview on the left side.
Press “Done” in the top of the side menu and then scroll to the Footer and click it.
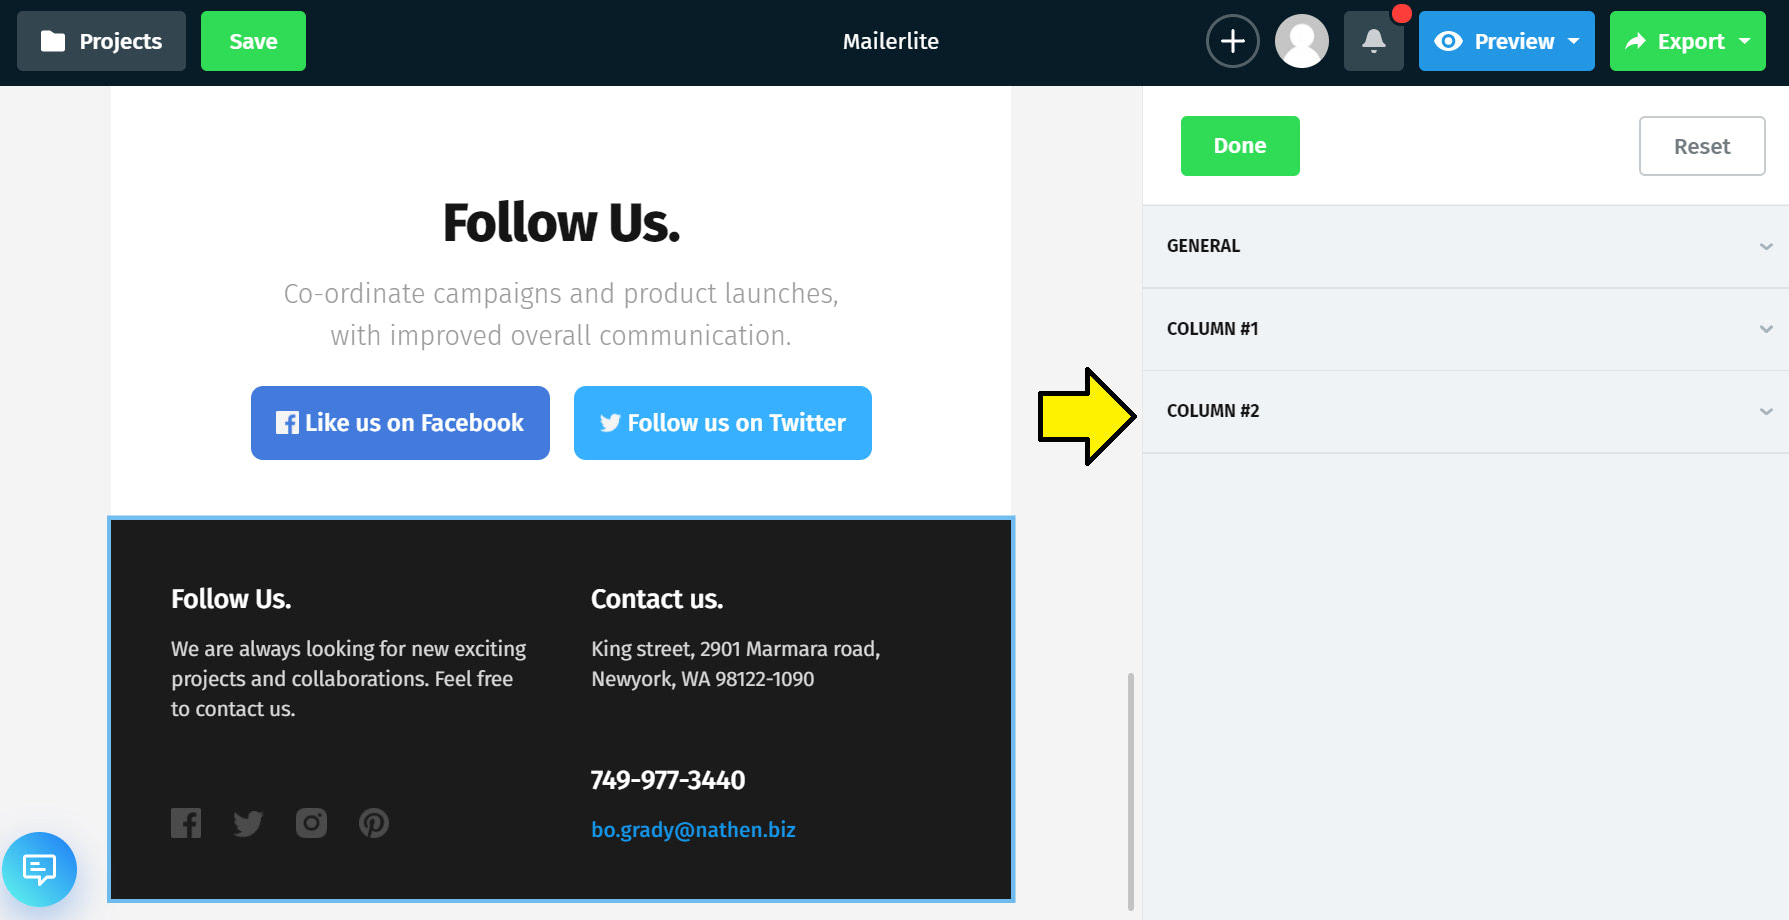
Click “Column #2” and scroll until you find where the email is defined.
Update the “Text” field to “Unsubscribe” and add the unsubscribe tag to the “URL” input.
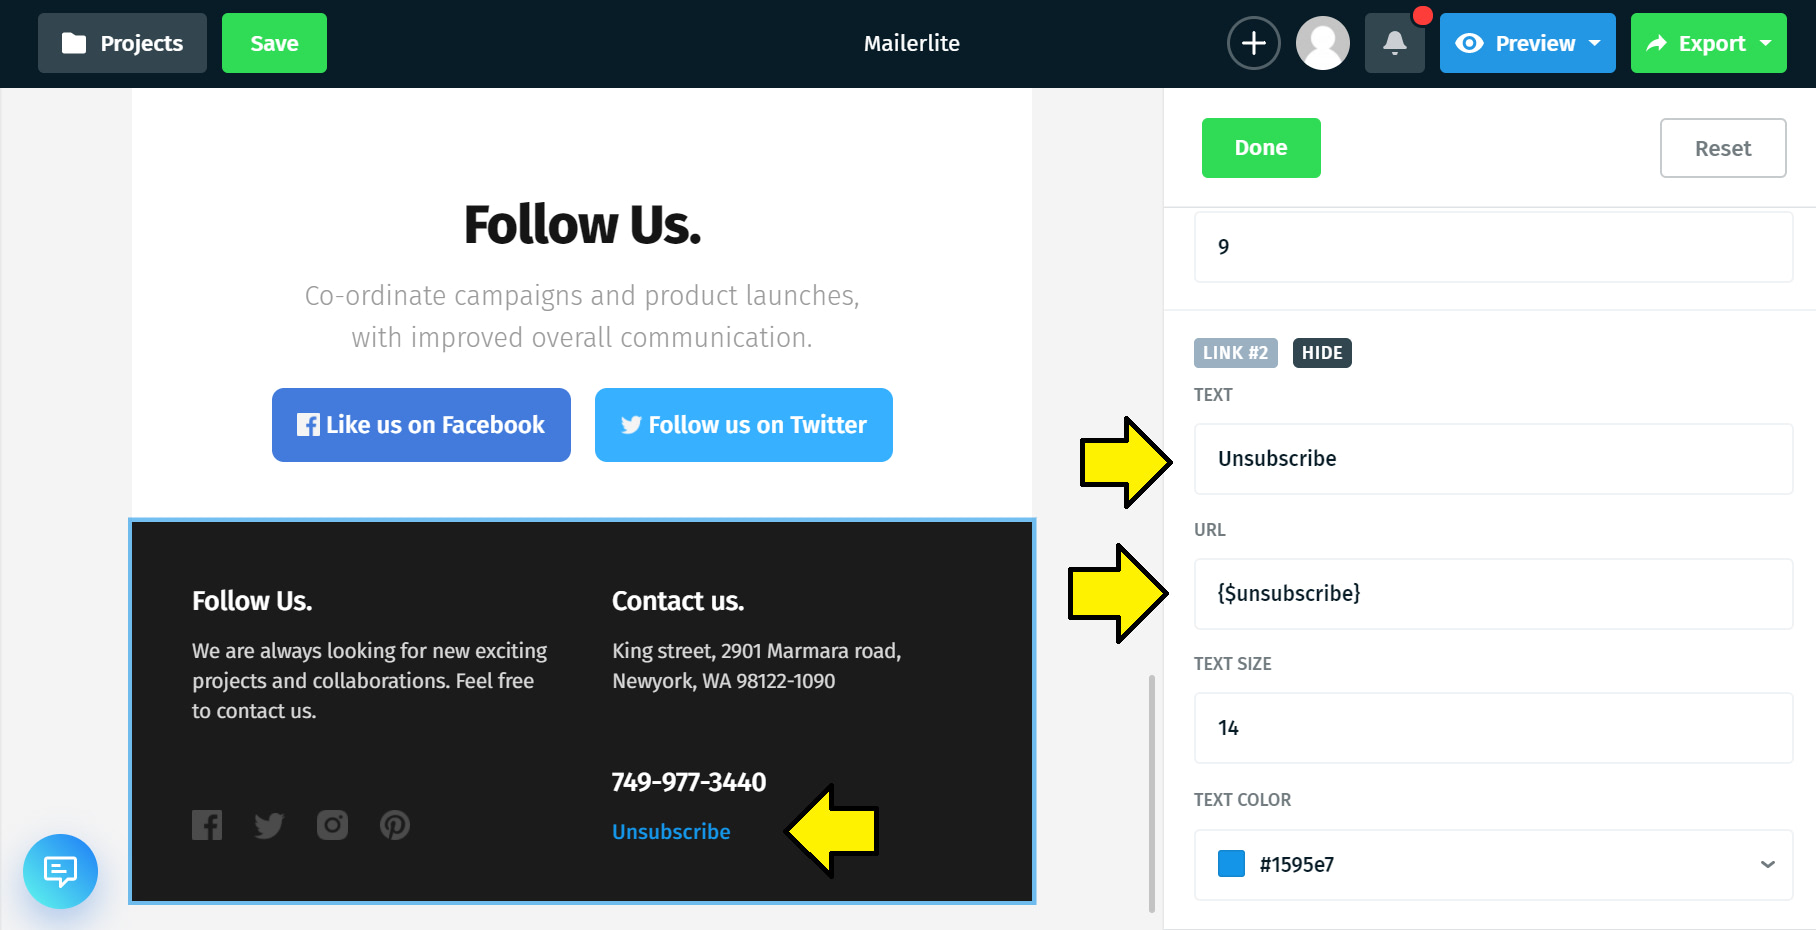
Press “Done” and then export this file by pressing the “Export” button in the top right corner.
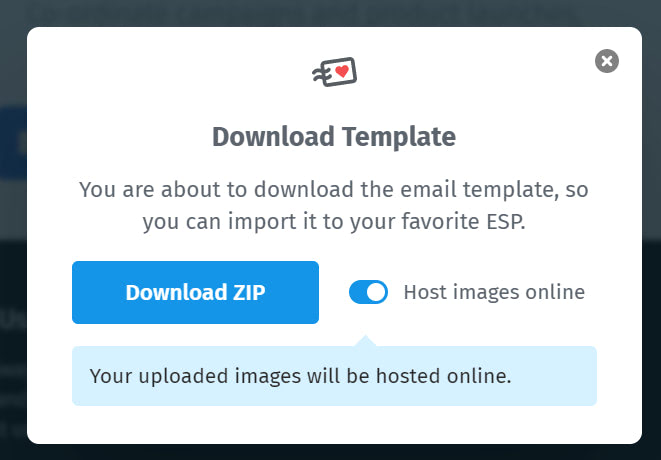
Press “Download as zip” and make sure you have the “Host images online” option selected so you don’t have to upload the images manually.
Your screen should look like:
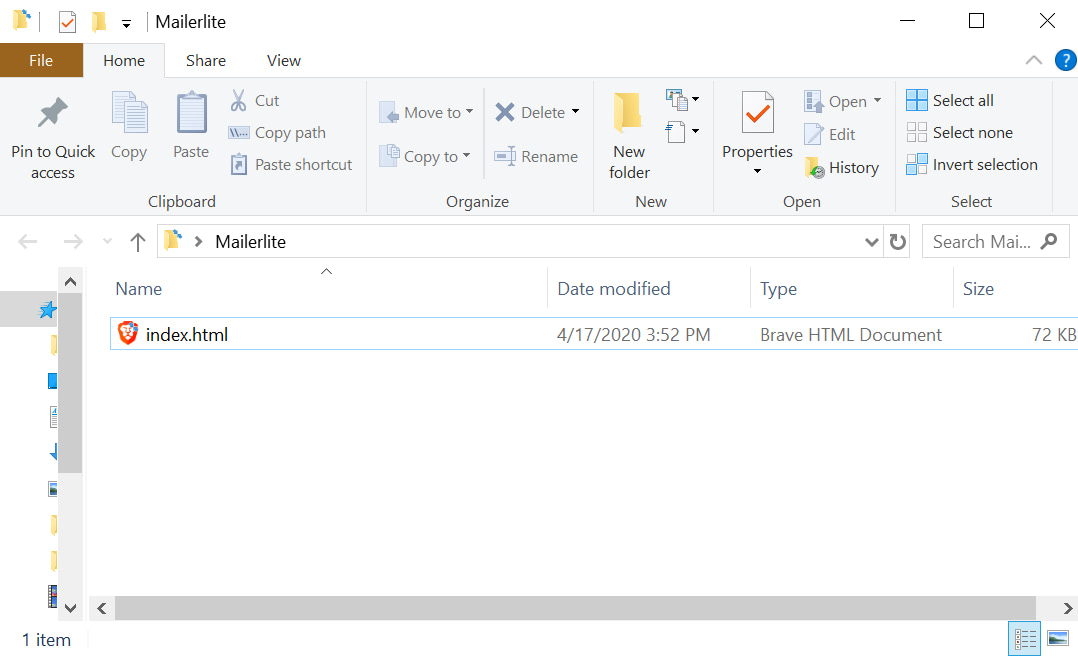
Extract your index.html file into a folder you can work with. It should look something like:
2. Create a custom campaign in Mailerlite
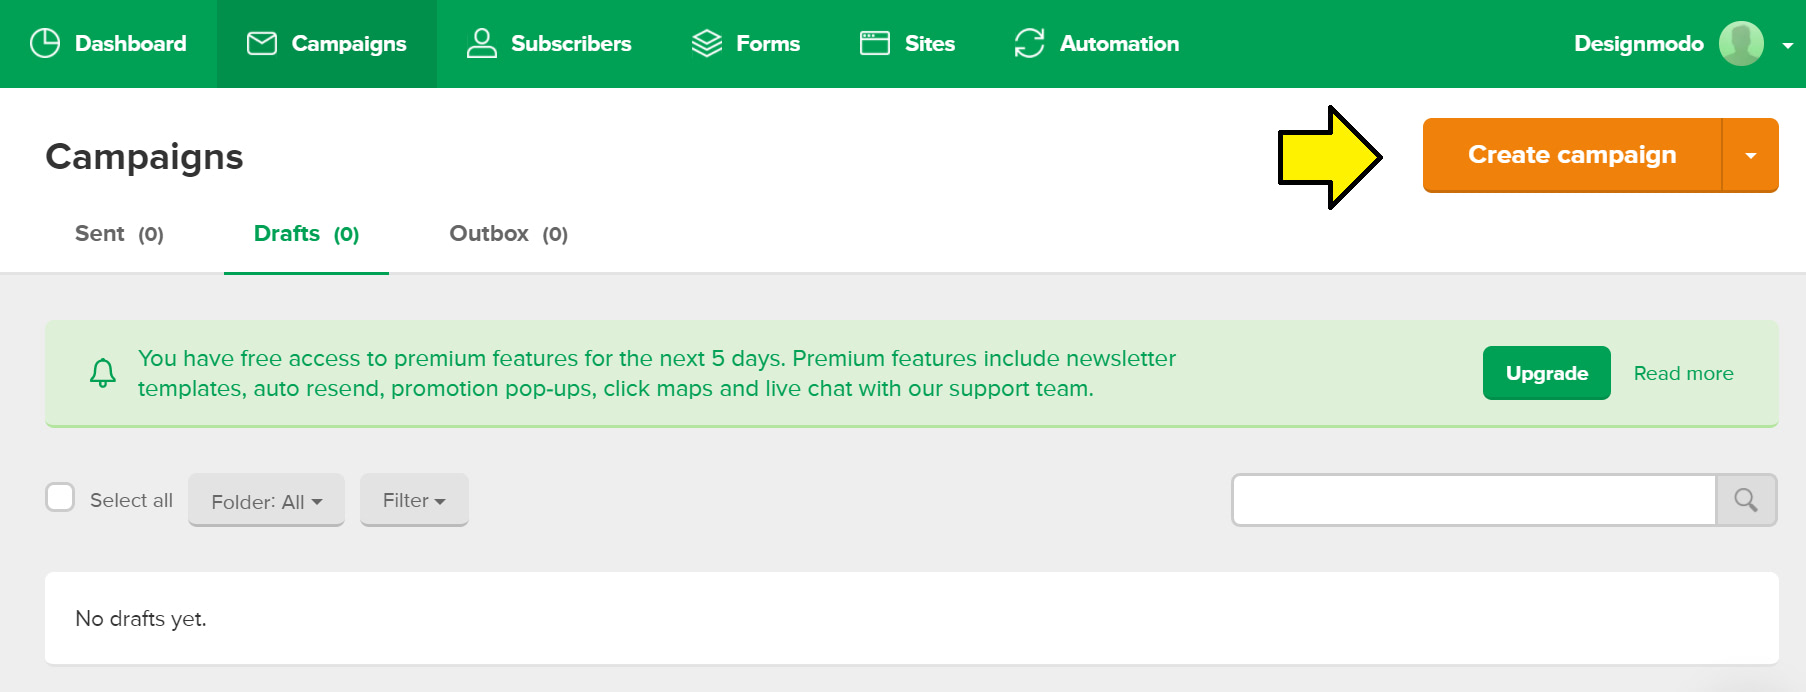
In your Mailerlite dashboard, go to the Campaigns page and click “Create campaign.”
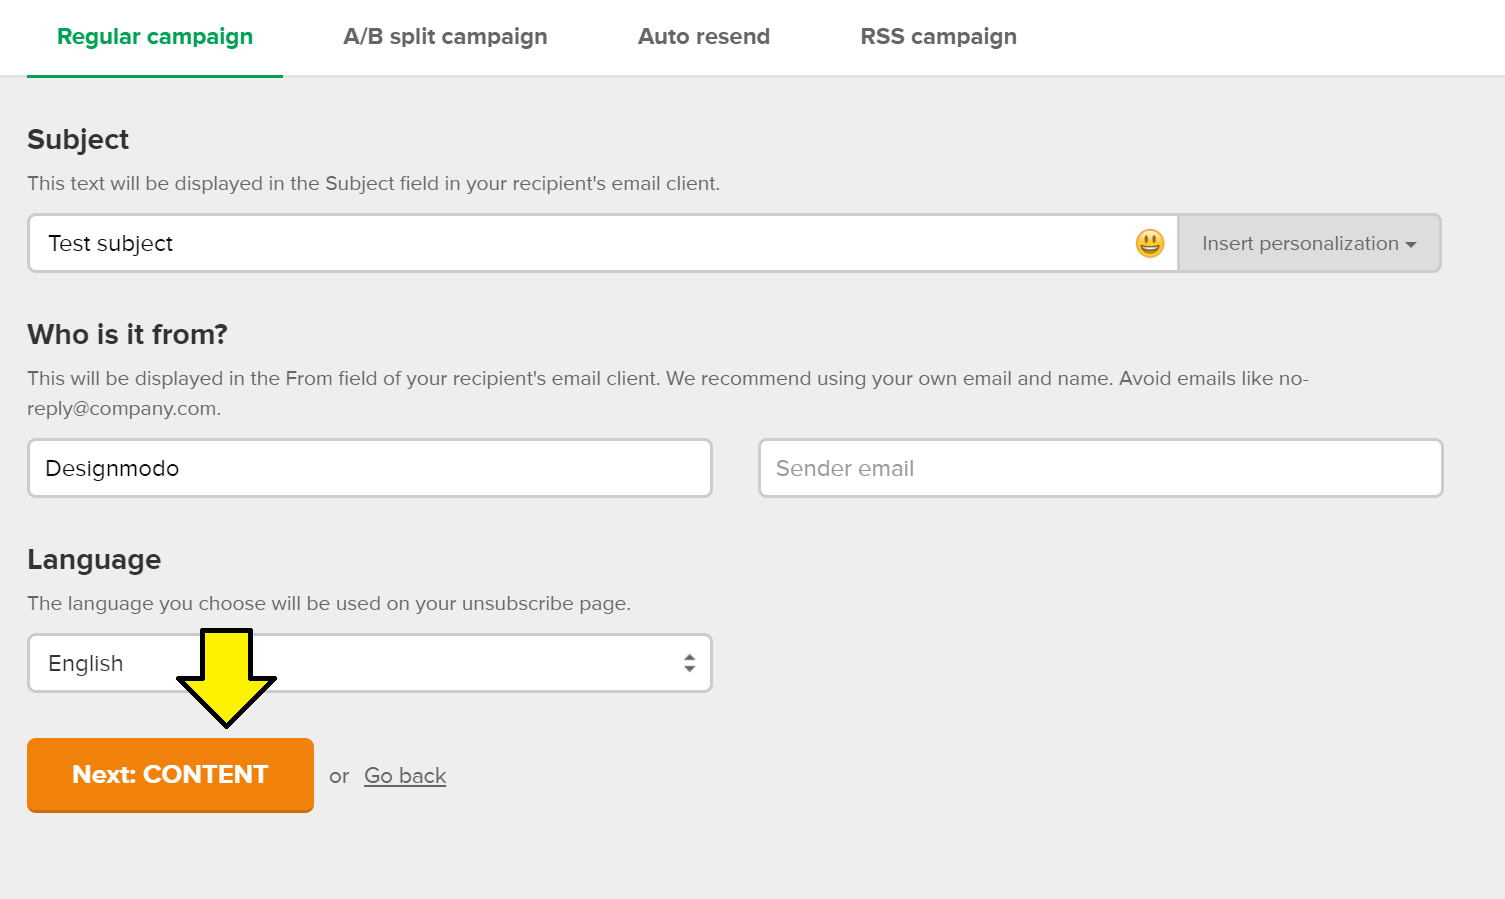
Fill out the form and then click “Next: CONTENT.”
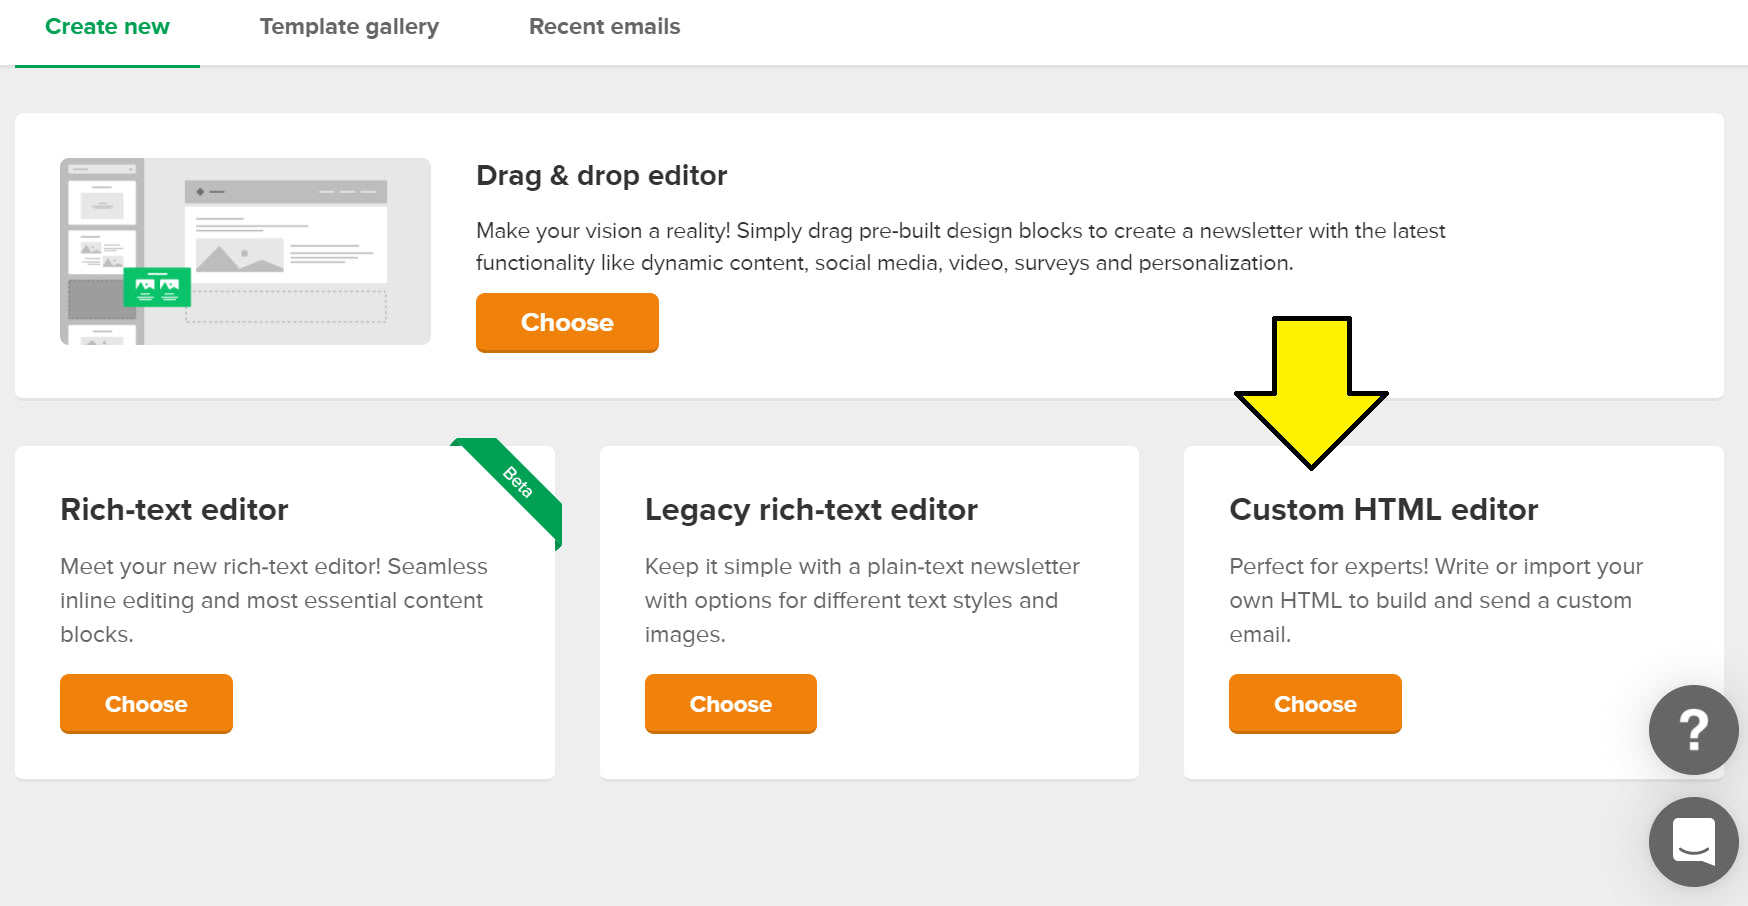
In the email design options, select “Custom HTML editor.”
In the next page, select “Paste in code.”

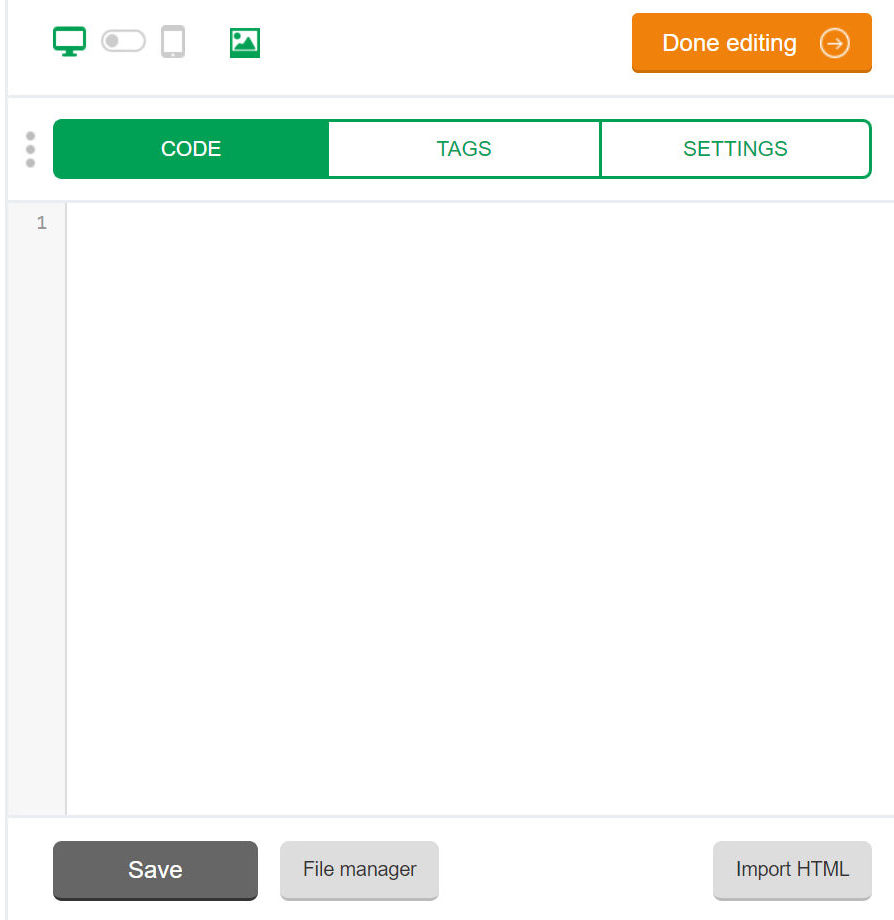
The next page will look like:
Open your index.html file in a text editor. I’m using Visual Studio Code so my file looks like:
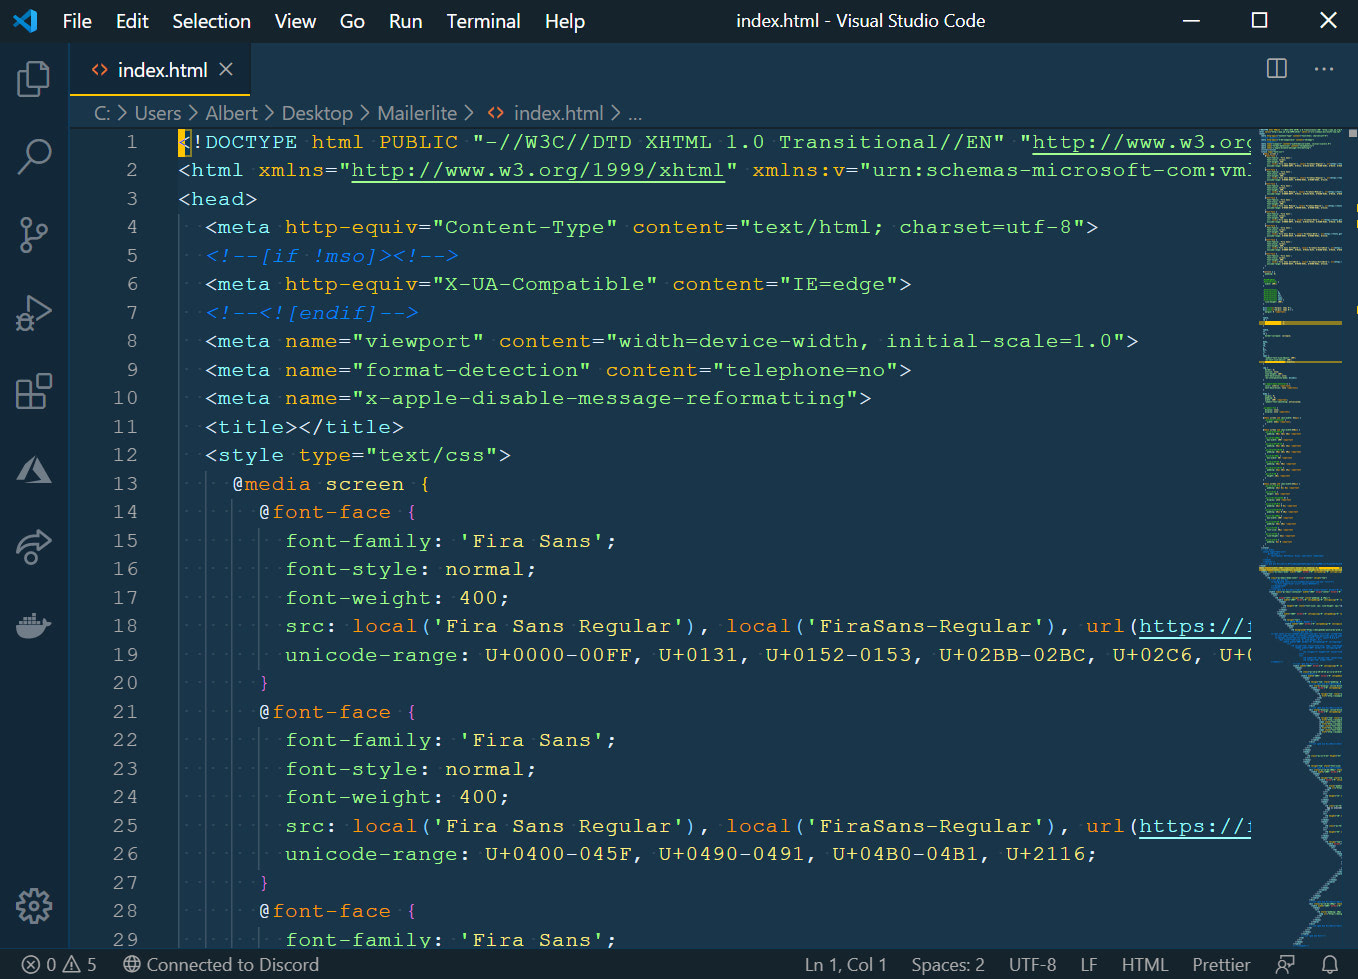
Copy everything in this file and paste it into the Mailerlite editor.
Your screen should look like:
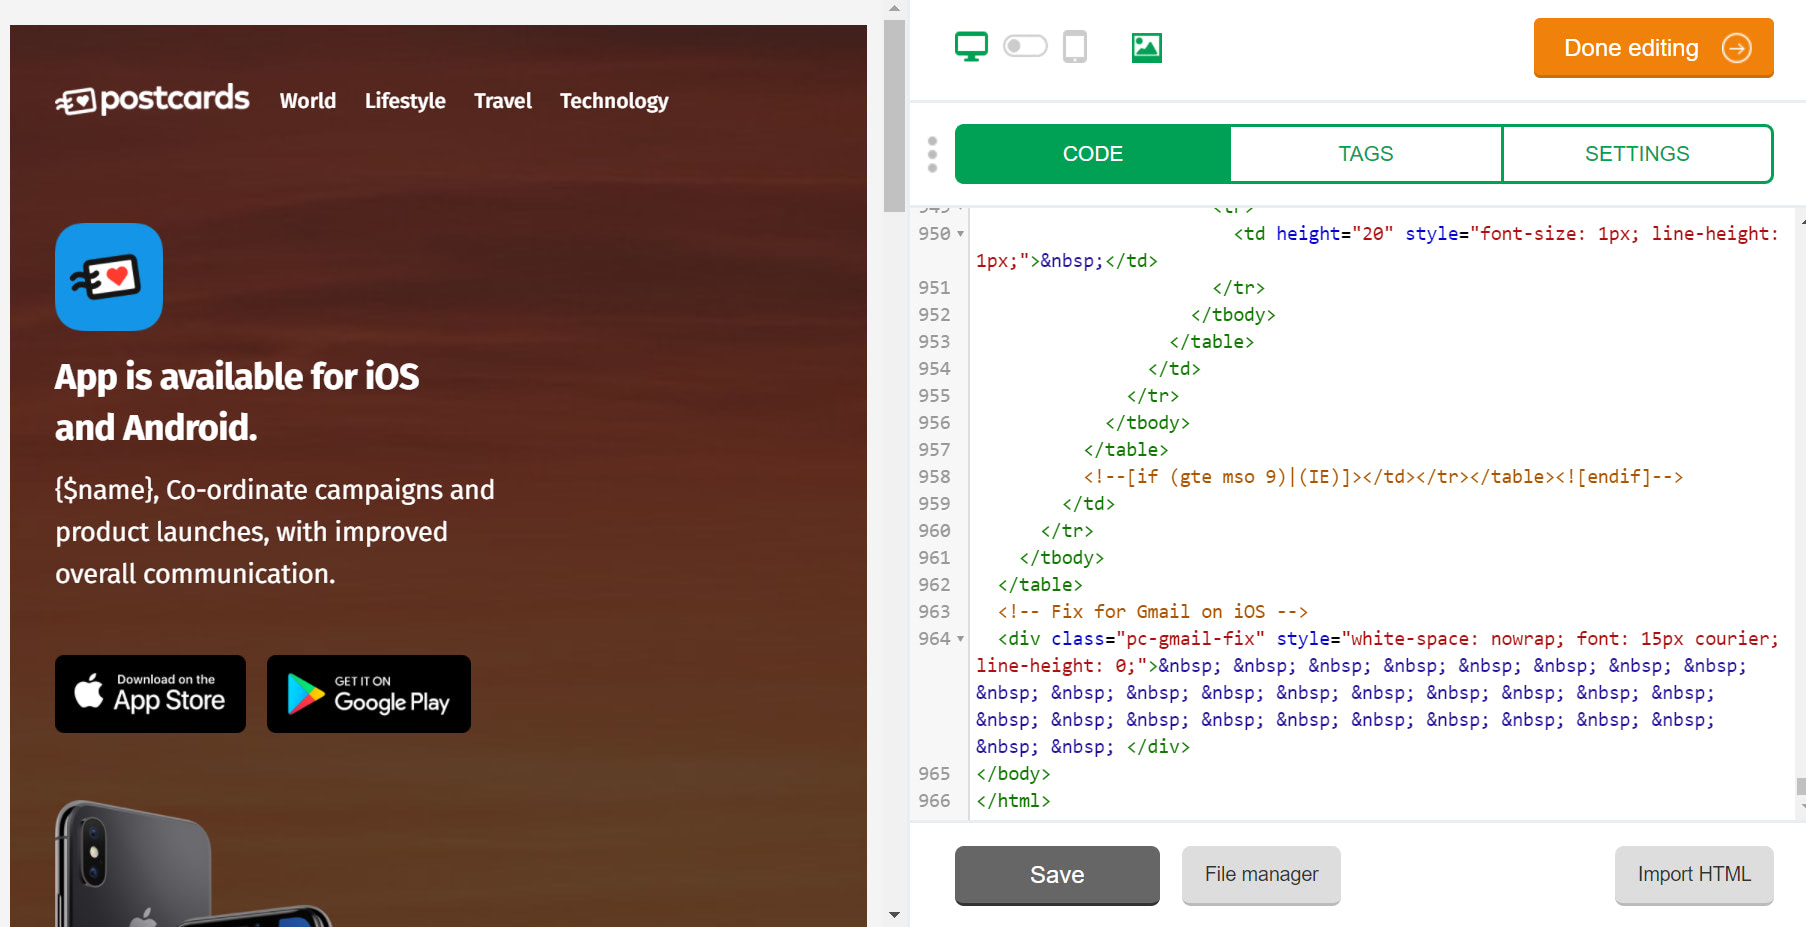
Next, press the “Settings” button at the top.
Make sure the “Automatically add footer” option is unselected if you don’t want to add Mailerlite’s footer.
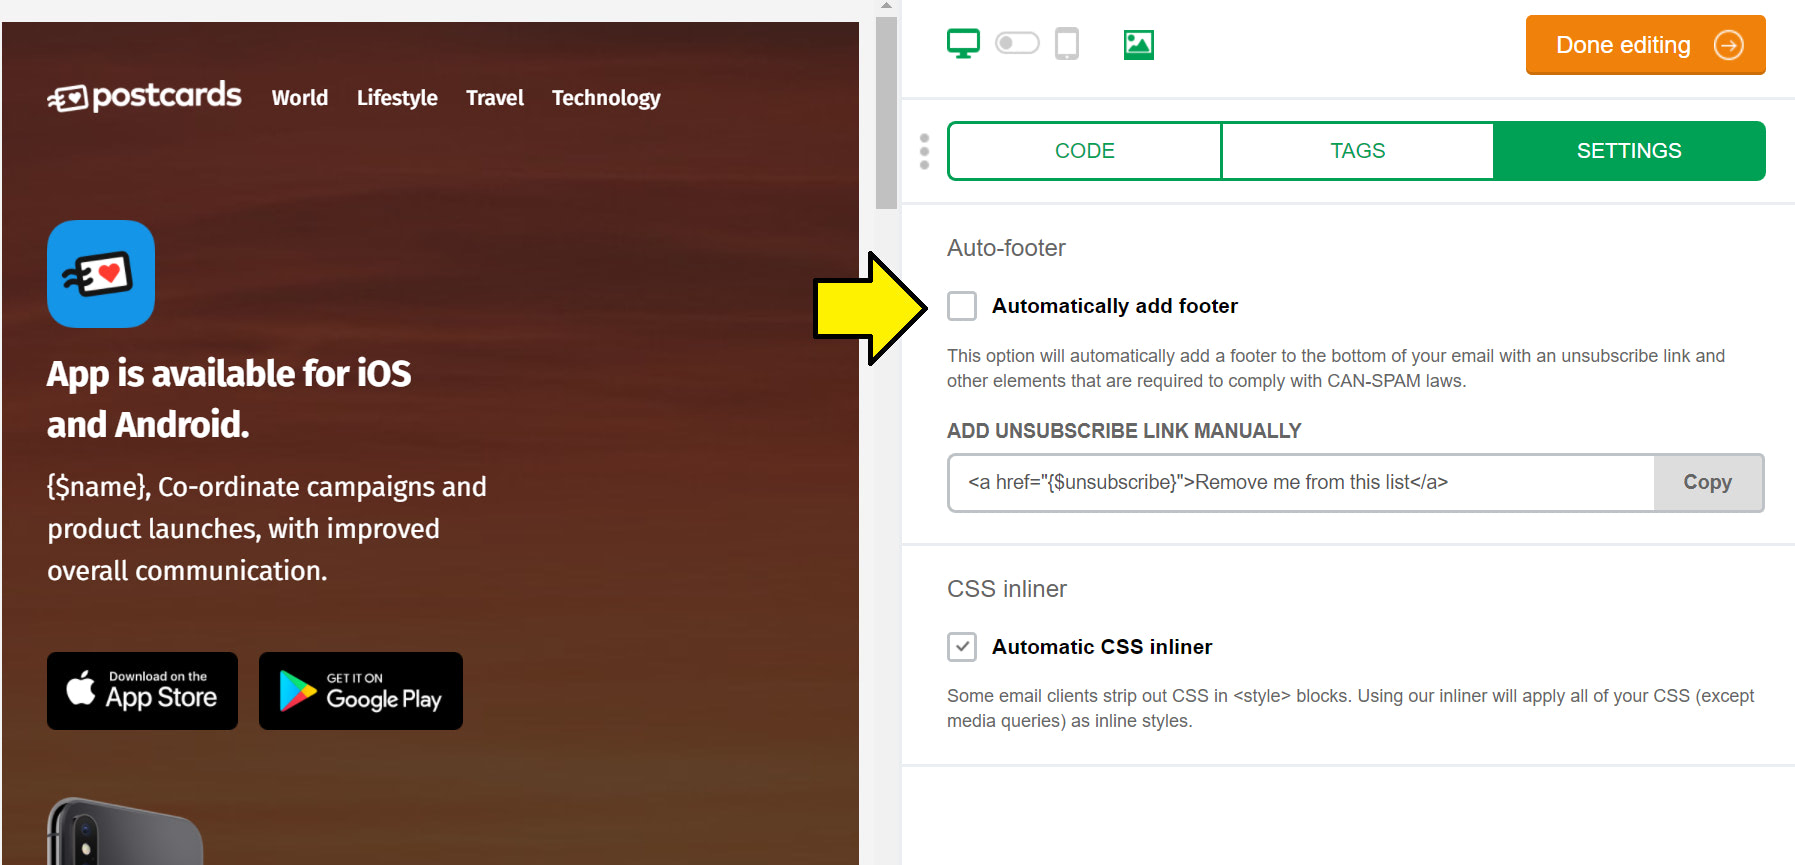
Next, press “Done editing” in the top-right corner.
At this point, your custom HTML email campaign is ready to go!
I sent myself a test email and it looks like:

The name isn’t showing in the text area because this is just a test email but the unsubscribe URL works.
What we covered
- How to create a Postcards template with Mailerlite tags.
- How to create a custom HTML email campaign in Mailerlite.
