In this tutorial, we’ll be creating a custom email design in SendGrid using the HTML code from a Postcards template.
Prerequisites
- A Designmodo account
- A SendGrid account
- A text editor that can open HTML files
Video Tutorial
Steps to Follow
Step 1: Selecting the Template
Welcome to the Postcards app tutorial! Let’s kick things off by opening up the newsletter you’d like to work on. It’s as simple as giving it a double click.

Once your newsletter is open and ready to go, you can start making it your own. Tailor it to your liking and make all the customizations you wish to make it align with your requirements.
Step 2: Navigating to the Export Option

Now that your newsletter is all spruced up, let’s move towards getting it over to your SendGrid account. Find your way to the top right corner of the Postcards app and hover over the export option. Give it a click and then you’ll see an option for integrations, click on that as well. A pop-up window will show up on your screen presenting you with a variety of one-click integration options.
Step 3: Choosing SendGrid Integration

This step is where SendGrid enters the scene. From the pop-up window, go ahead and select the SendGrid option. Once you do this, another pop-up window will appear asking you to insert your API key.

Don’t worry if you don’t have an API key yet, the term “API key” is actually a clickable hyperlink that will whisk you away to the API section within your SendGrid account to help you create one.
Step 4: Generating Your API Key

In the API section of your SendGrid account, there’s a ‘Create API Key’ button waiting for you. Click on it and then give a name to your API key. For this tutorial, let’s name it ‘Postcards API’.

Now, set the permissions as required and proceed by clicking on ‘Create & View’. And just like that, you’ve got yourself an API key. Copy this key as you’ll need it in the next step.
Step 5: Connecting SendGrid to Postcards

With the API key copied, head back over to the Postcards app. Paste the API key into the designated section that awaited you. Although there’s an option to name this integration, we’ll skip that for now. Click on ‘Connect’ and your Postcards app and SendGrid account will become friends, connecting seamlessly.
Step 6: Exporting and Previewing Your Template
Now the magic happens – your template gets exported into your SendGrid account. Once the connection is established, a hyperlink will show up, directing you to the templates section within your SendGrid account.

Here, you’ll see your freshly exported newsletter sitting pretty. Give it a preview to see how it mirrors the design you created within the Postcards app.

Your journey of exporting email templates from Postcards to SendGrid has been successful. It’s really that straightforward, especially with the one-click integration feature easing the process.
Steps (Legacy)
1. Create a Postcards template with SendGrid tags
The first thing we need is a Postcards template with SendGrid tags. We want to add tags in this step because otherwise, we would have to dig through the code to make changes. The easiest way to add tags is to add them through the Postcards template.
In the Postcards app, make a template. Mine is made up of a Header 7, Content 4, Feature 5, Call to Action 1, and Footer 1.
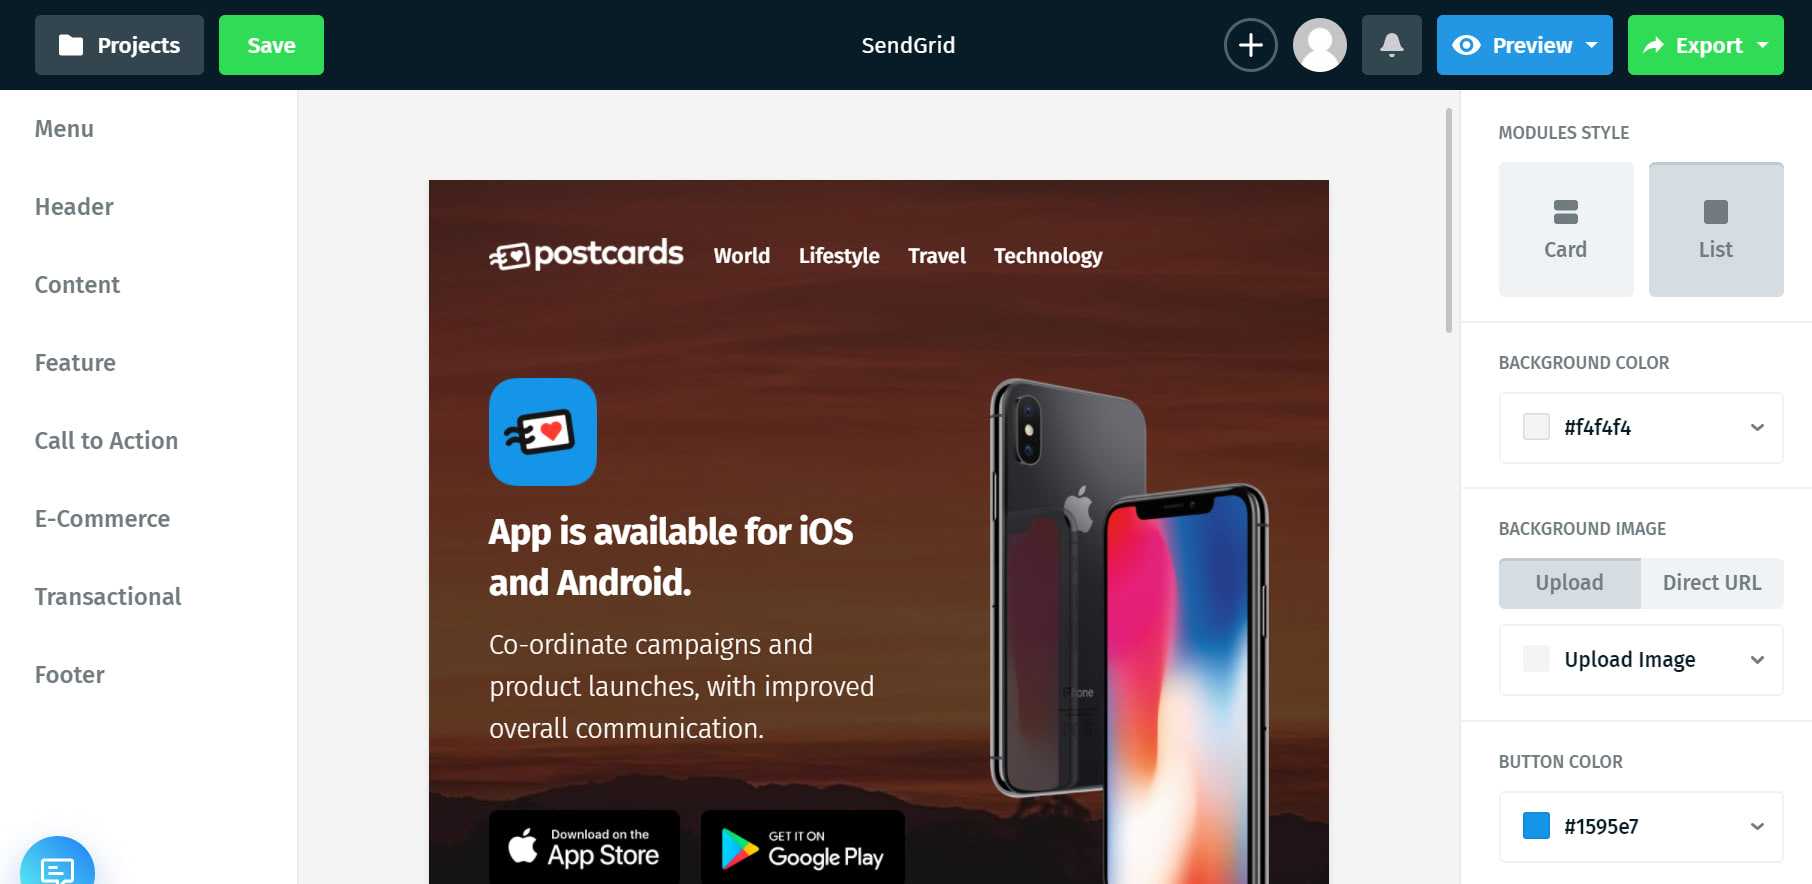
The tags we’ll be adding in this tutorial are the address, city, state, zip, and unsubscribe. We’ll be adding the tags to the footer.
They look like:
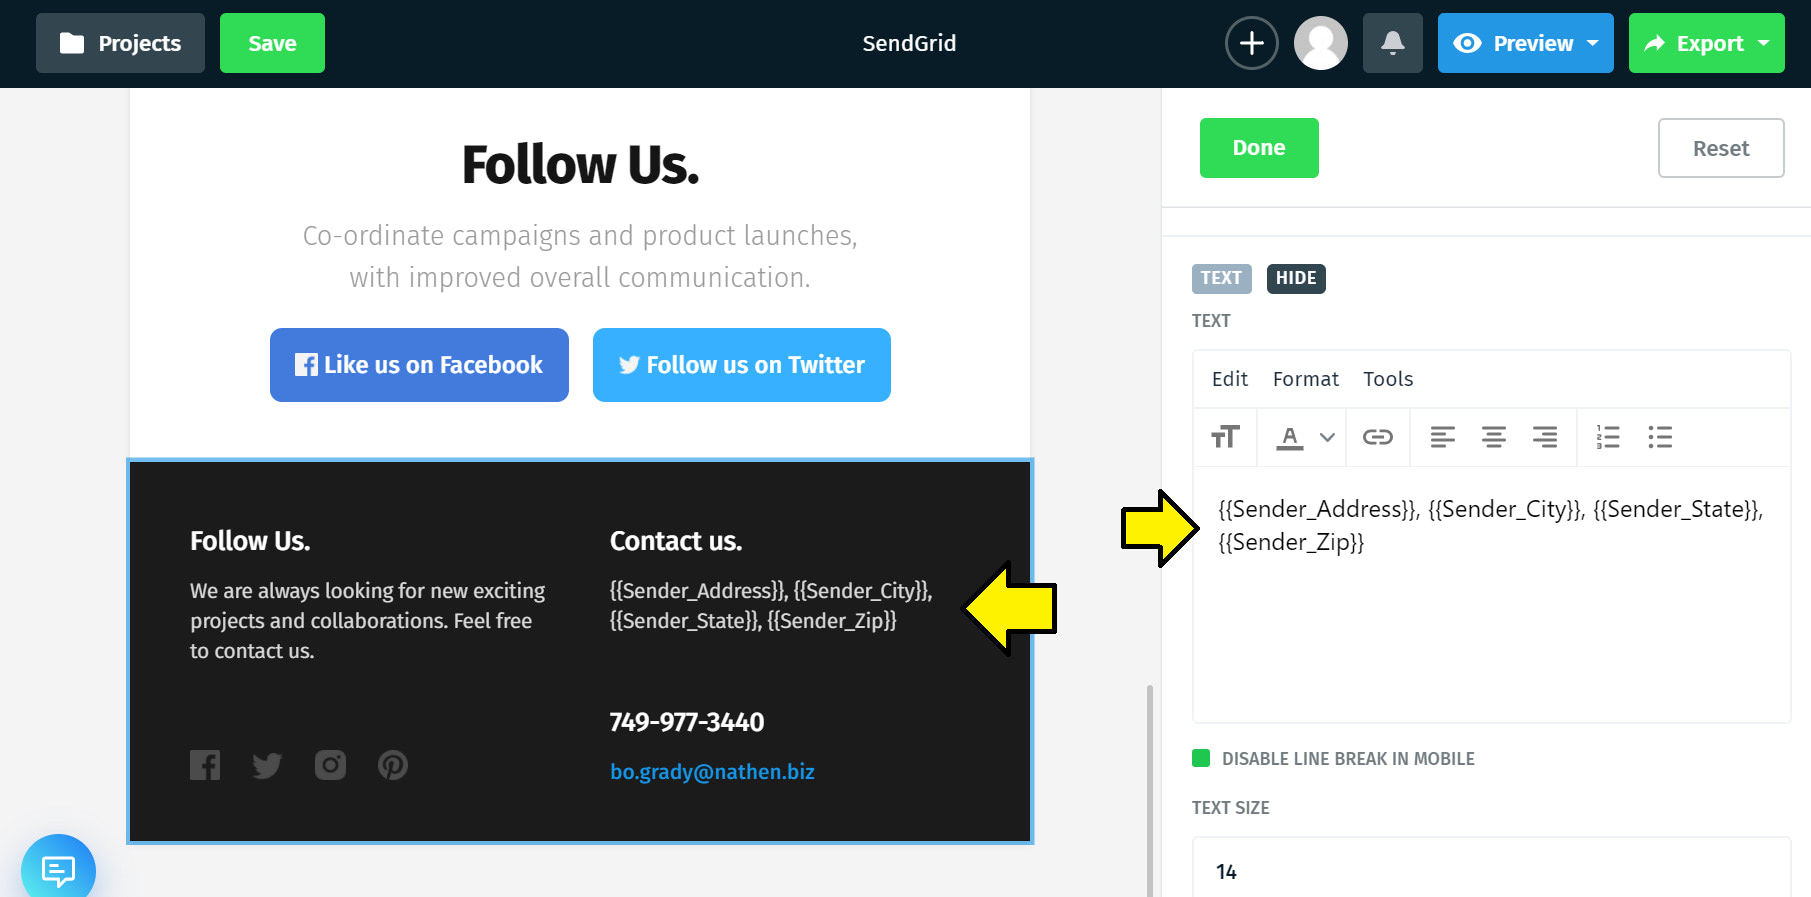
{{Sender_Address}}, {{Sender_City}}, {{Sender_State}}, {{Sender_Zip}}, {{{unsubscribe}}}
Click on the footer to open up the menu to change the content. Press “Column #2” and find the text box that prints out the address like this:
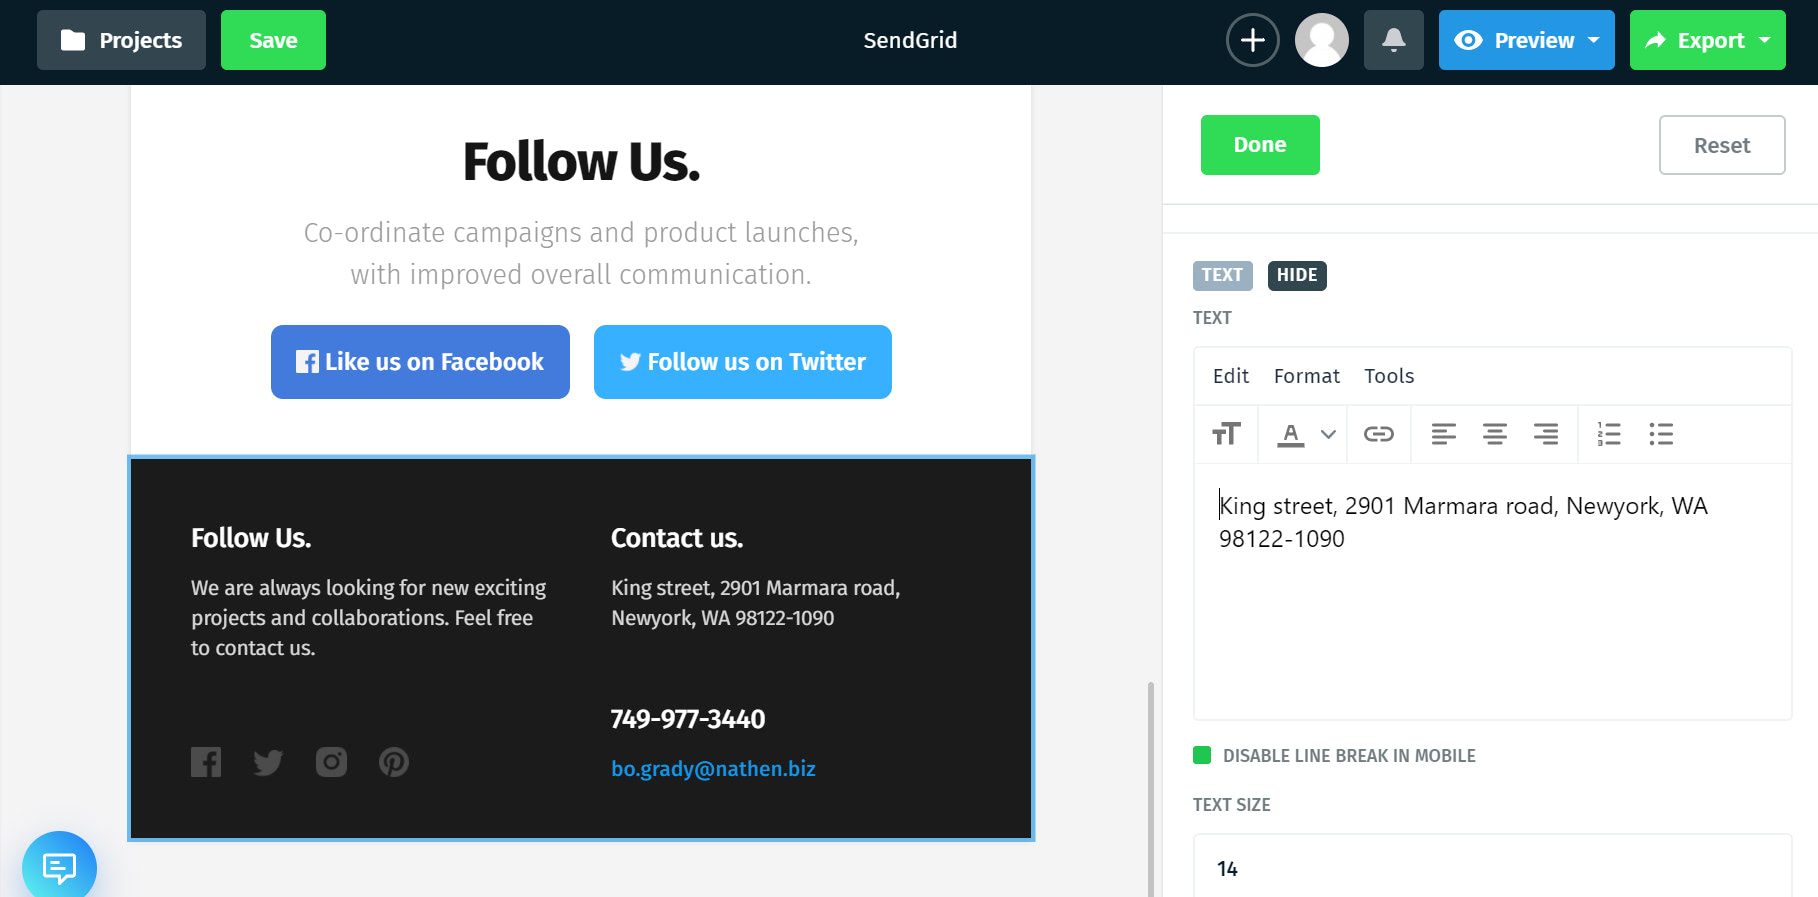
Update the text to use the address tags:
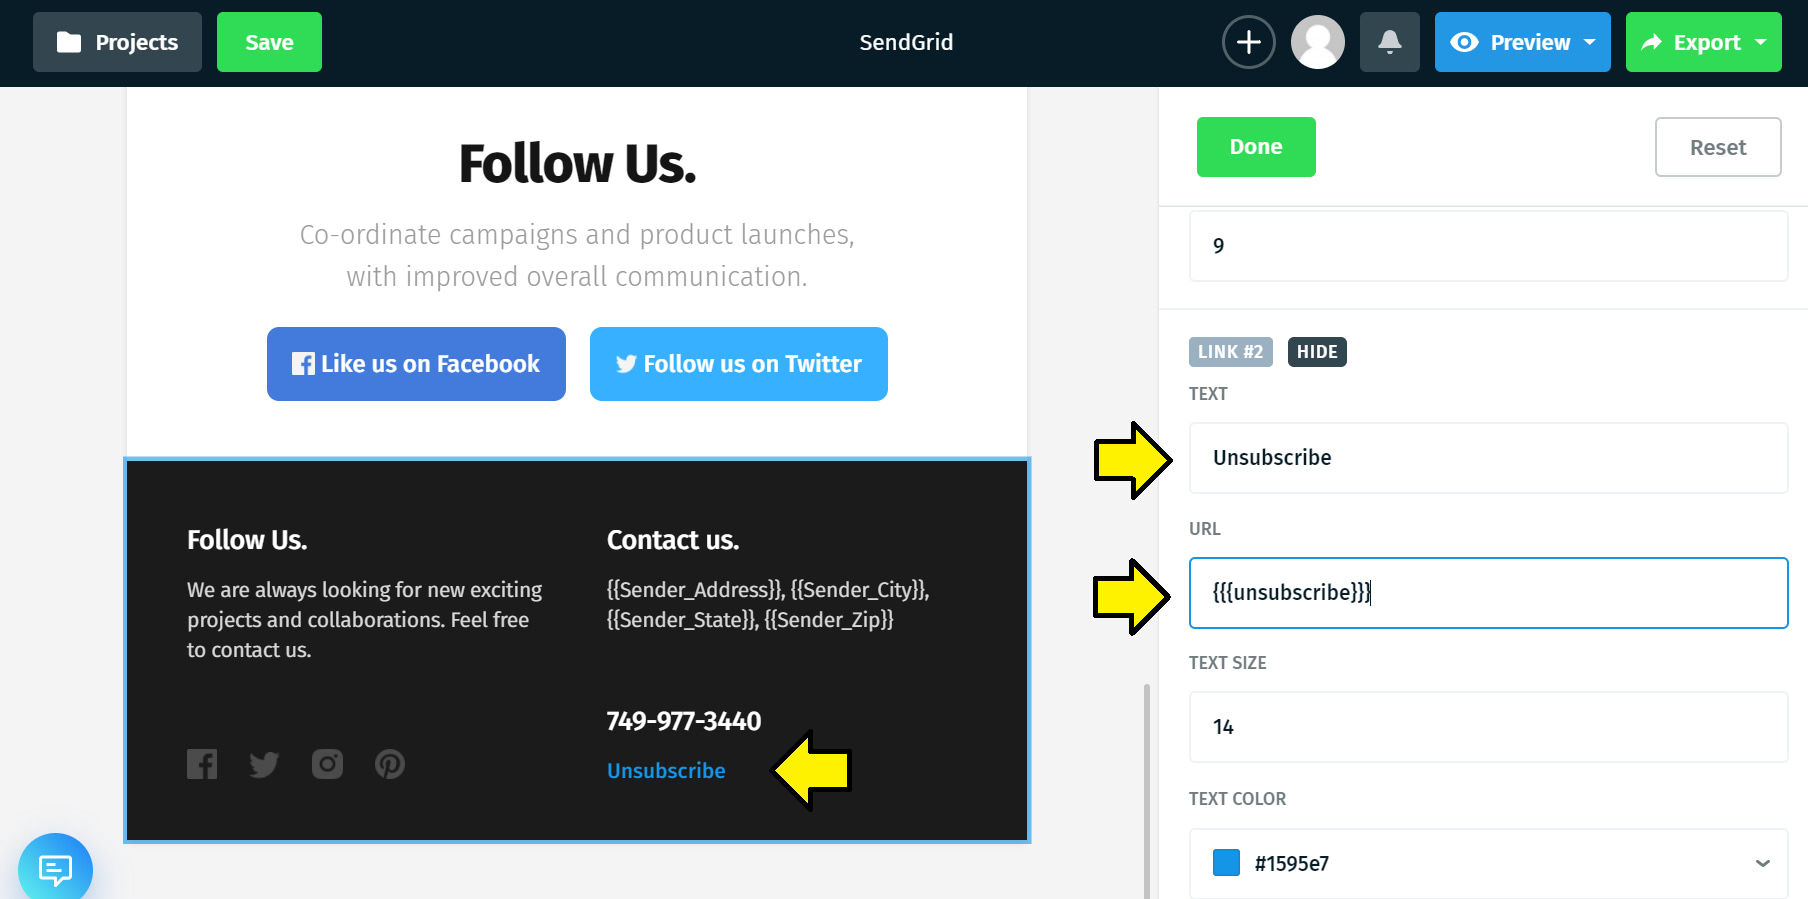
Next, scroll down to find where the email is set.
Update the text to “Unsubscribe” and in the URL set it to the unsubscribe tag:
Now press the “Done” button at the top of the menu and press the “Export” button in the top right corner.
Press “Download as zip” and make sure you have the “Host images online” option selected so you don’t have to download and deal with the images manually.
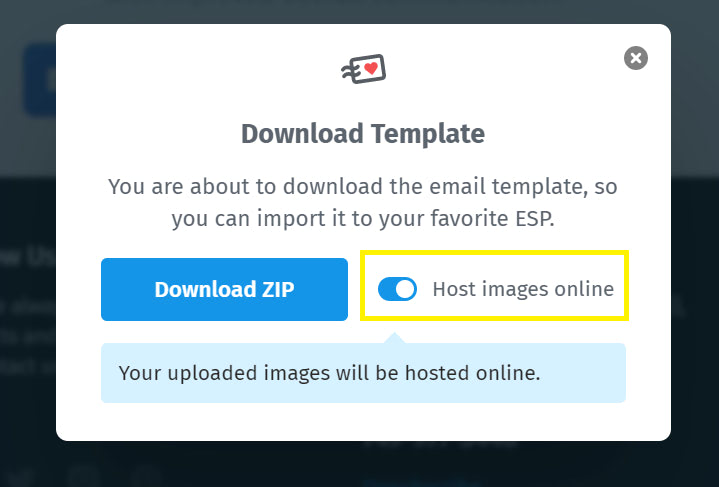
Extract your file into a folder you can work with. It should look something like:
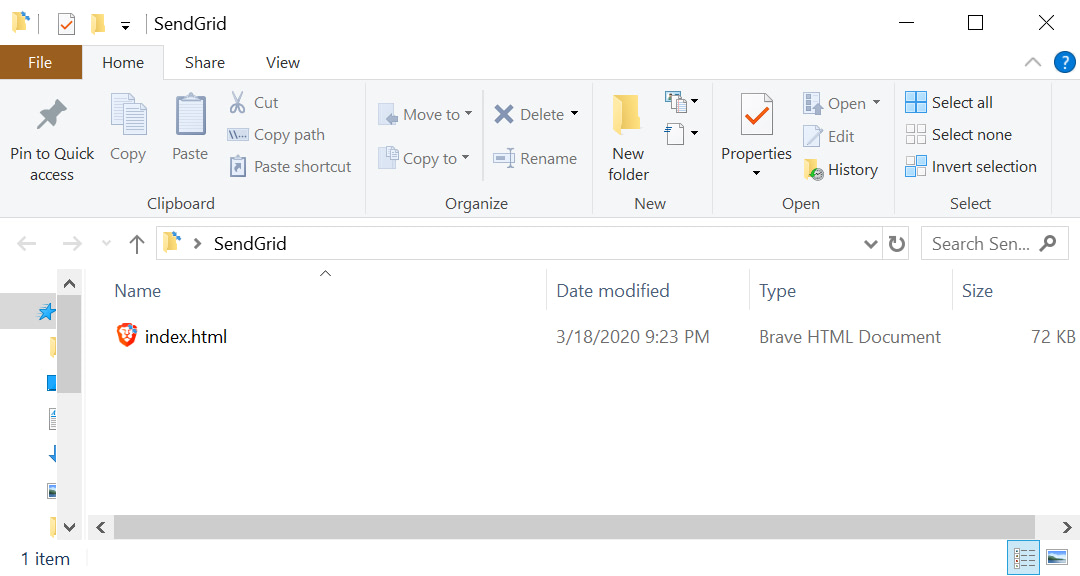
Now we have everything we need to create a custom email in SendGrid.
2. Create a custom HTML email in SendGrid
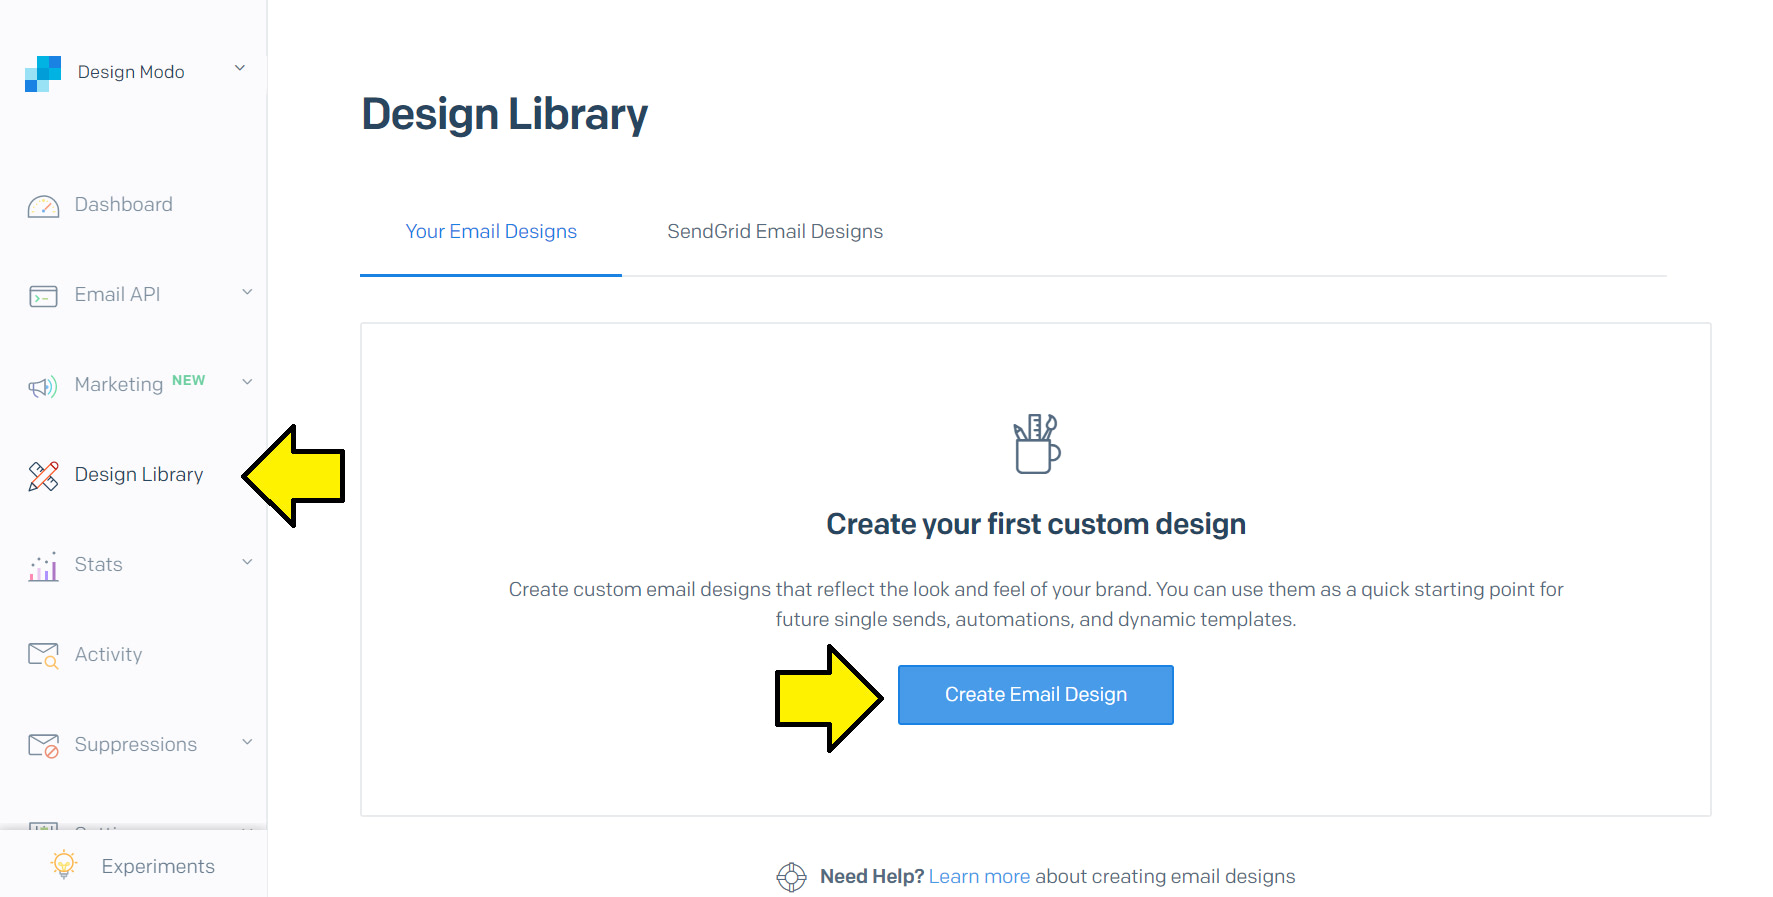
In your SendGrid dashboard, go to the “Design Library” page and select “Create Email Design.”
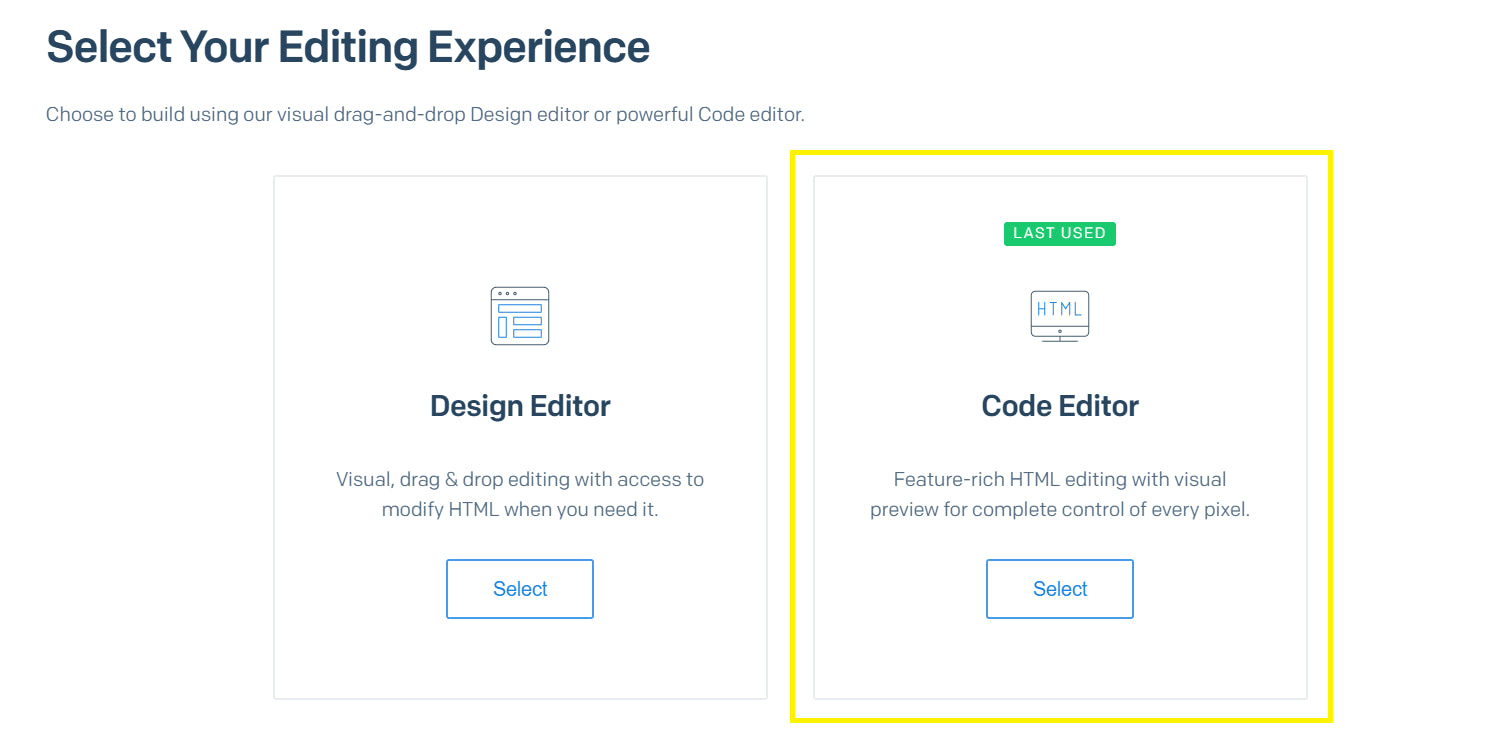
Then select “Code Editor.”
That will take you to a page that looks like this:
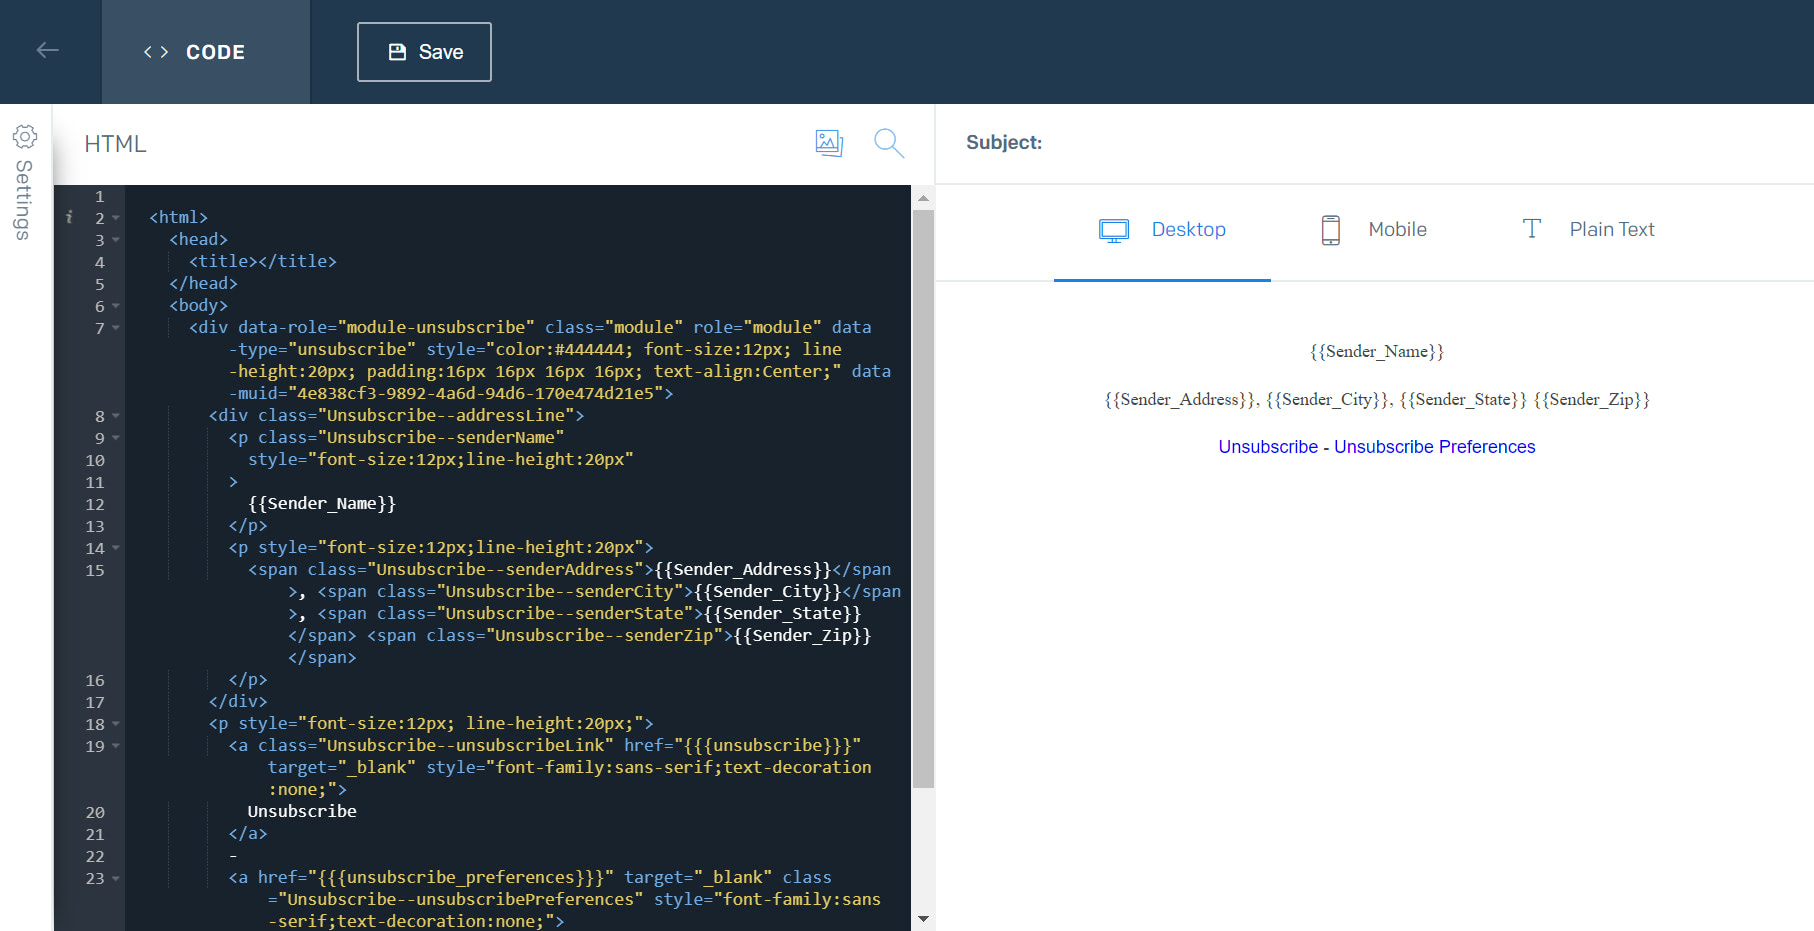
Next, open the index.html file you downloaded from Postcards in a text editor. I’m using Visual Studio Code so my file looks like:
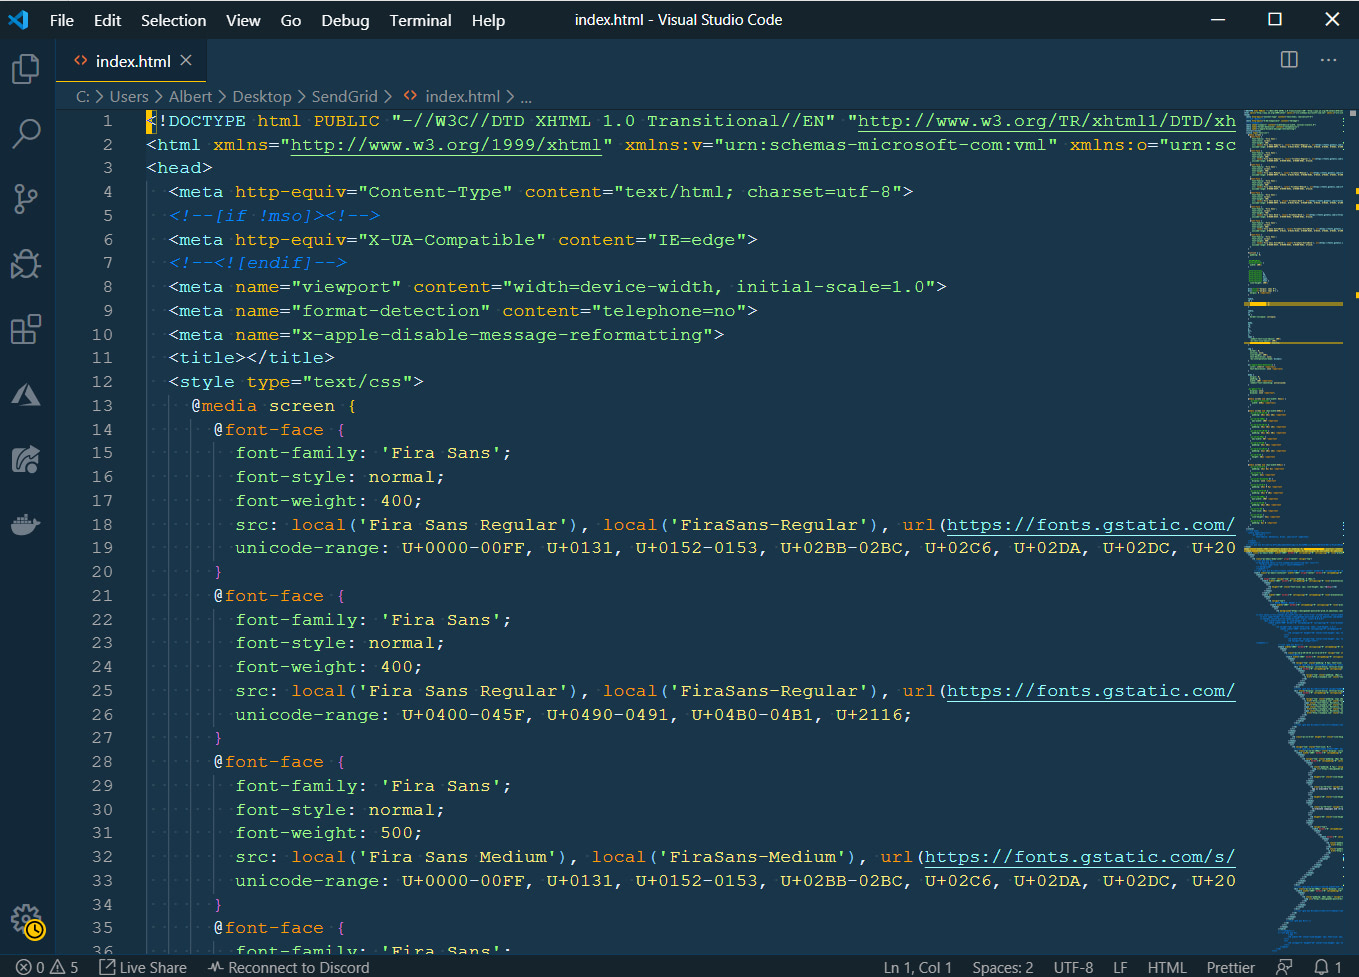
Copy everything in this file and delete everything in the SendGrid editor then paste it into the SendGrid editor like this:
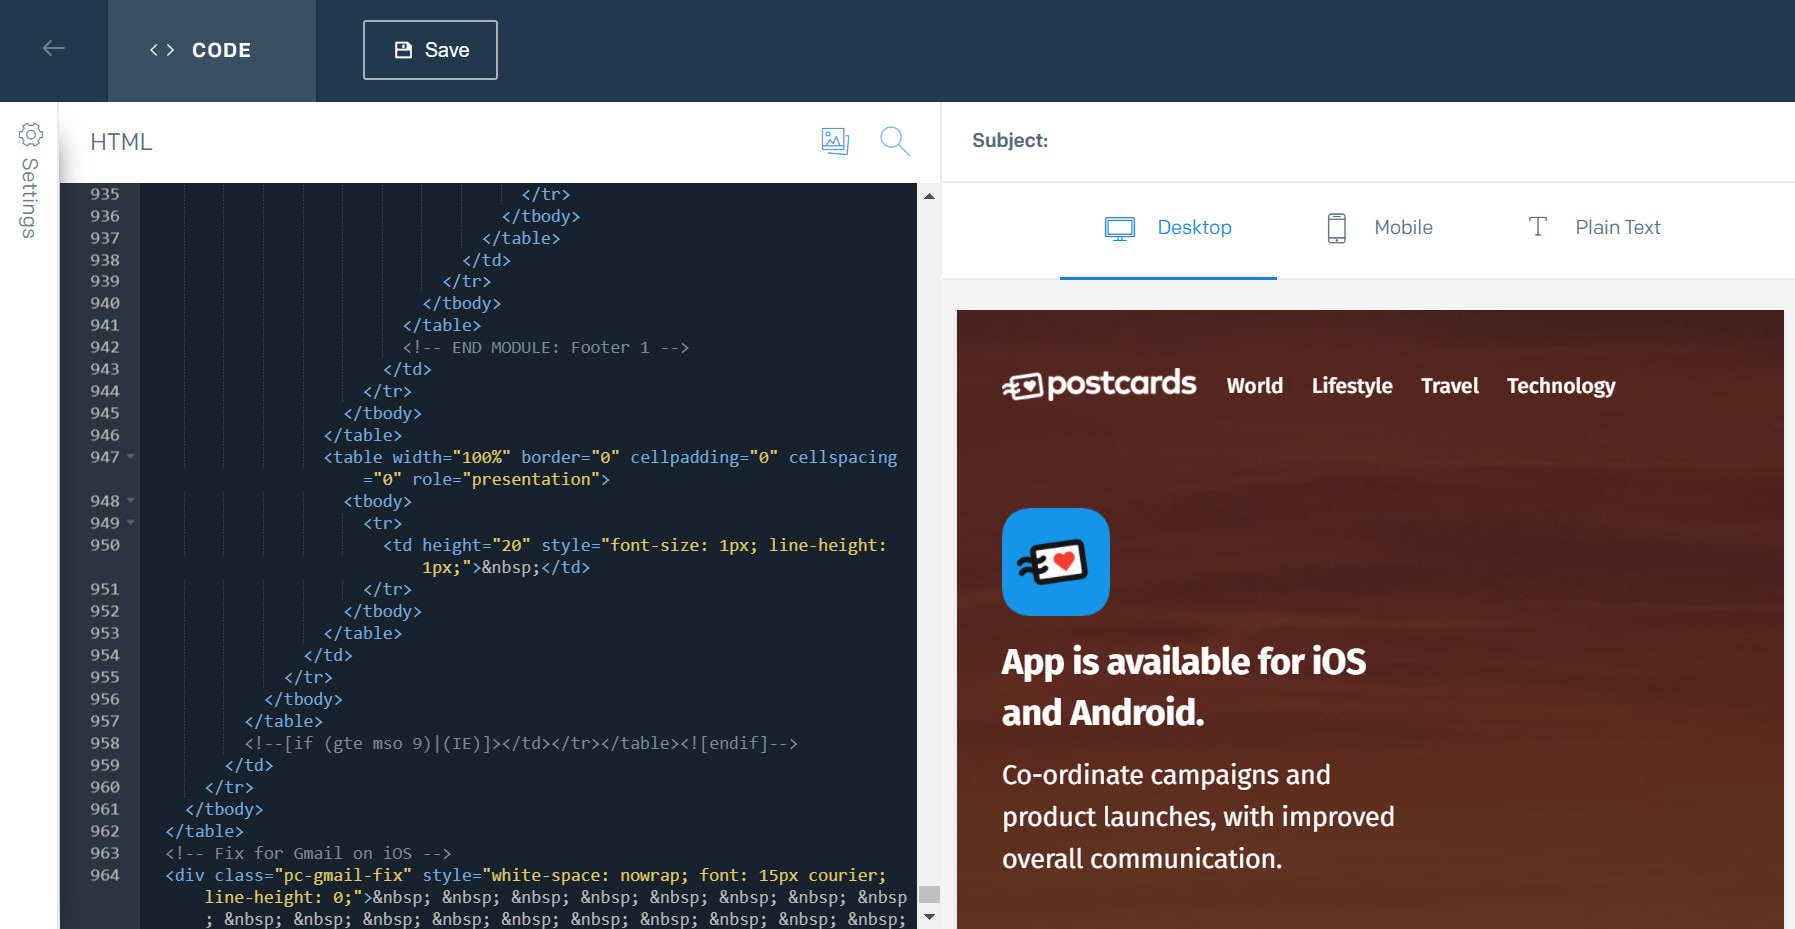
Now your template is ready to go!
3. Send yourself a test email
To send yourself a test email, click the settings button in the left side of the screen:
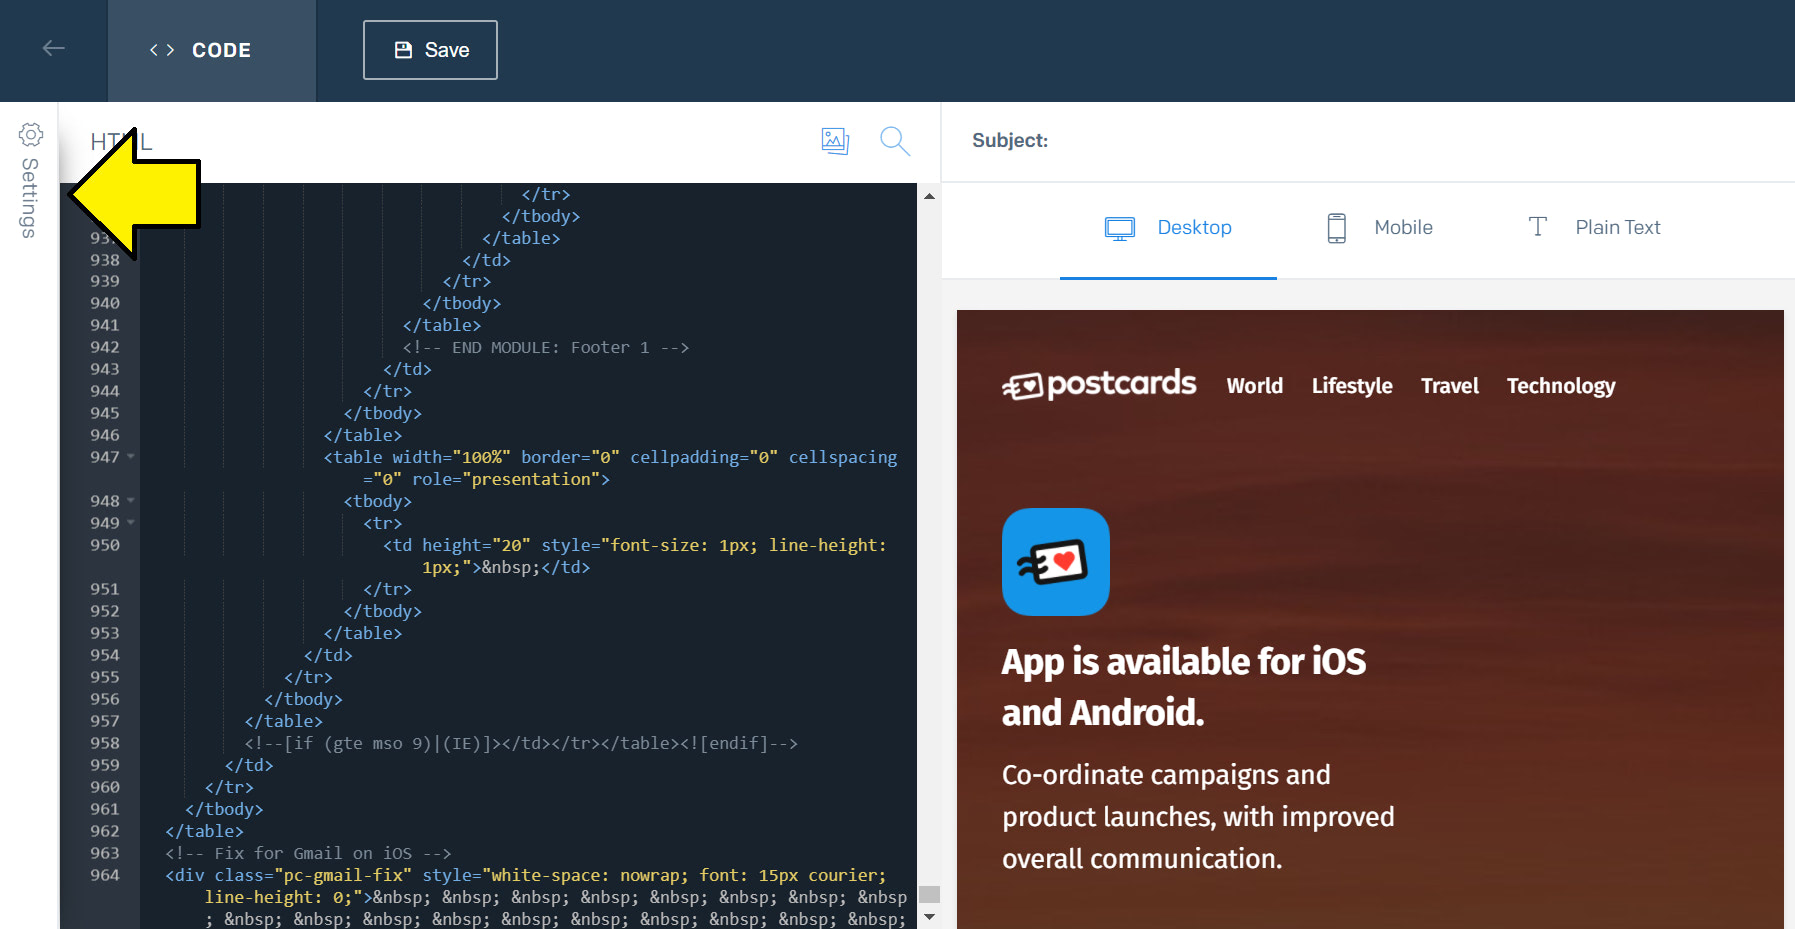
This opens up the settings where you can fill out the settings, send yourself a test email, and see the available tags.
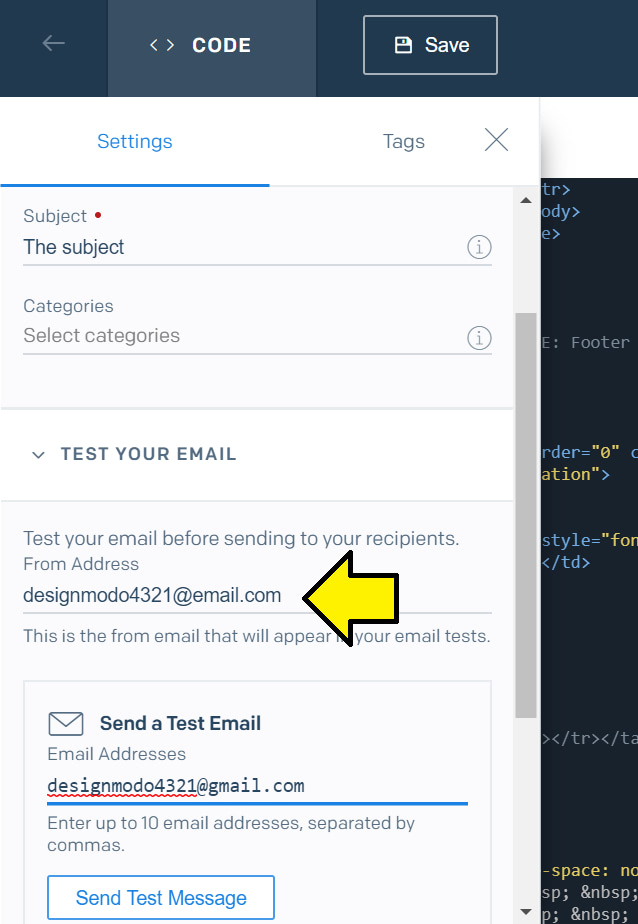
Fill out the subject and in the from email, make sure you don’t use a gmail or similar type of email, the test email won’t send. You have to use a different domain like email.com.
After that send yourself a test email.
Mine looks like:
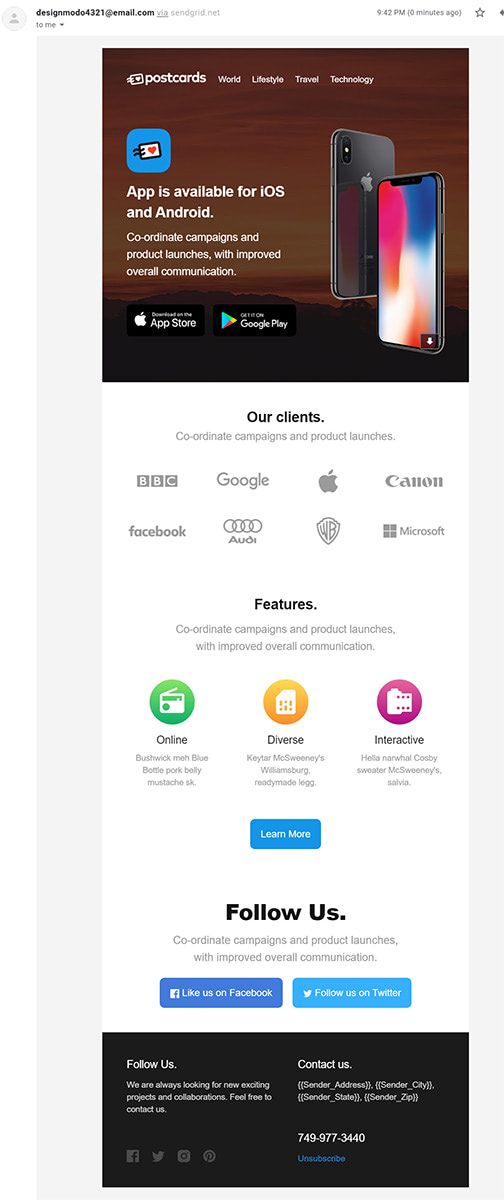
You may have noticed that the tags aren’t changed to the proper values. This is because this is just a test email, to see the updated tag values you have to send yourself an actual email from SendGrid.
After you save your email in SendGrid, you’ll be able to use this template for future emails.
To send a single send email to see how the email looks like with the tags updated, visit this link.
What we covered
- How to create a Postcards template.
- How to add SendGrid tags to a Postcards template.
- How to add HTML code to a SendGrid custom HTML email.
- How to send yourself a test email using SendGrid.
