How to Upload an Email Template in Ontraport
In this tutorial, we’ll be creating a custom Raw HTML email message in Ontraport using the HTML code exported from a Postcards template.
By the end, you’ll have your Postcards design fully working inside Ontraport and ready to send.
Prerequisites
- A Designmodo (Postcards) account
- An Ontraport account
- A text editor that can open HTML files (such as Notepad or Visual Studio Code)
Step 1. Create and export a Postcards template
The first thing we need is a Postcards template, since this will provide the HTML code used in Ontraport.
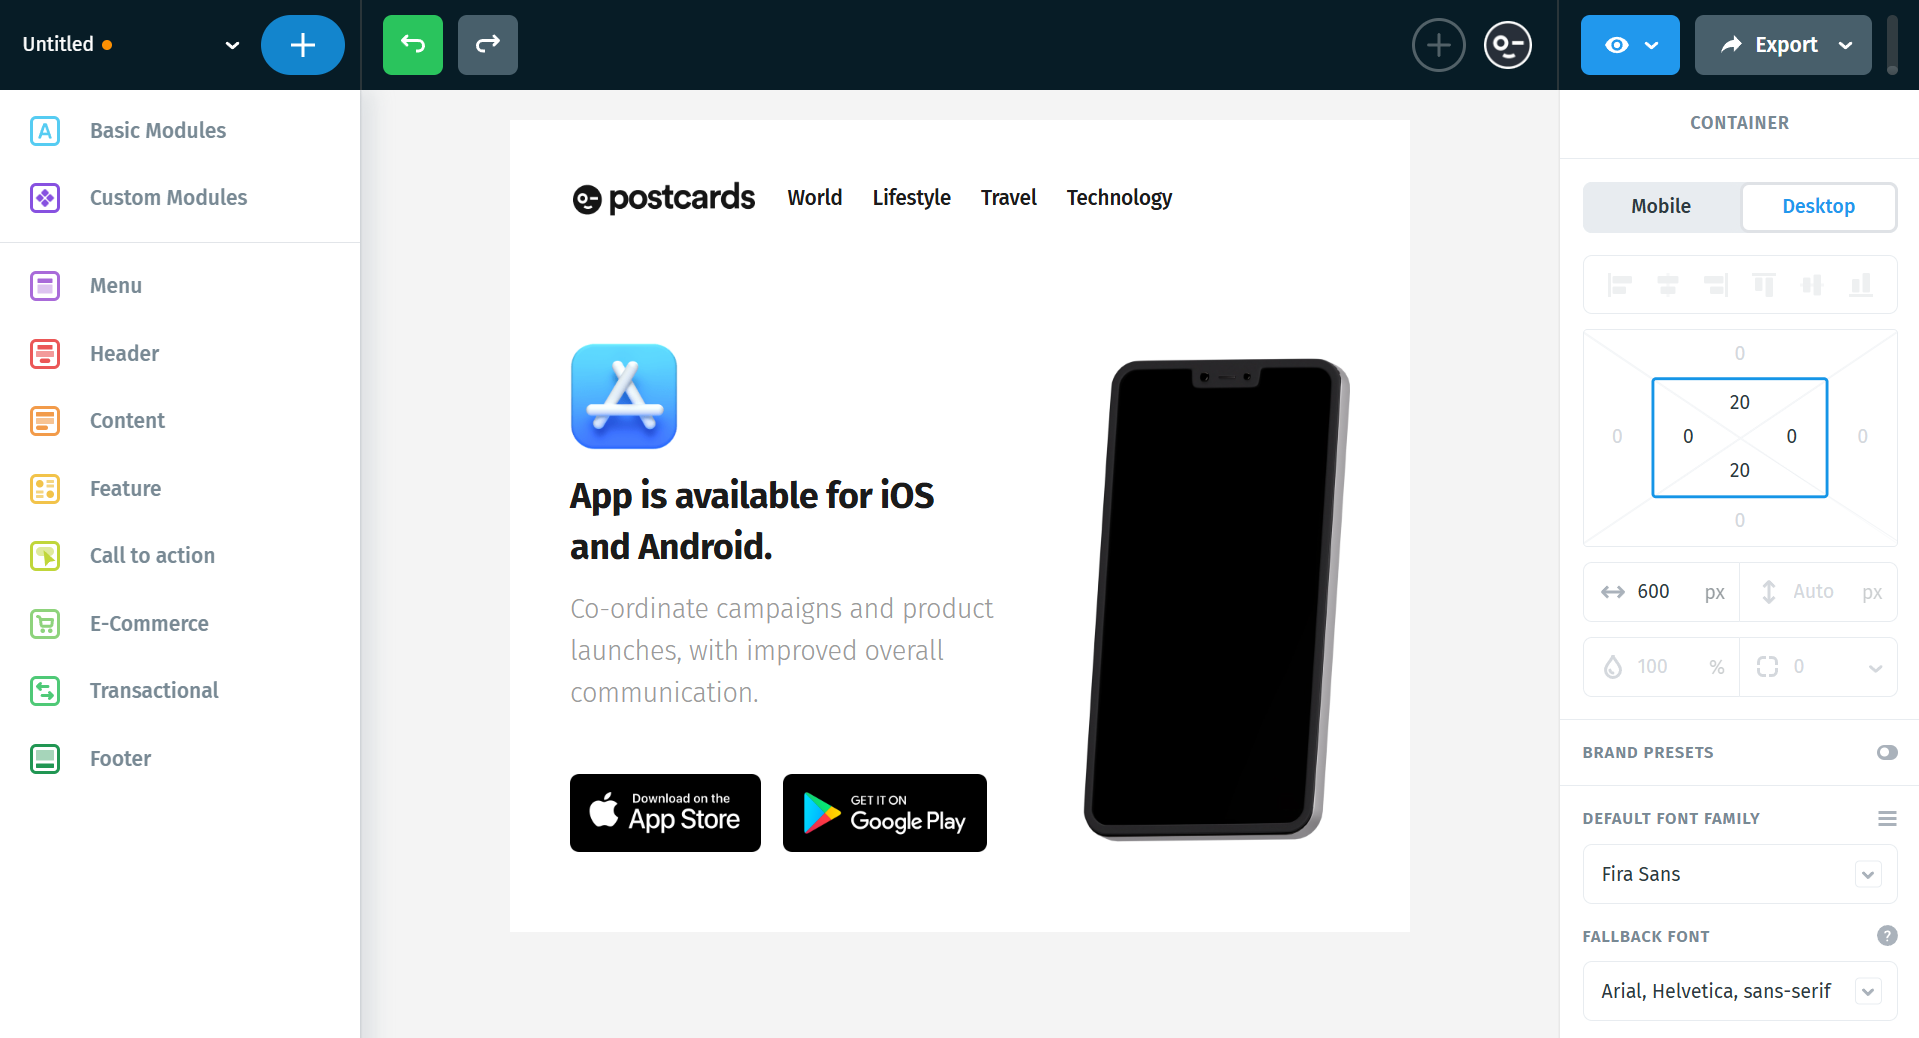
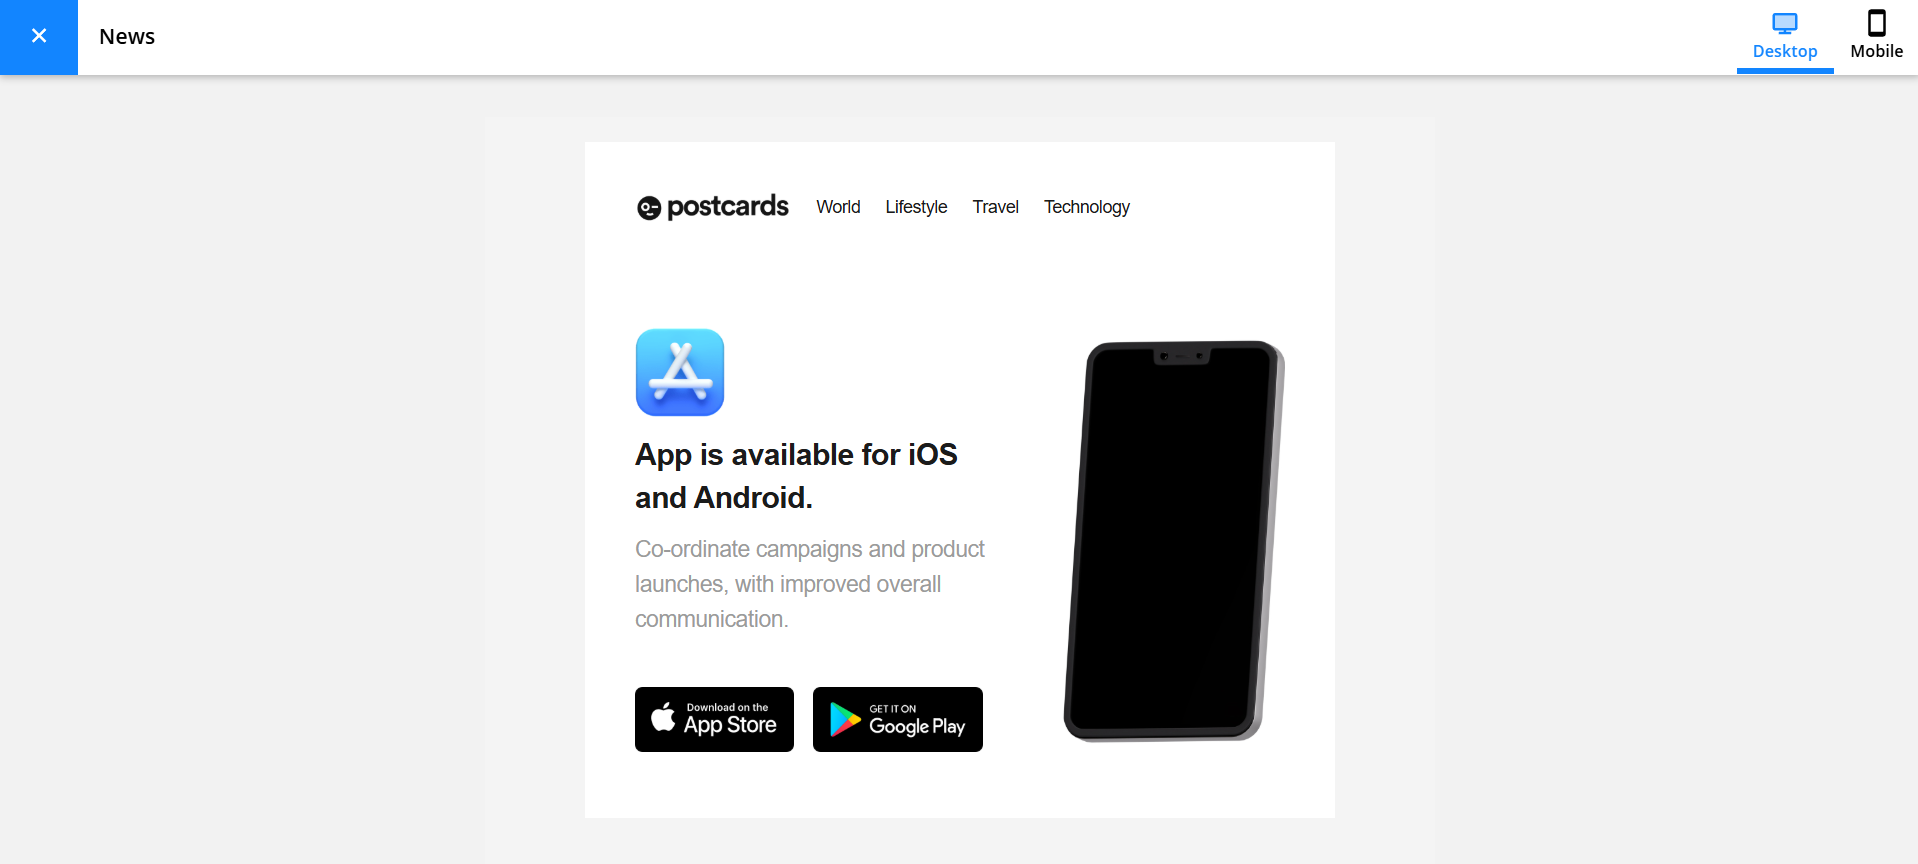
Open the Postcards app and create your email template. You can start from scratch or use one of the pre-designed templates and customize it to your needs. This is the template I will be using:
Once your design is ready, we need to export it:
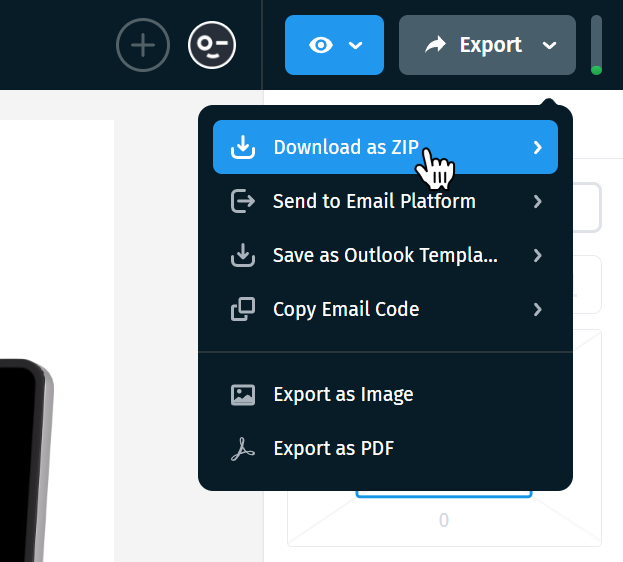
- Click Export in the top right corner of the editor
- Select Download as ZIP
- Next, make sure the Host images online option is enabled and click Download as ZIP.
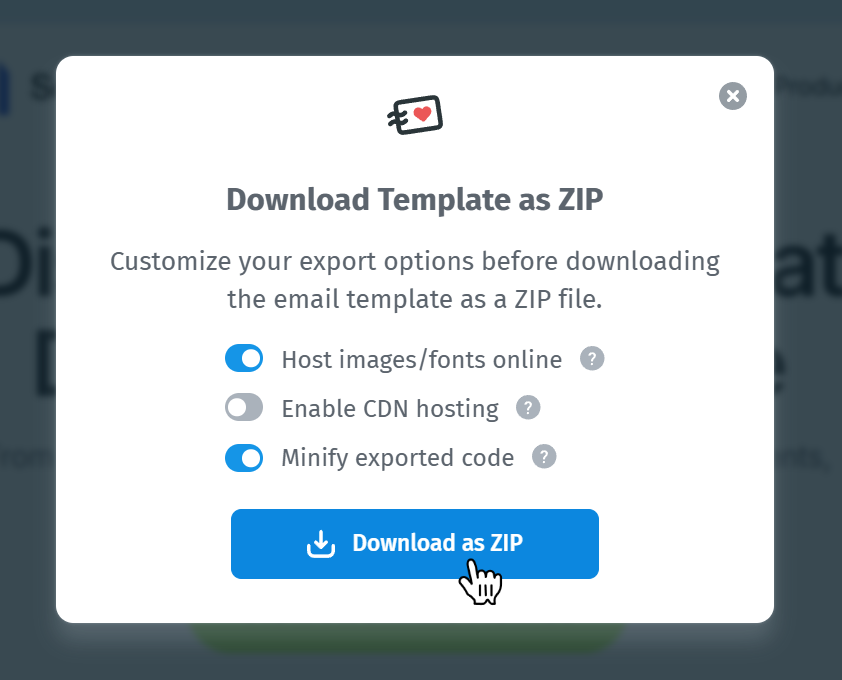
This step is important, as it ensures that all images are properly hosted and will display correctly when the email is used in Ontraport.
- After downloading the Zip file, extract the index.html file into a folder.
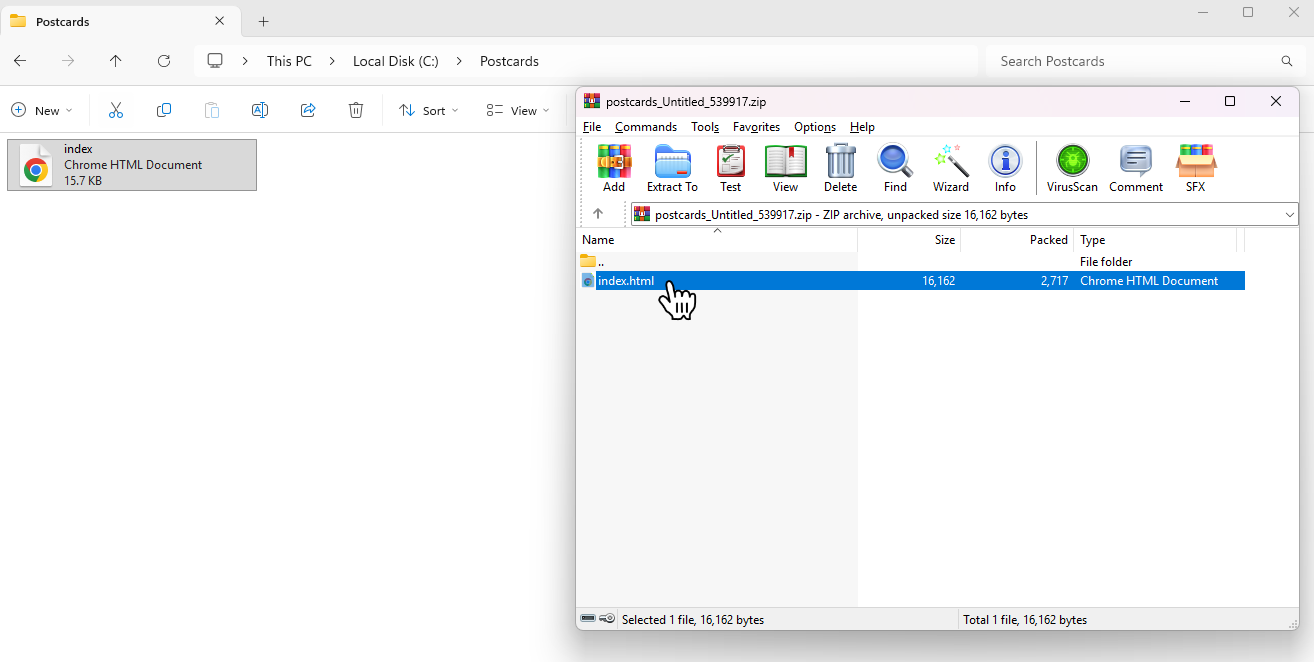
If you open this file in your browser, you should see your full email design exactly as it was created in Postcards. This confirms everything exported correctly.
Now that we have the HTML file ready, we can move on to creating the message in Ontraport.
2. Create a campaign message in Ontraport
Step 2. Create a Raw HTML email in Ontraport
Before creating the email, we first need to enable the Raw HTML Email feature in Ontraport.
To do this:
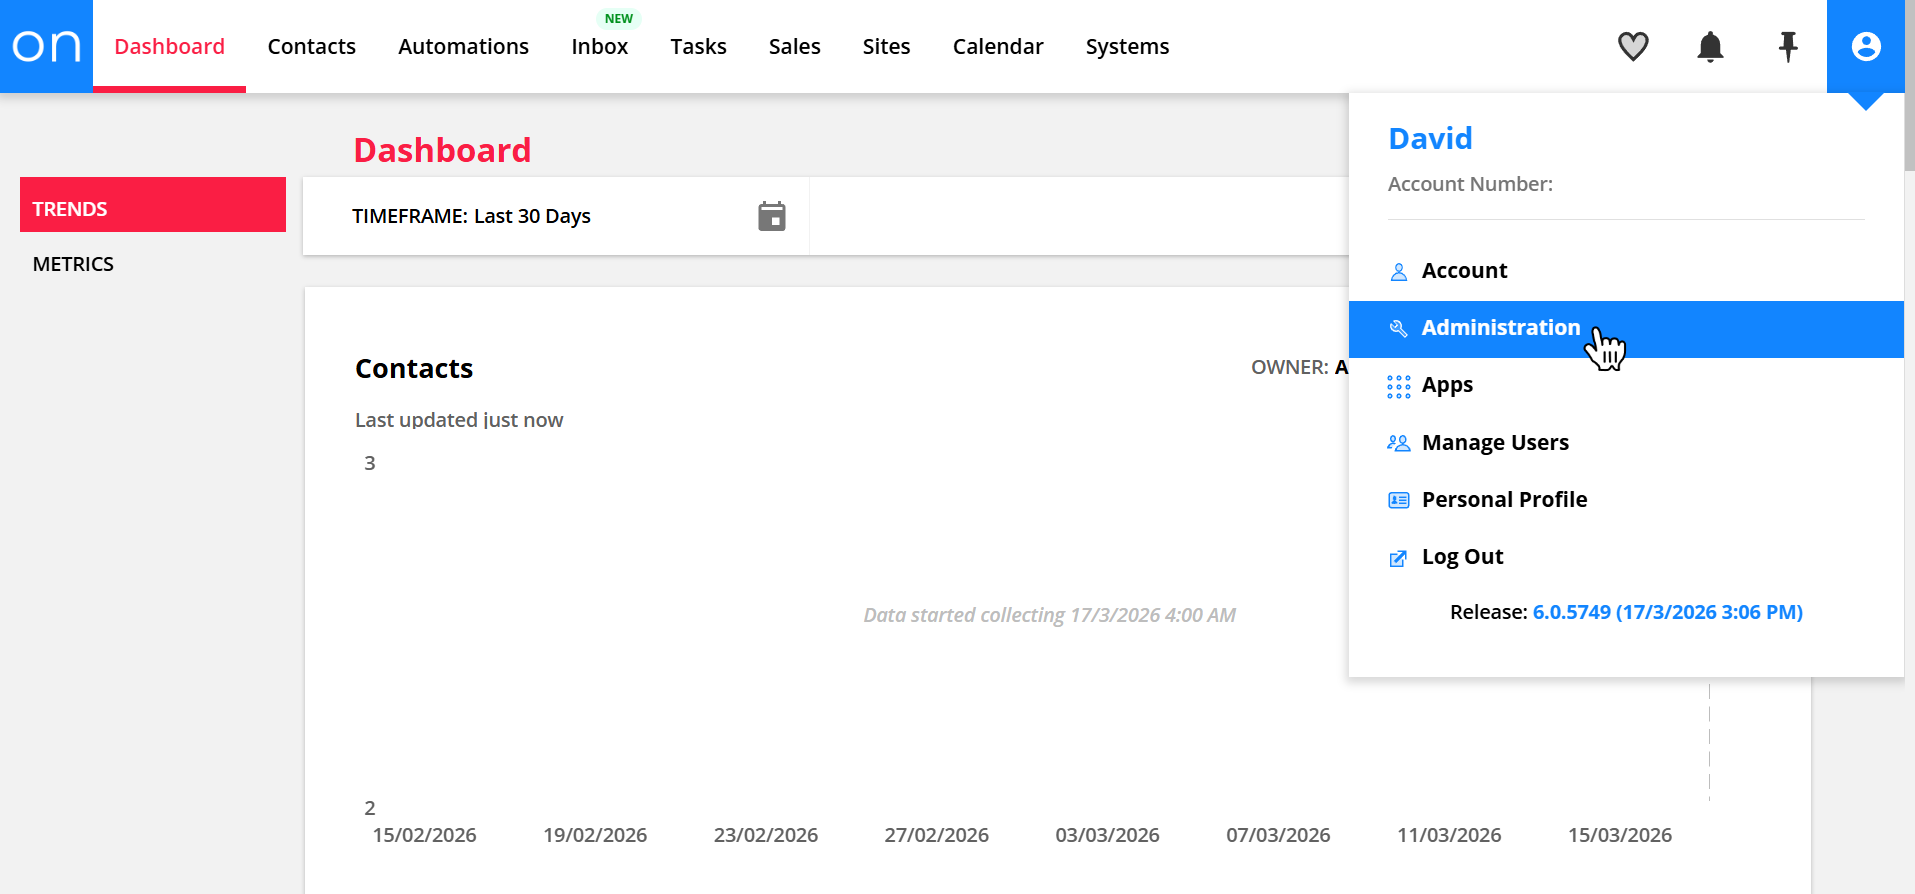
- Click your profile picture in the top right corner and go to Administration
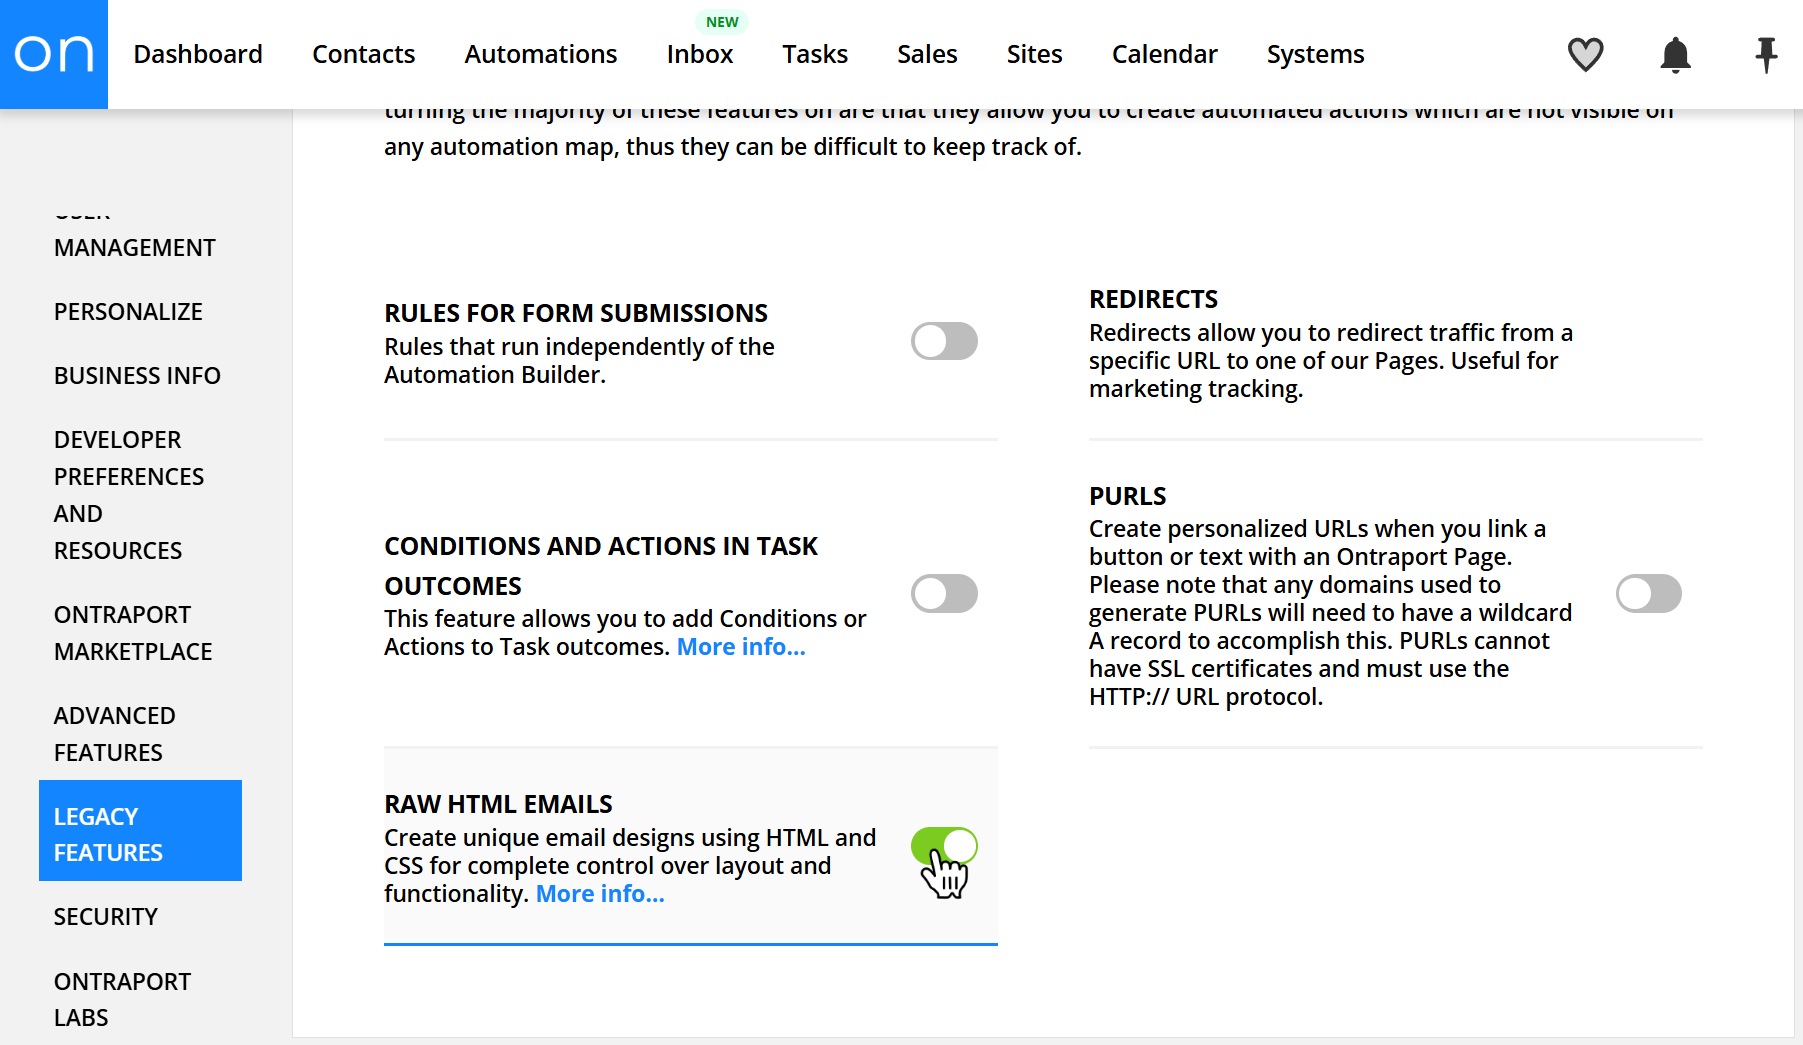
- Open Legacy Features
- Find and enable Raw HTML Emails
Once this option is enabled, you’ll be able to create emails using custom HTML code.
Next, we’ll create a new message:
- Go to Automations → Messages
- Click + New Message
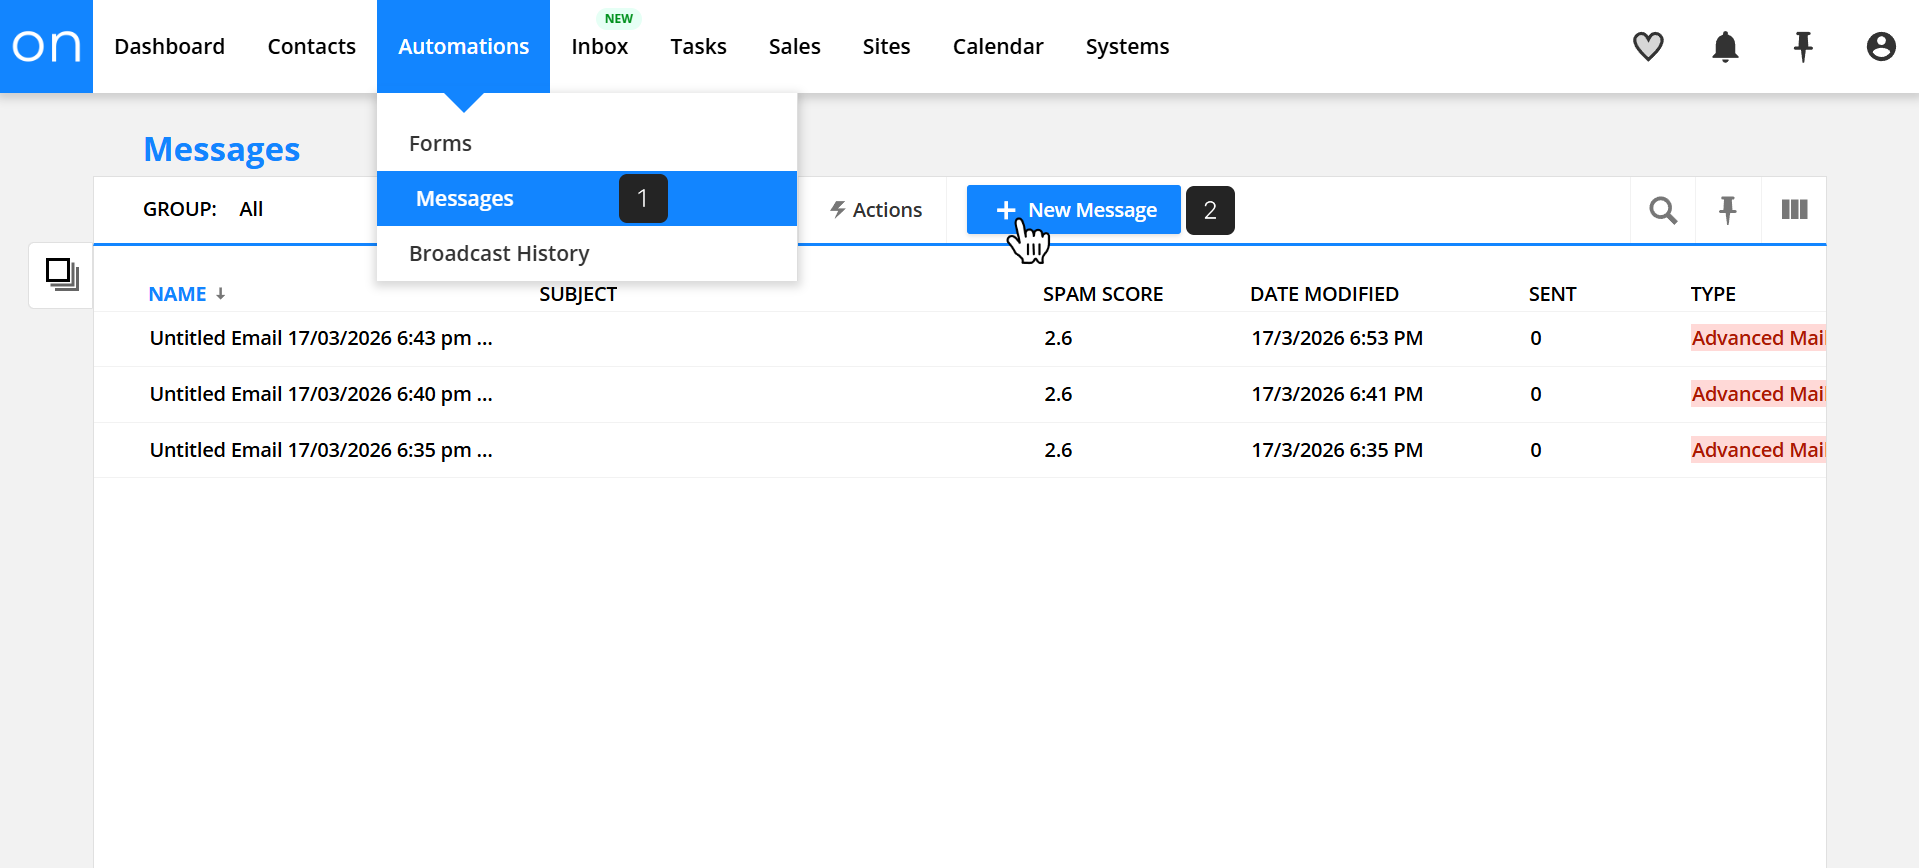
- Select Raw HTML Email

This will take you directly to the email editor screen, where you can first enter the basic details, and then you can begin adding your HTML code in the next step.
Step 3. Insert your Postcards HTML code
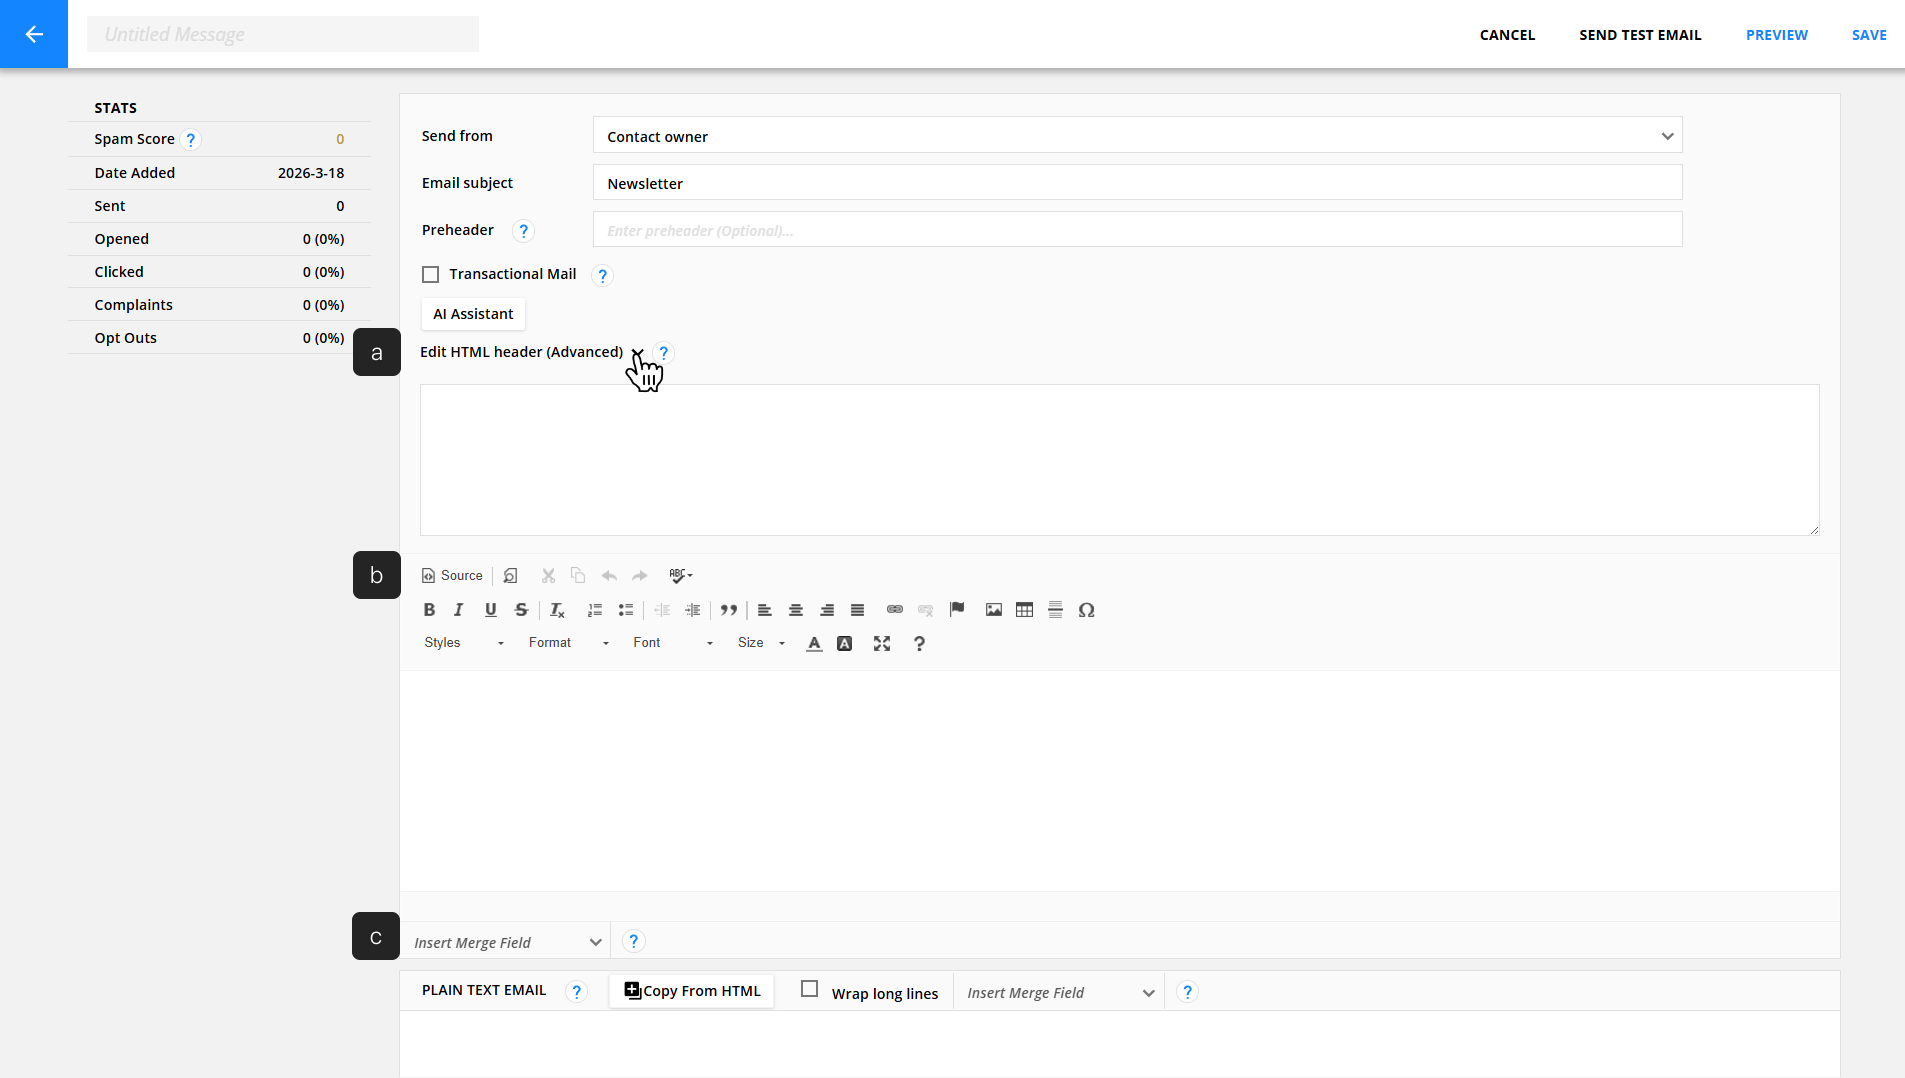
At the top of the page, you can first fill in the basic email details such as the subject, preheader, and sender information. Afert filling those details we’ll add the HTML from your Postcards template into Ontraport.
To do this, we’ll copy two parts from your exported index.html file:
- The
<head>section → goes into the HTML header (Advanced) field - The
<body>section → goes into the main editor below
a. Add the HTML header
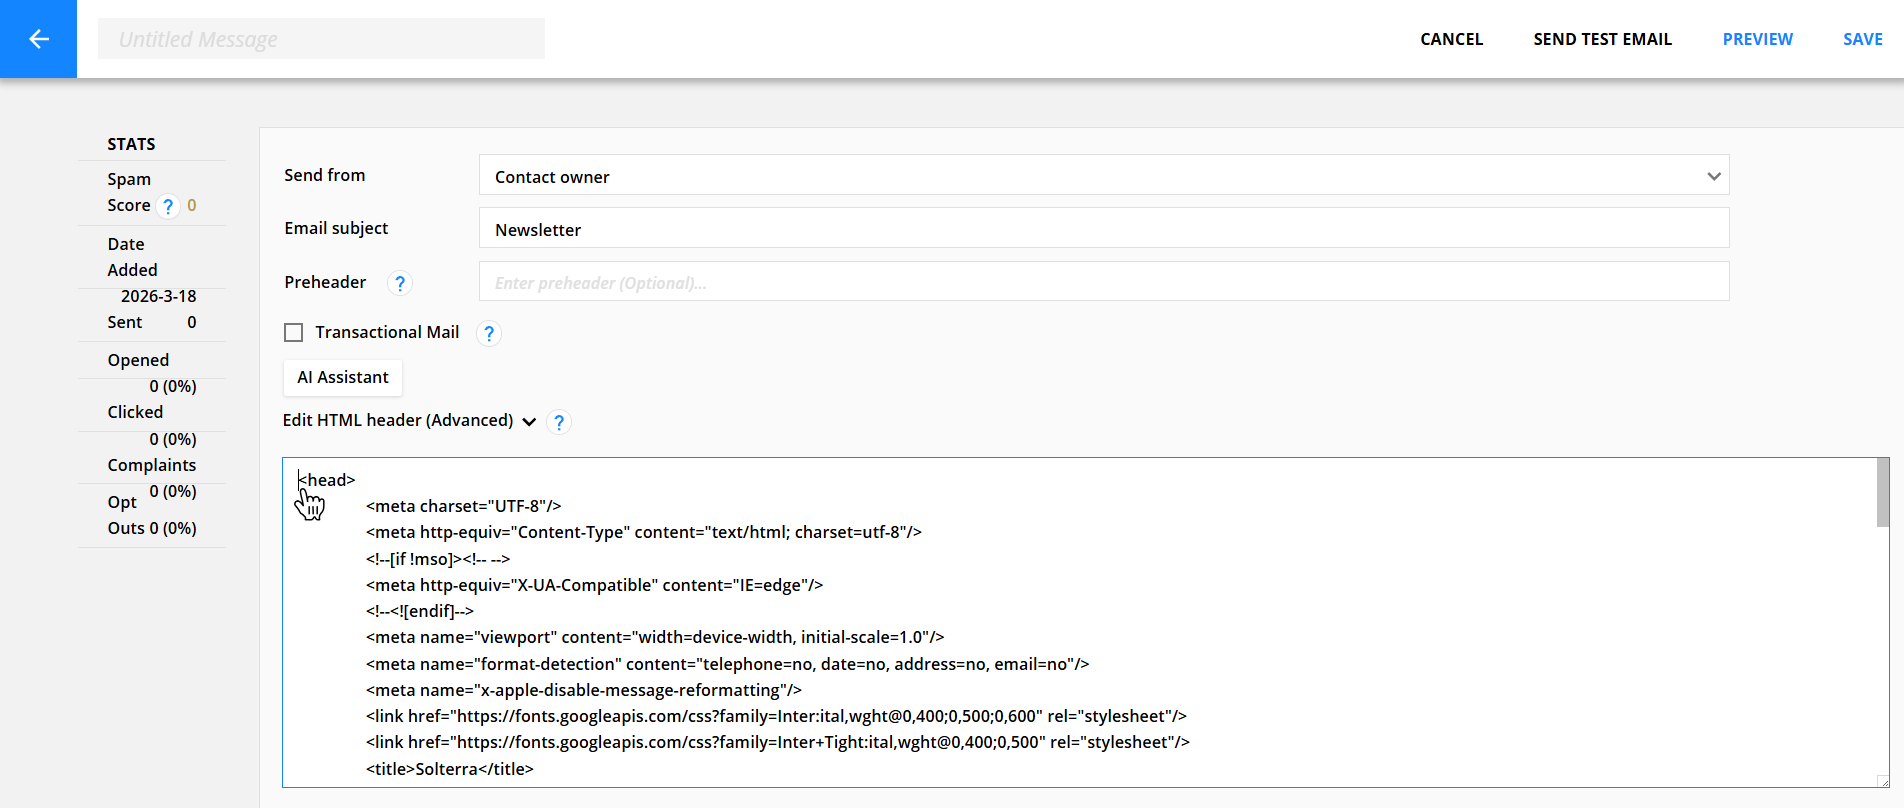
Start by locating the “Edit HTML header (Advanced)” section and click on it to expand the field.
Locate the index.html file you extracted earlier and open it using your preferred text editor (for example, I'm using Notepad++).
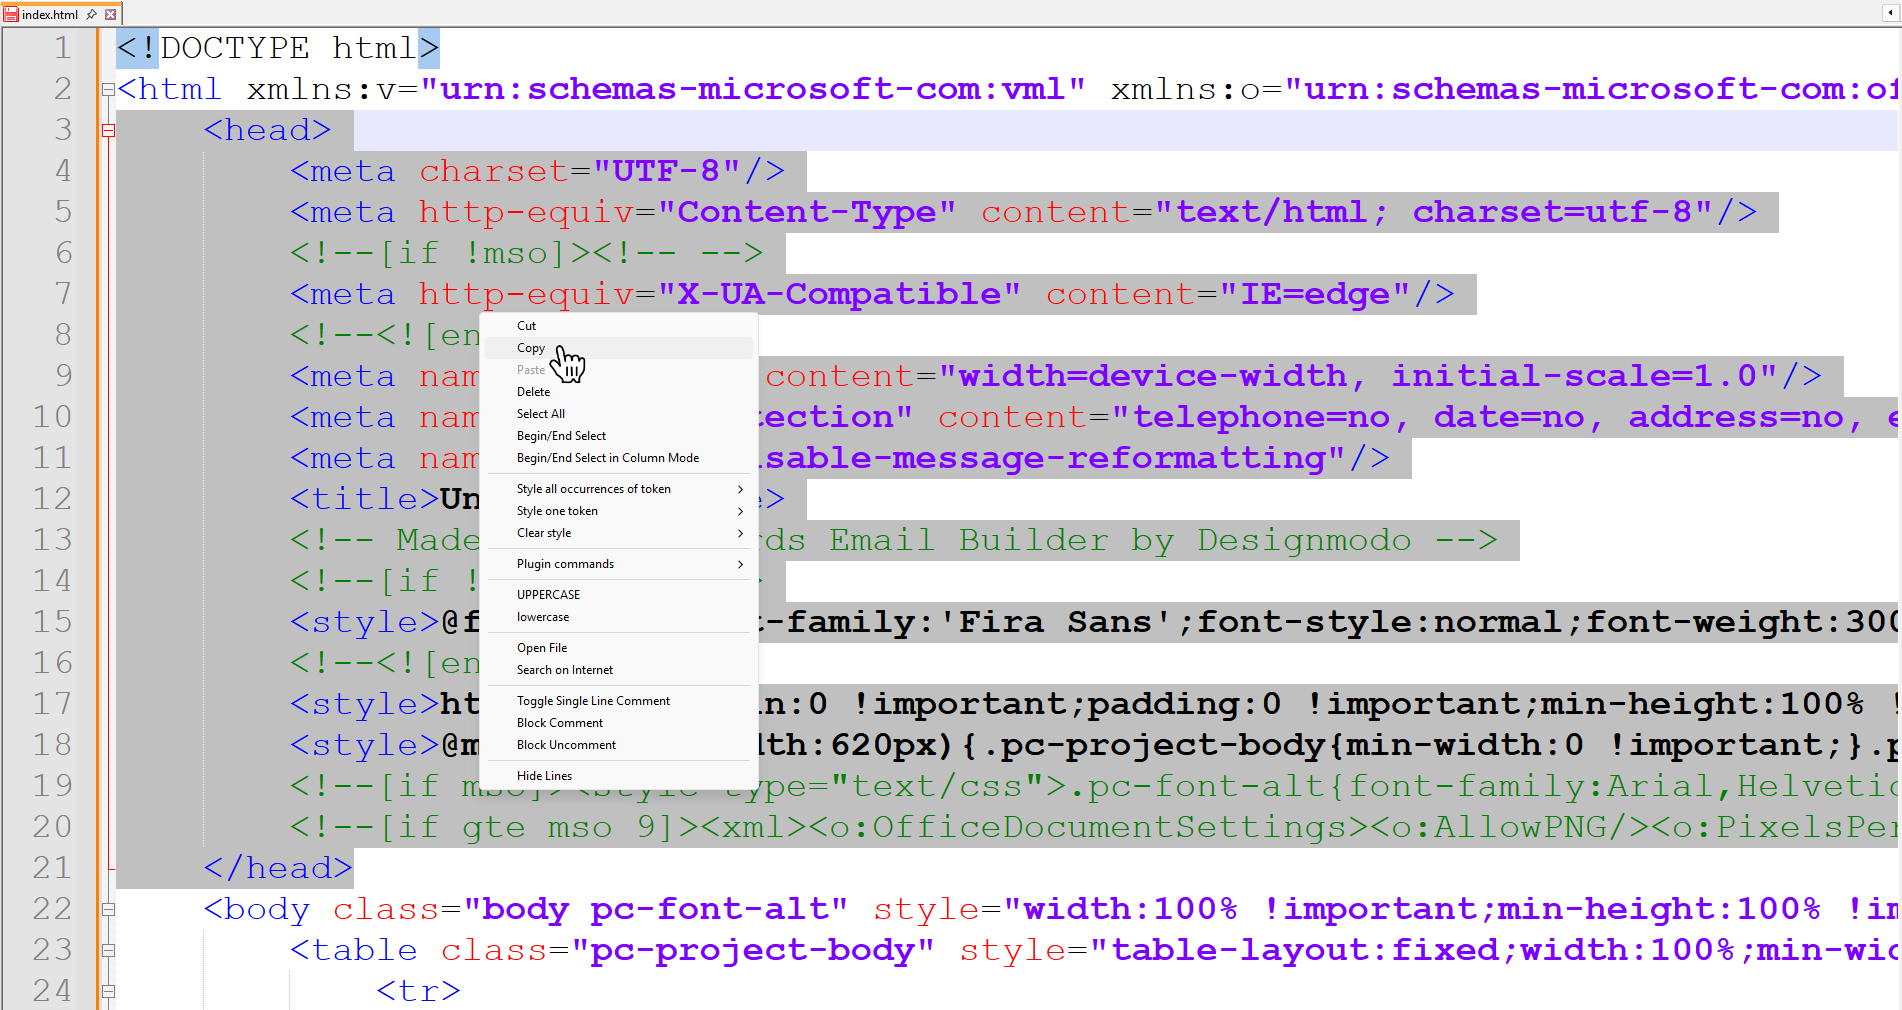
Once the file is open, look for the <head> section, which is located near the top of the code. Then copy everything inside this section, including the opening <head> and closing </head> tags. For example, in my template, the section starts around line 3 and ends in line 21.
Once you’ve copied the <head> section, go back to Ontraport and paste it into the HTML header (Advanced) field.
B. Add the main HTML (body) content
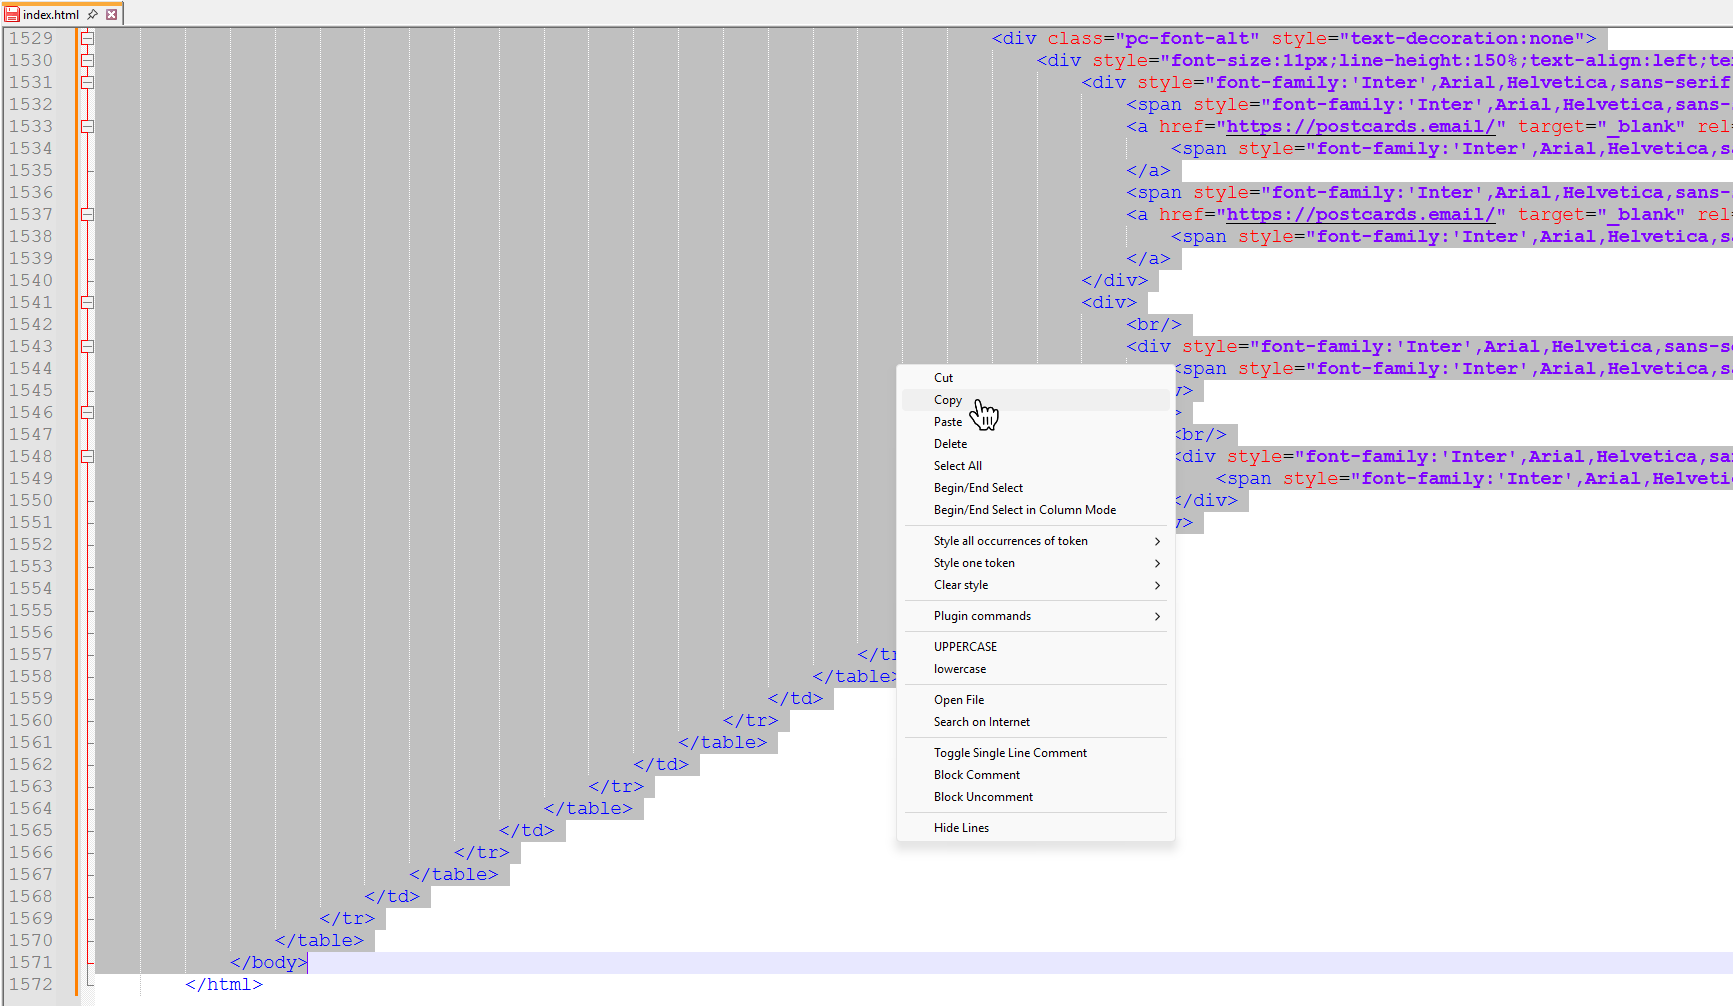
Next, go back to your index.html file and locate the <body> section. This section appears below the <head> and contains the full structure of your email. It’s also much larger than the head section and typically runs until right before the closing </html> tag.
Copy everything inside the <body> section, including the opening <body> and closing </body> tags.
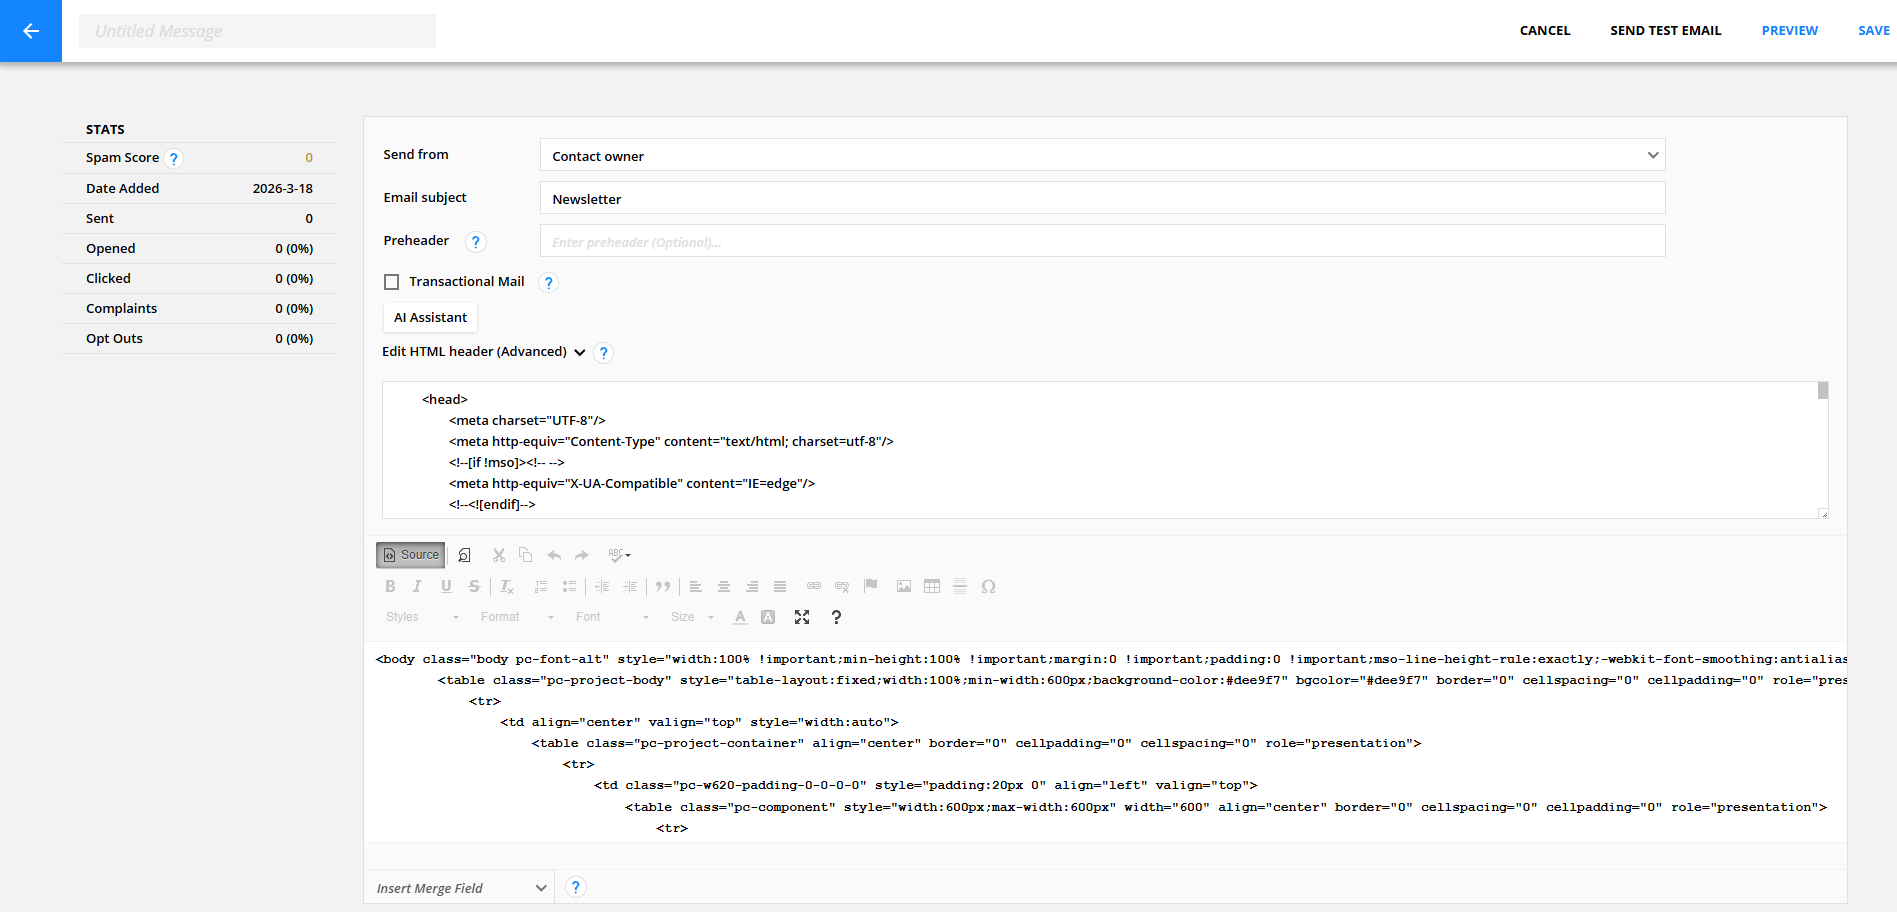
Then return to Ontraport, click the “Source” button in the editor to switch into HTML mode, and paste the code there. Your settings should look like this now:
Once added, your full email design should appear inside the editor. You can click Preview in the top left to see how your template will look.
C. Add merge fields for personalization
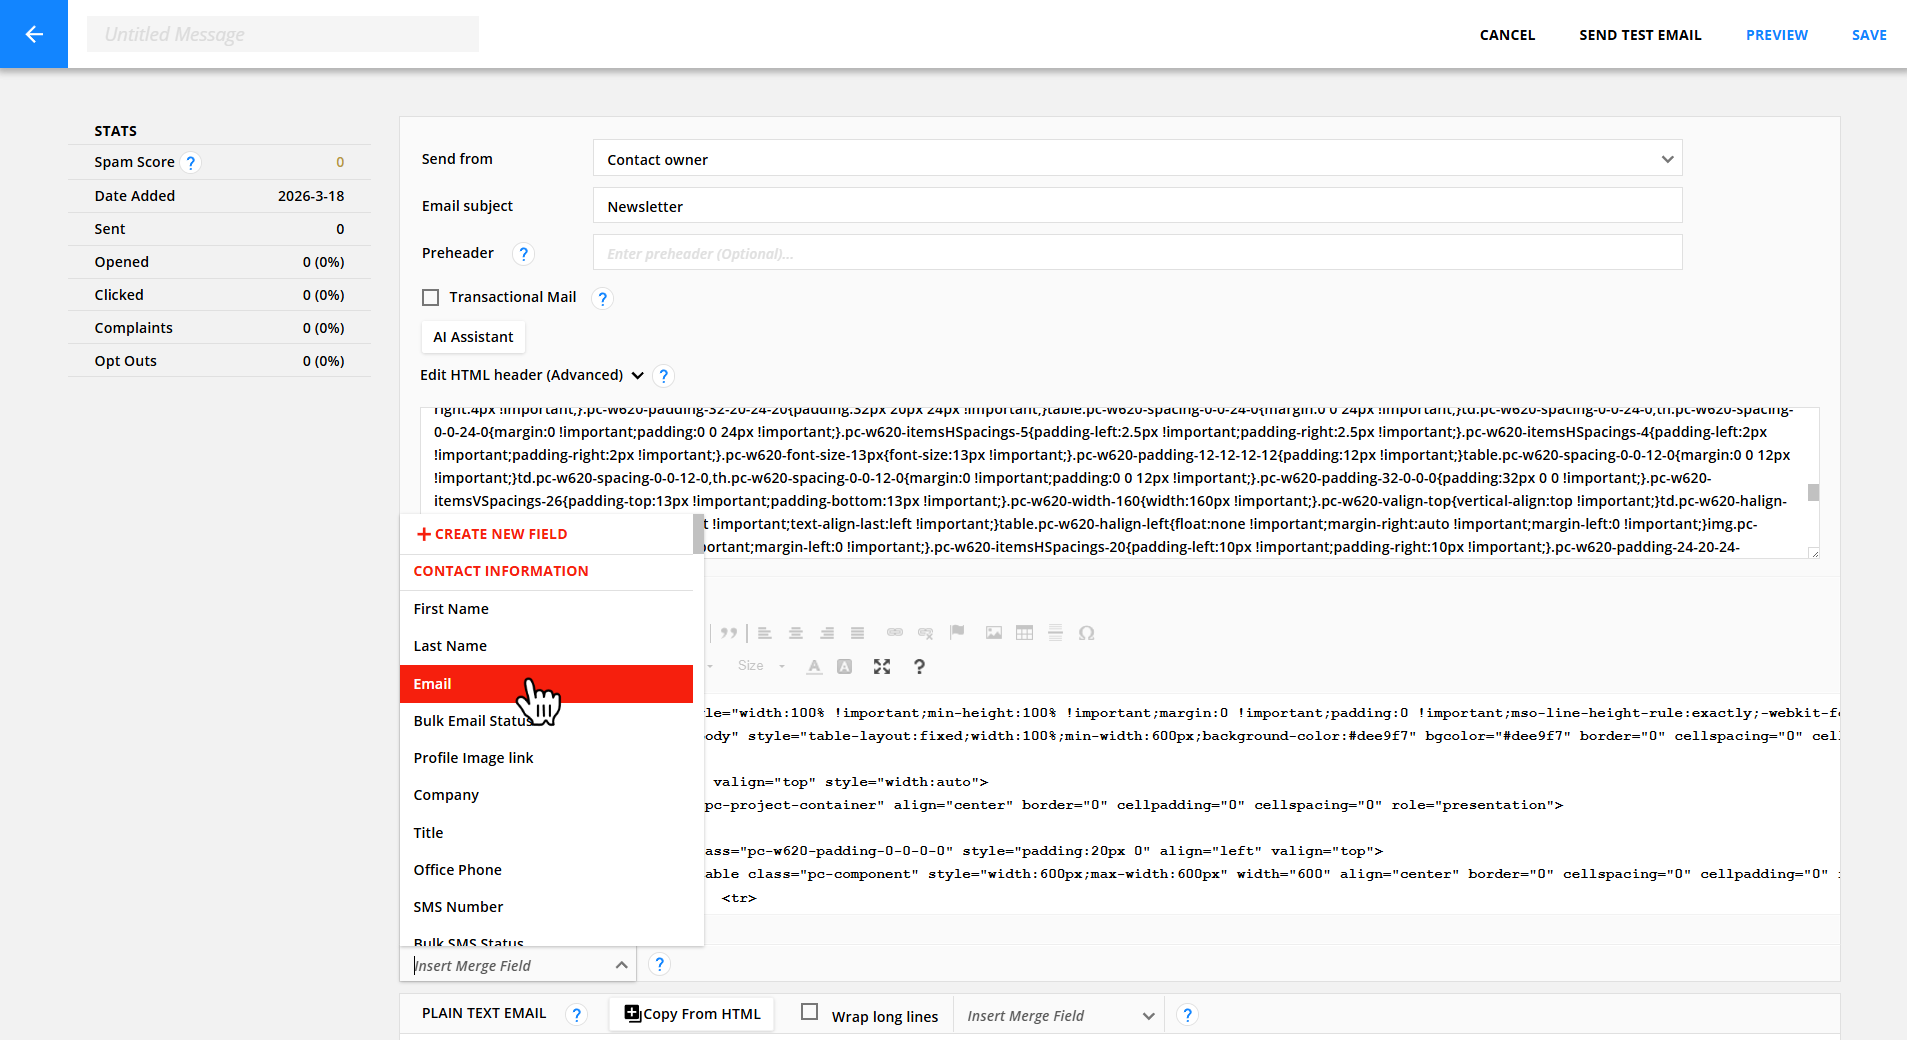
To personalize your email, you can insert merge fields using Ontraport. Merge fields allow you to personalize your emails by automatically inserting subscriber-specific information. For example, you can add a First Name merge field, and it will be replaced with each recipient’s actual first name when the email is sent.
In this tutorial, we’ll add the Email merge field.
To do this, use the “Insert Merge Field” dropdown in the editor and select the field you want.
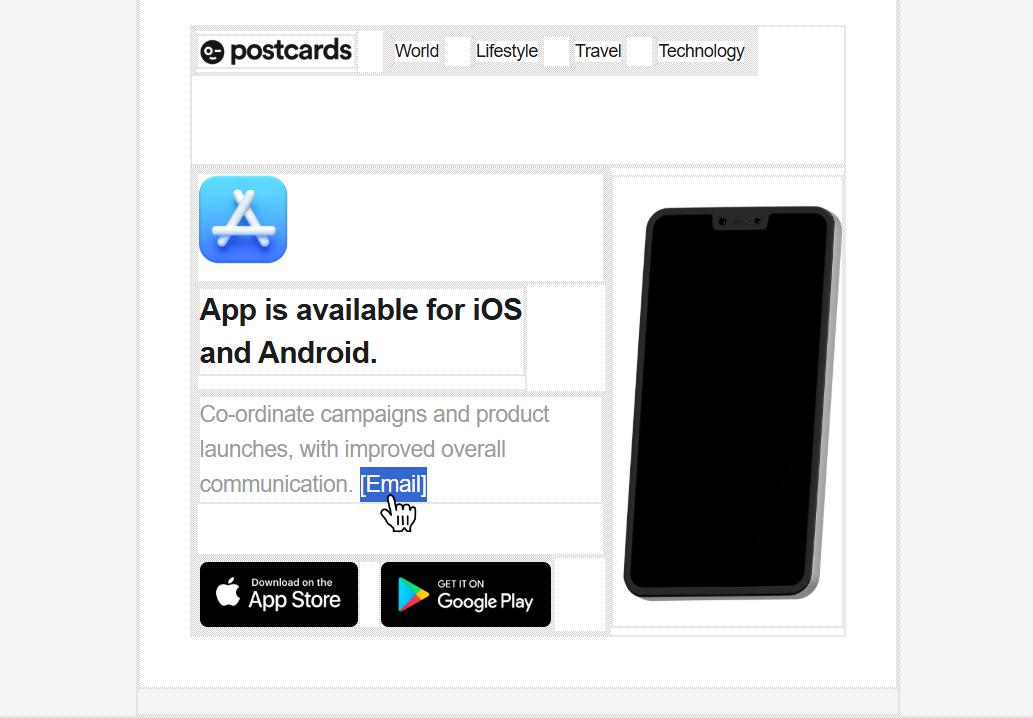
If your cursor isn’t placed inside the content, the merge field will be inserted at the top of the editor by default. You can click the “Source” button again to switch back from HTML mode to the visual editor view.

You can then move it to the correct location in your template and position it wherever needed.

Step 4. Update the unsubscribe footer
After previewing your email, you may notice that Ontraport automatically adds a footer with its branding and unsubscribe information. This footer cannot be completely removed, but you can customize it.
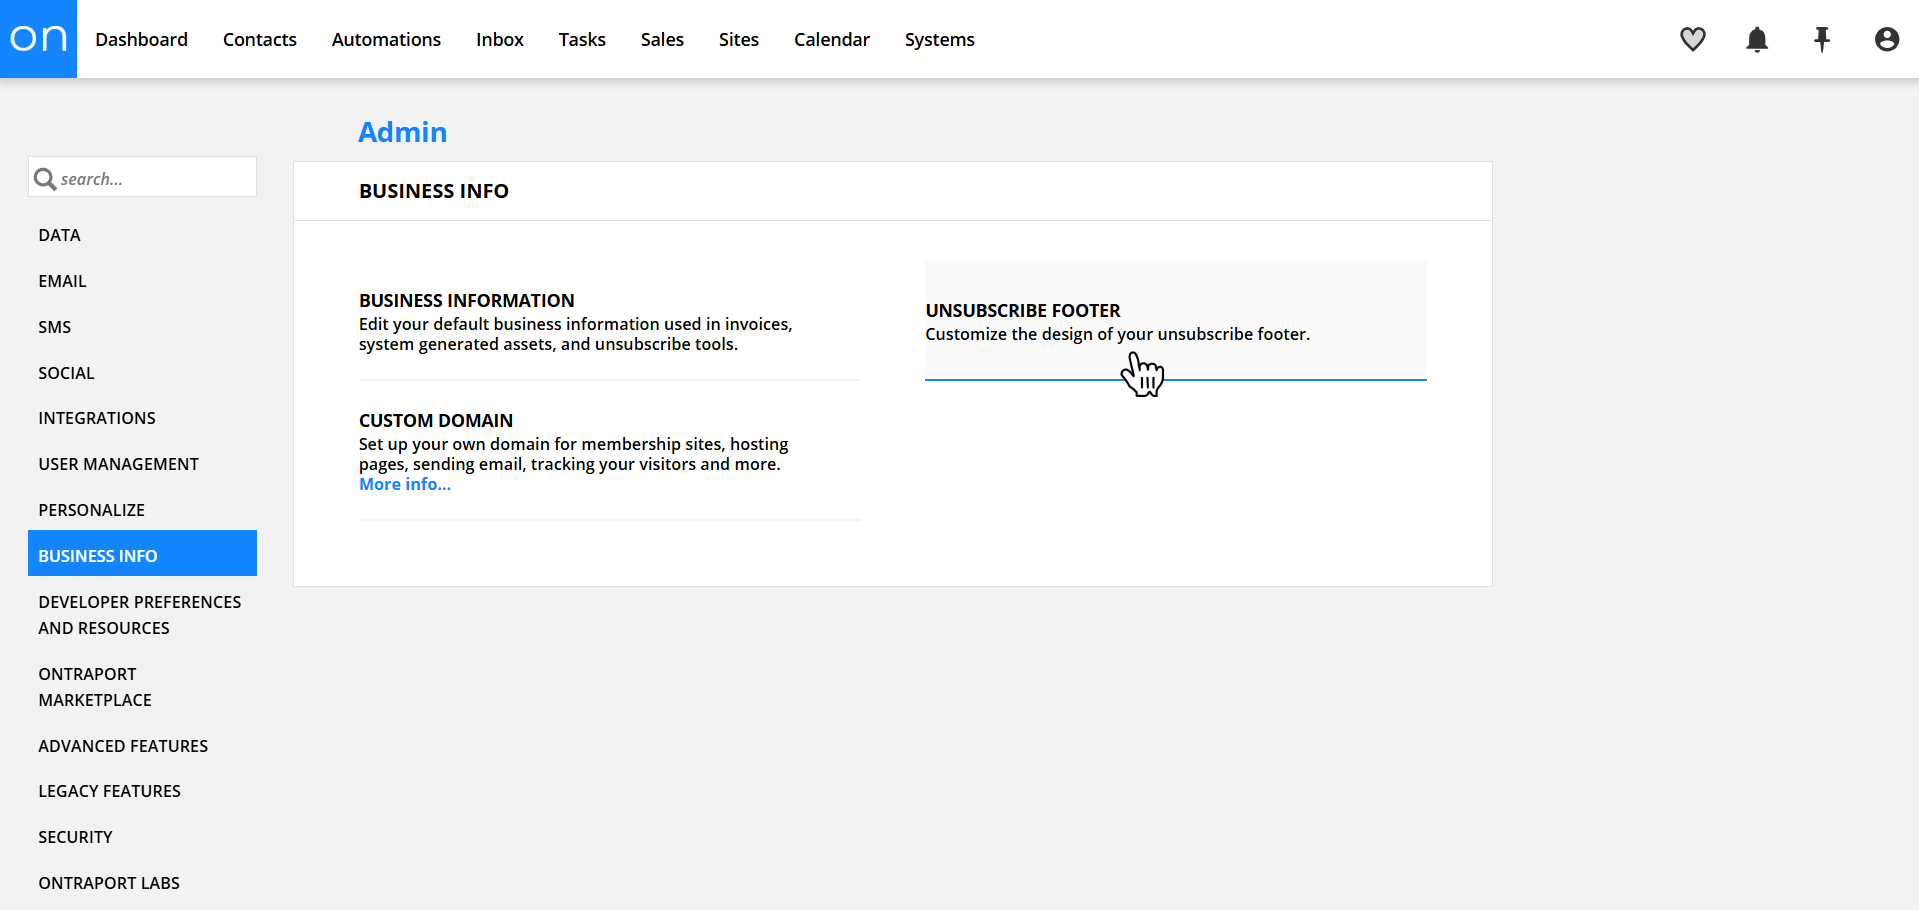
To update it, go back to your main dashboard, click your profile picture in the top right, and select Administration. From there, use the left-hand menu to open Business Info, then navigate to the Unsubscribe Footer section where you can make your changes.
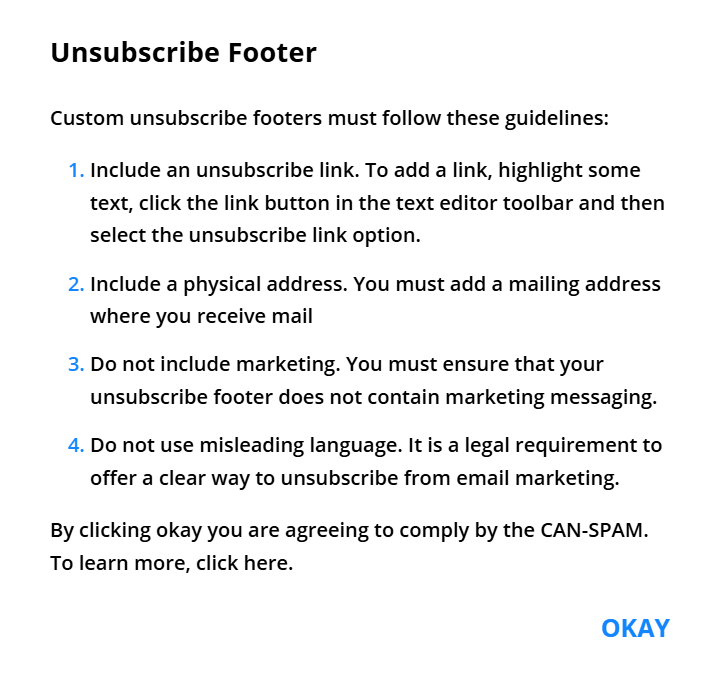
You’ll see a window pop-up with some guidelines for your footer:
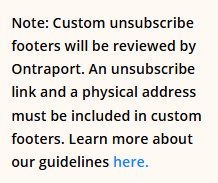
And a note from Ontraport on the right side:
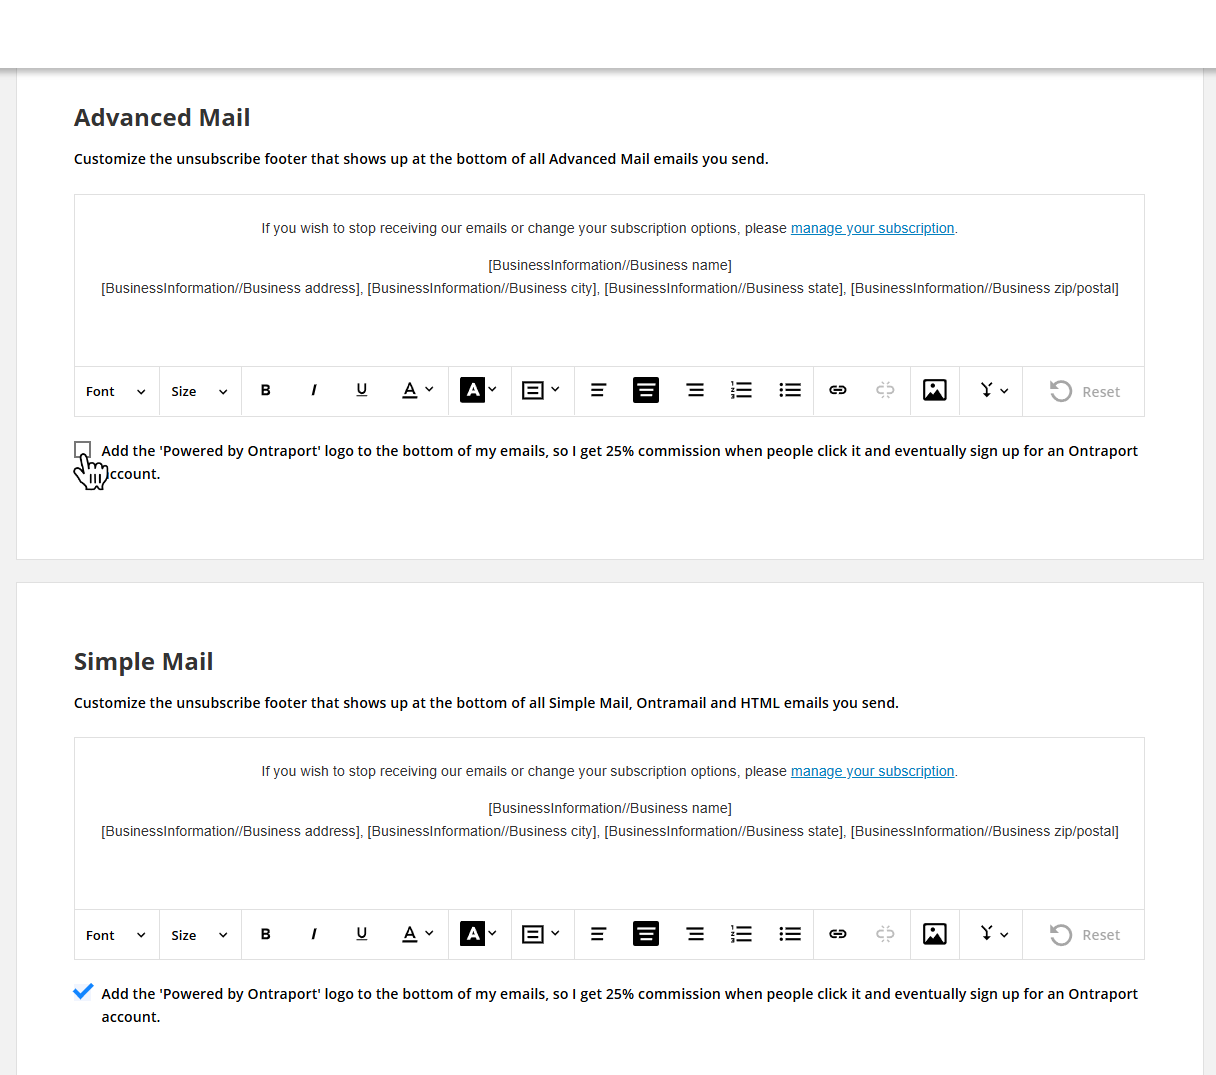
From here, you can update your unsubscribe footer, including both the Advanced Mail and Simple Mail versions. And if you’d like to remove the Ontraport logo, you can do so by unchecking the option at the bottom.
What we covered
- How to create and export a Postcards template
- How to enable and create a Raw HTML email in Ontraport
- How to add the
<head>and<body>HTML code to your message - How to insert and use merge fields for personalization
- How to update and customize the unsubscribe footer