How to Upload an Email Template in HubSpot - HubL Variables Setup
How to Upload an Email Template in HubSpot
In this guide, you'll learn two ways to move your Postcards email into HubSpot: the built-in integration, which sends your template straight into your account in just a few clicks, and the manual route, where you export the HTML from Postcards and upload it into HubSpot's template manager. Both work well, so pick whichever fits your workflow best.
We'll also cover how to add the required HubL variables (like your company info and unsubscribe link) so your email is CAN-SPAM compliant and ready to send. These can be added either inside Postcards before exporting or directly in HubSpot afterward.
We have released new email templates for HubSpot.
Prerequisites
- A Designmodo account with access to Postcards
- A HubSpot account
- A finished email template in Postcards, ready to export
- A text editor (Optional)
Preparing Your Postcards Template (Adding HubL Variables)
HubSpot requires every marketing email to include certain footer information to stay CAN-SPAM compliant, things like your company name, address, and an unsubscribe link. HubSpot uses HubL variables (small placeholder tags) for these, and HubSpot will automatically replace them with the correct details from your account settings when the email is sent.
The required variables are:
{{ site_settings.company_name }}— your company name{{ site_settings.company_street_address_1 }}— your company street address{{ site_settings.company_city }}— your company city{{ site_settings.company_state }}— your company state{{ unsubscribe_link }}— the unsubscribe link
You can add these directly inside Postcards before exporting, which keeps things clean and saves you a step in HubSpot later.
To add them in Postcards:
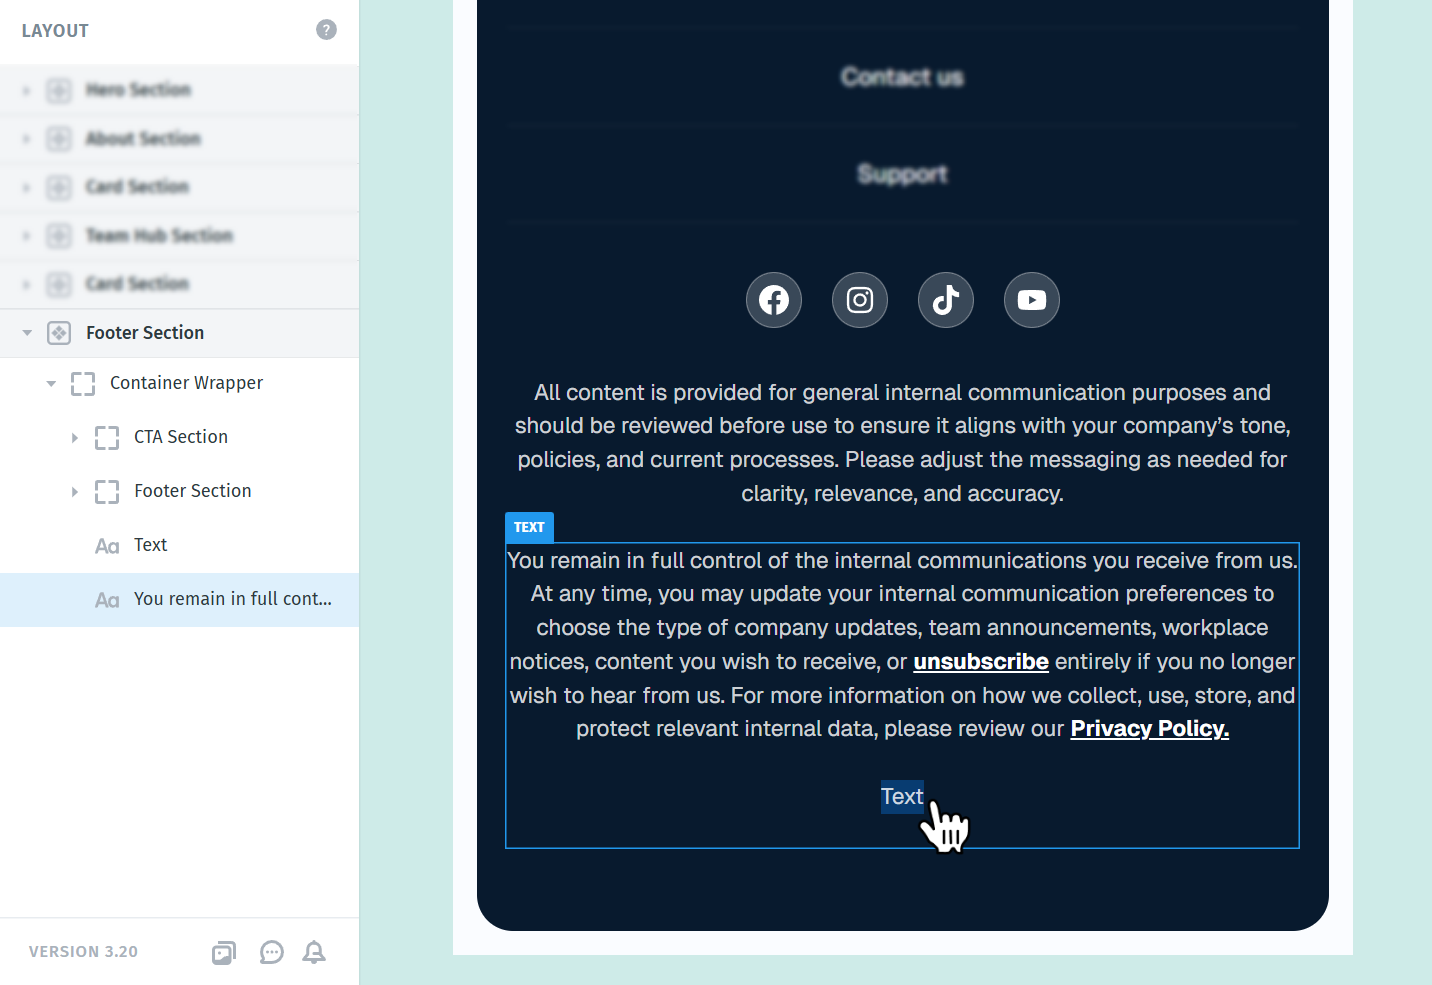
- Open your template in the Postcards editor and head to the footer area where this info usually lives.
- Click the text element where you want to add the variables, or add a new text element if needed.
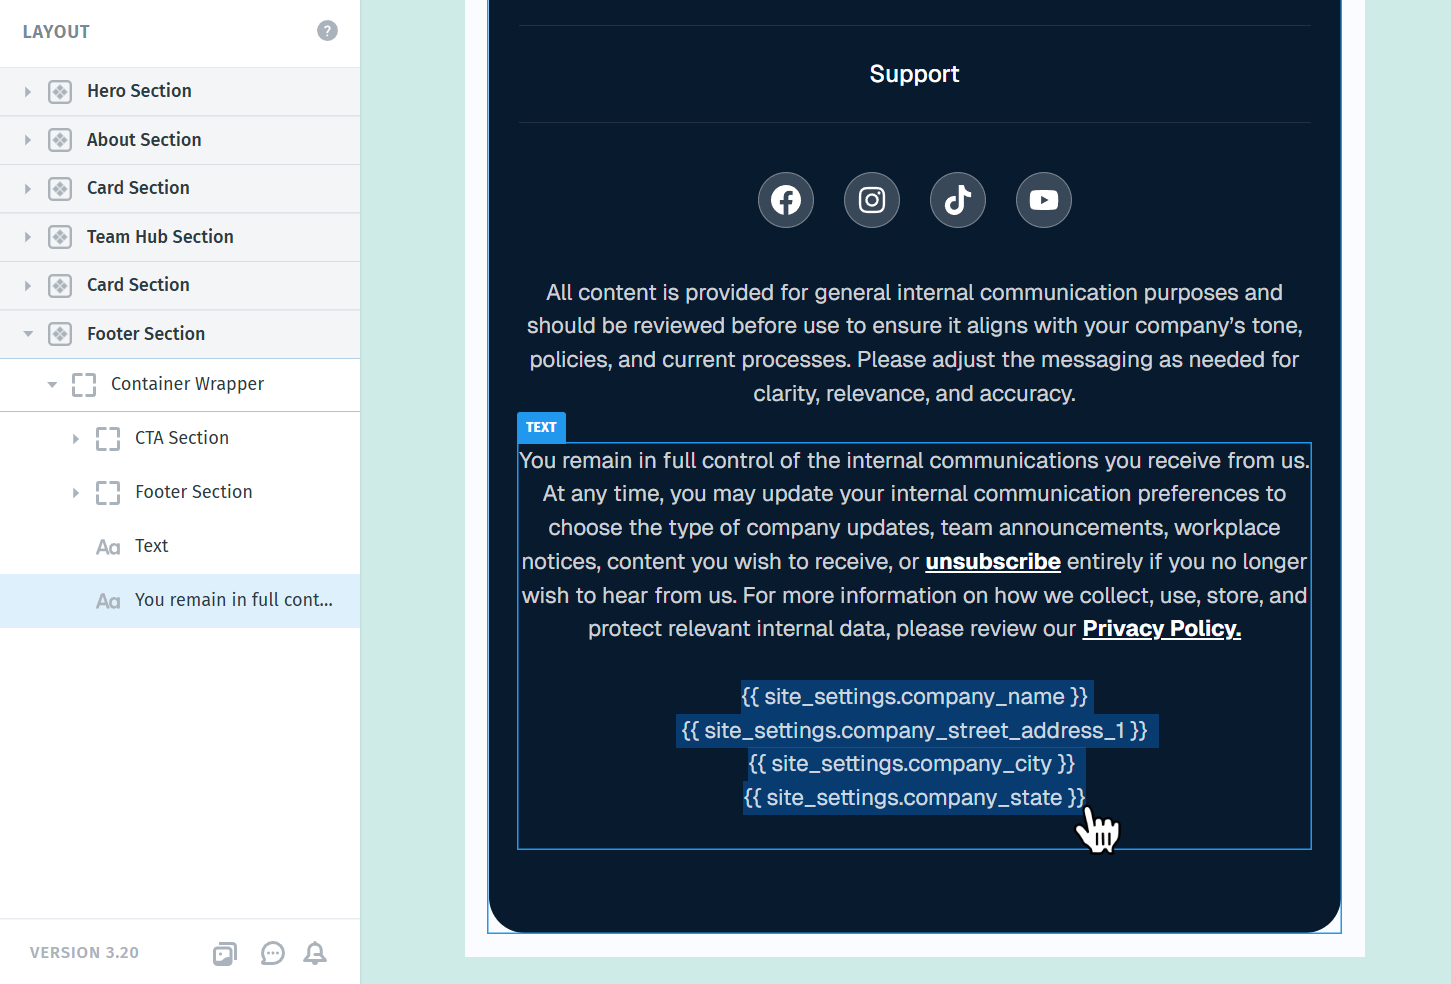
- Paste the variables exactly as shown below. You can place them inline with regular text, for example:
{{ site_settings.company_name }}{{ site_settings.company_street_address_1 }}{{ site_settings.company_city }}{{ site_settings.company_state }}
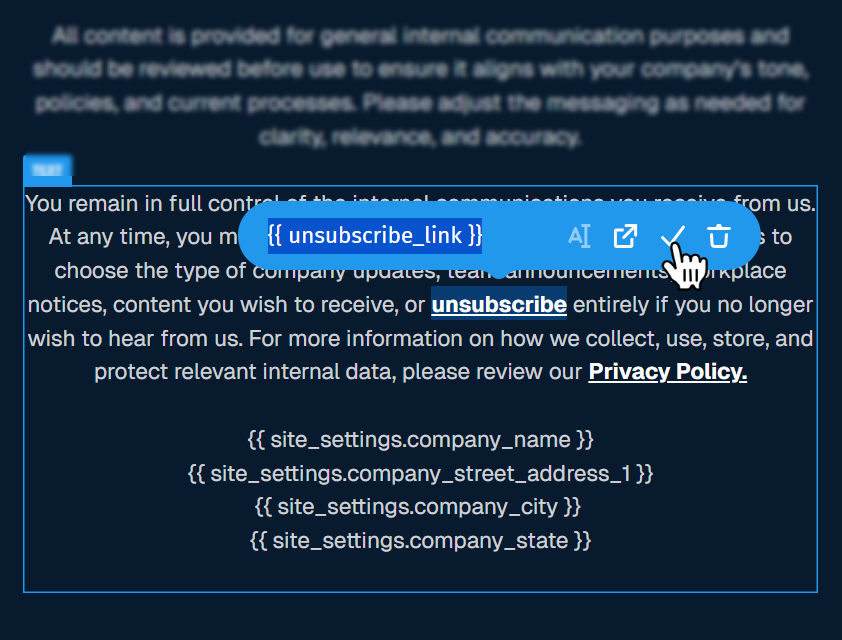
For the unsubscribe link, it's best to add {{ unsubscribe_link }} as a hyperlink on a word like "Unsubscribe" rather than pasting it as plain text. If you leave it as plain text, HubSpot will replace it with the full unsubscribe URL on send, which can be very long and break your footer layout. To do this:
- Type the word "Unsubscribe" (or whatever text you want) in your footer.
- Highlight it and click the link icon in the text toolbar.
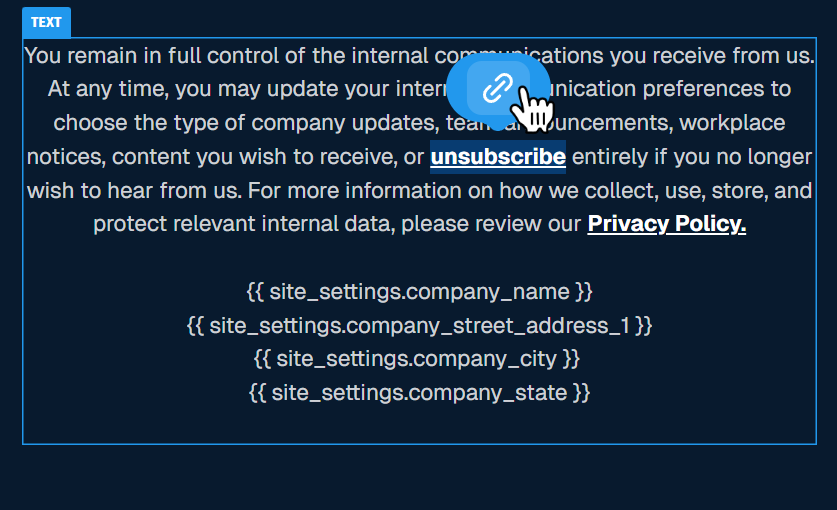
- Paste
{{ unsubscribe_link }}into the URL field and apply the link.
When the email is sent from HubSpot, the variables will be swapped out for the real values automatically. If any required variables are missing, HubSpot will flag an error when you try to send, so it's worth getting these in place before exporting.
Here's HubSpot's full reference for HubL variables in case you want to explore more: https://developers.hubspot.com/docs/cms/reference/hubl/variables
Making a section editable in HubSpot's template editor
By default, when you import a Postcards template into HubSpot, the design comes through as one solid block, meaning you can't drag in new HubSpot elements or edit content blocks individually inside HubSpot's editor. If you'd like a specific area of your template to be editable in HubSpot after importing, you can add a small HubL snippet inside Postcards to mark that area as a drag-and-drop zone.
To do this:
- In Postcards, find the spot in your template where you want HubSpot's editable area to appear (for example, between your header and footer).
- Add a text element in that location and paste in this snippet:
{% dnd_area "main" %} {% end_dnd_area %}

Once the template is in HubSpot and you create an email from it, HubSpot's editor will let you drag elements (text blocks, images, buttons, etc.) into that specific area. The rest of the template will stay locked to your original Postcards design.
Keep in mind this only makes that one section editable, it doesn't convert the entire Postcards template into a fully editable HubSpot template. For broader edits, you'll still want to make changes in Postcards and re-export. If you need more details on how drag-and-drop areas work in HubSpot, here's their official guide.
Method 1: Use the Postcards Integration
Once your template has all the required variables in place, the quickest way to get it into HubSpot is through the built-in integration. After connecting your accounts once, future exports happen with a single click.
In the Postcards editor, click Export in the top right corner and select Send to Email Platform from the dropdown.
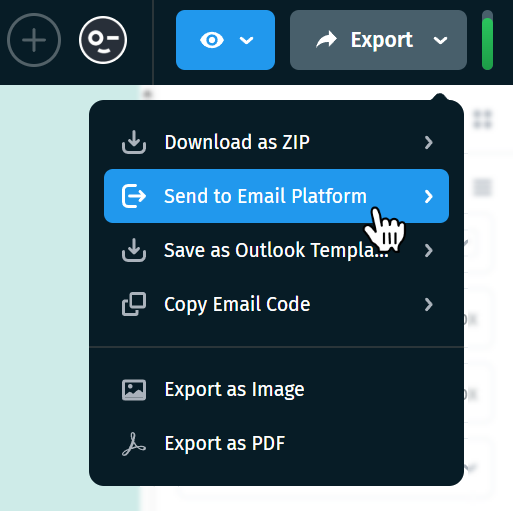
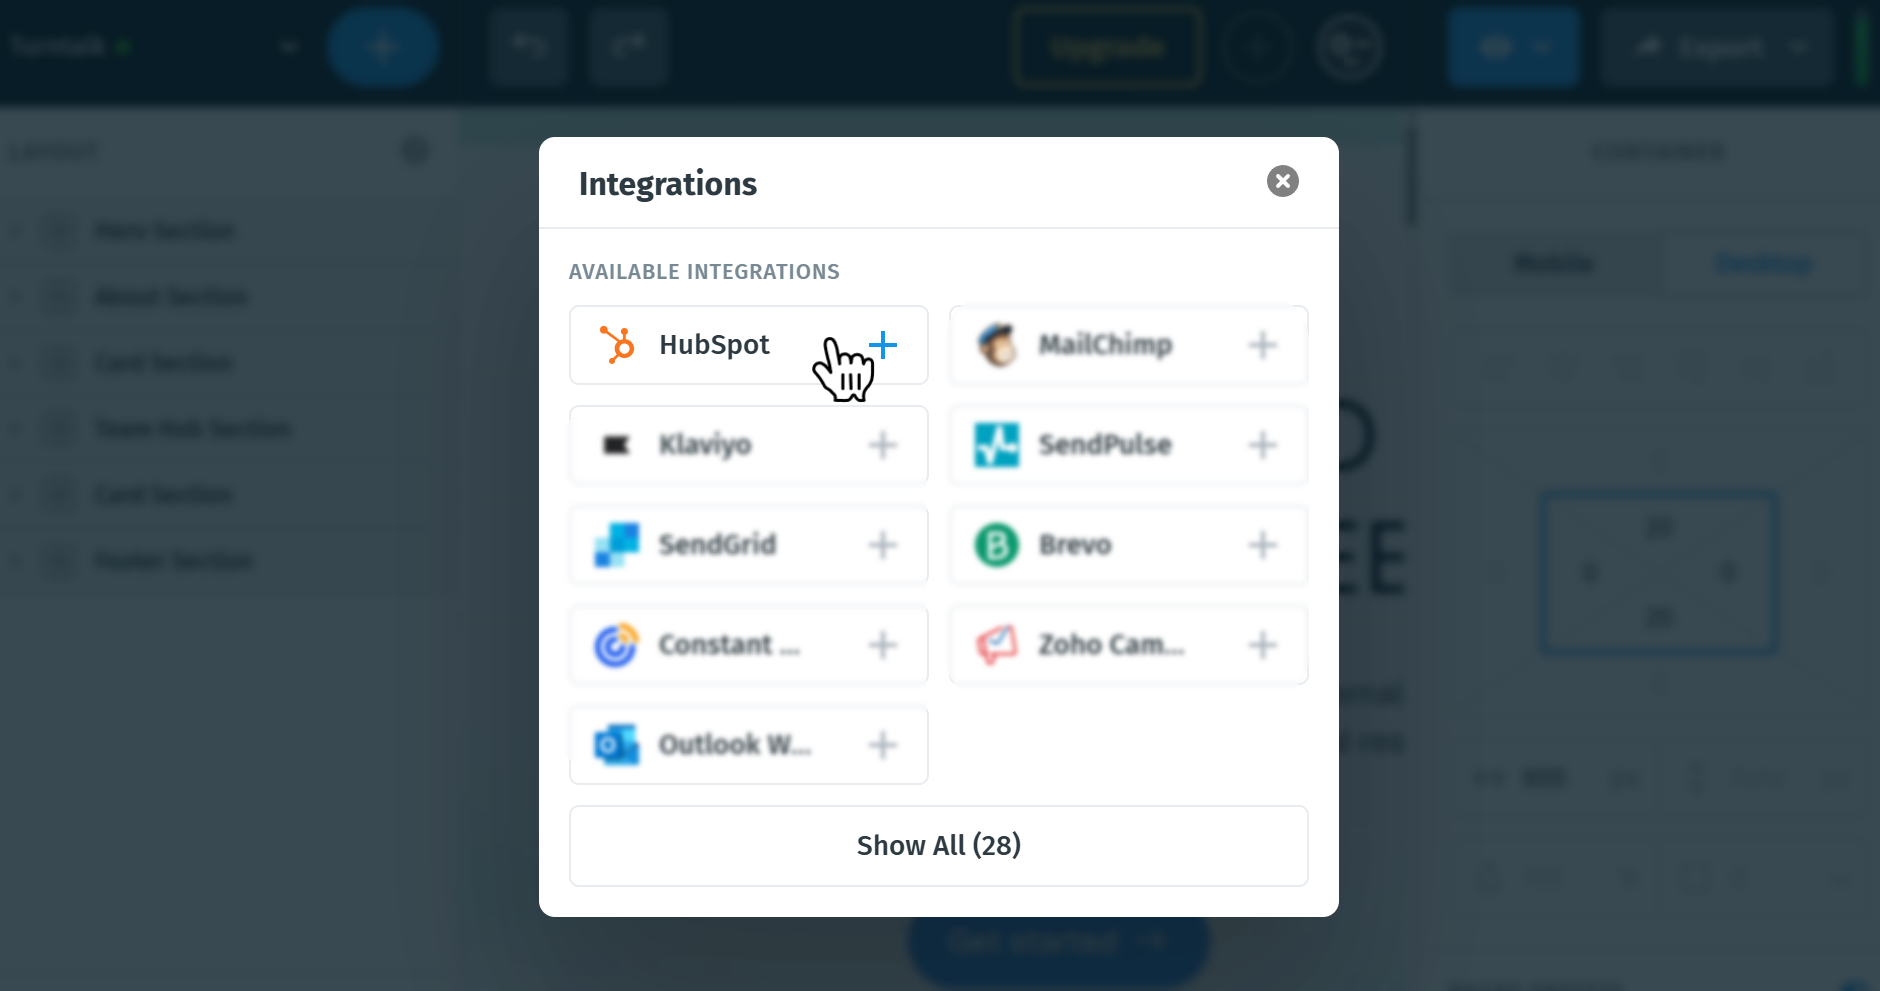
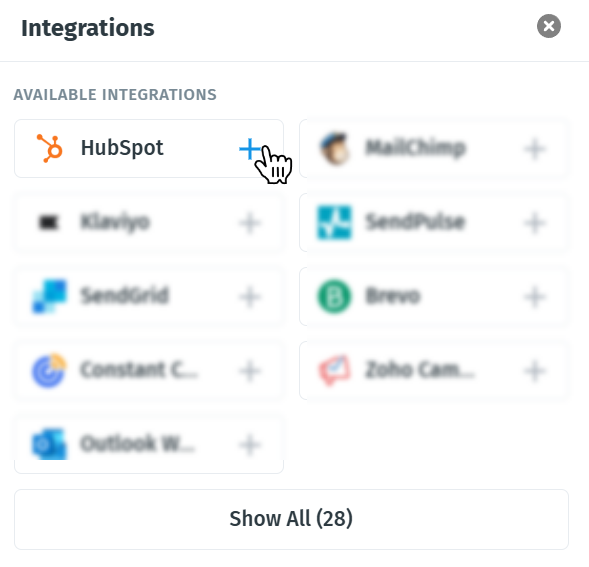
A popup will appear with a list of available integrations, find HubSpot and click the + button next to it.
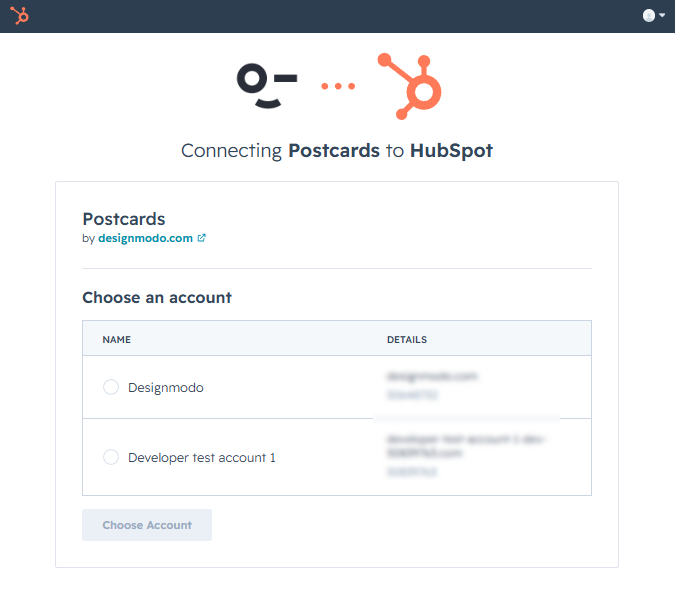
You'll be prompted to log into your HubSpot account if you aren't already. Once signed in, select the HubSpot account you want to connect and click Choose Account to authorize the connection.
Postcards will then send the template directly into your HubSpot account.
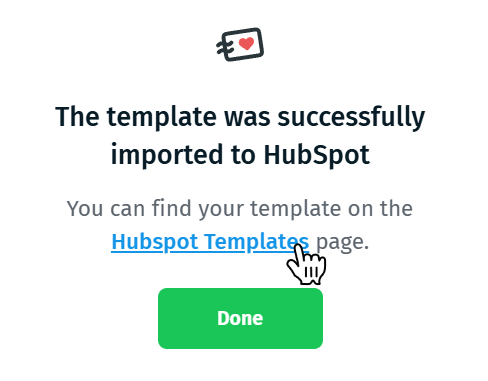
You'll see a confirmation message with a link to view it, click it to jump straight to your HubSpot template.
Here you can preview the design, double-check that everything came through correctly

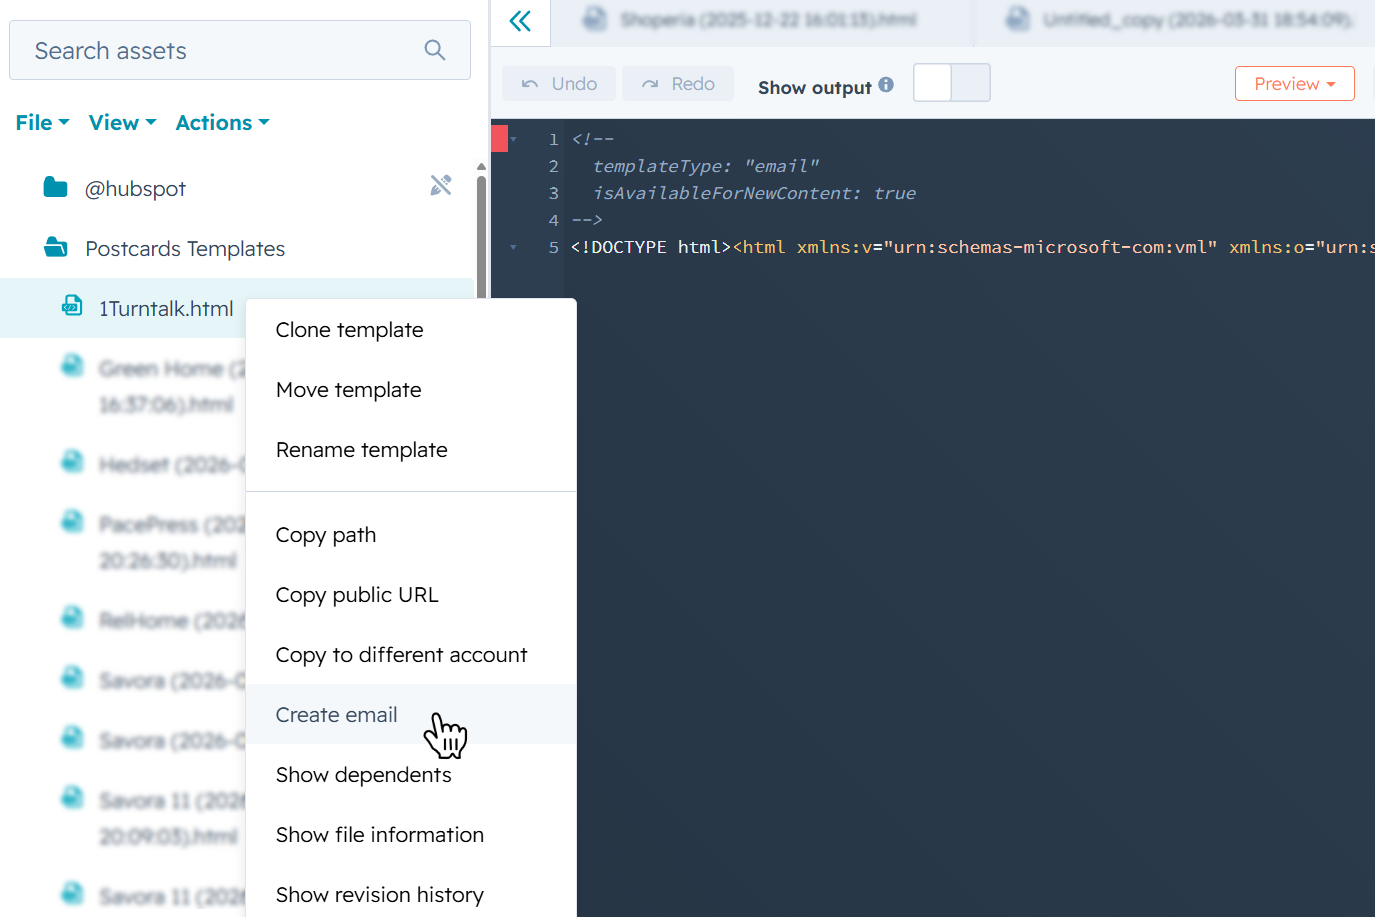
To start using your template right away, head to your HubSpot templates list, right-click the template you just imported, and select Create email. Enter a name for your email and click Create email to confirm.
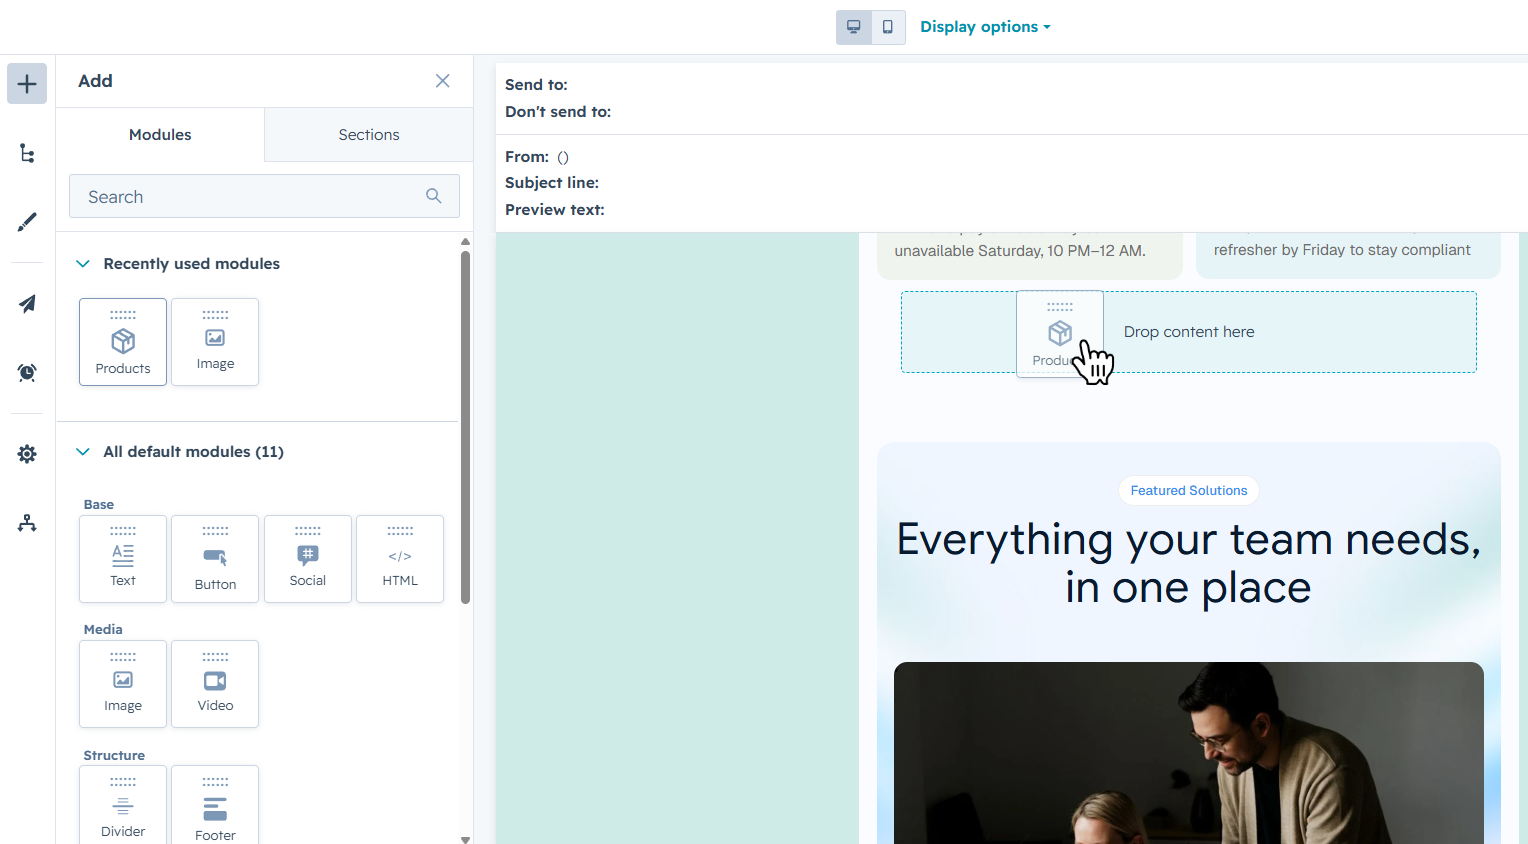
Since we added the drag-and-drop snippet earlier, HubSpot will open the email editor. You'll be able to drag in any HubSpot modules, text blocks, images, buttons, dividers, and so on directly into the area where you placed the {% dnd_area %} snippet. The rest of the template stays exactly as you designed it in Postcards.
From here, you can finish setting up your email (subject line, sender details, recipient list) and send or schedule it like any other HubSpot campaign.
One thing worth knowing: our integration exports the HTML in minified form by default, meaning the code is compressed into a single long line with no spacing or line breaks. This keeps the file size as small as possible, which helps with Gmail's 102KB clipping limit and overall email performance.
If you'd rather work with cleanly formatted code (for easier editing or readability), you can copy the HTML from HubSpot's code view, run it through a free online formatter like https://www.freeformatter.com/html-formatter.html, and then paste the formatted version back into HubSpot. Functionally it'll behave the exact same way, the formatting is purely for human readability.
Method 2: Import the HTML Manually
If you'd rather upload the HTML yourself or want more control over how the template lands in HubSpot, you can paste your Postcards code directly into HubSpot's Design Manager.
A quick note before starting: for the manual route, we recommend leaving out the {% dnd_area %} snippet and the {{ dnd_area_stylesheet }} head variable from your Postcards template. The drag-and-drop area feature plays much better with the built-in integration and tends to cause layout issues when uploaded manually.
First, you'll need your Postcards template code. There are two quick ways to get it:
- Copy email code: In the Postcards editor, click Export in the top right corner and select Copy Email Code. This copies the full HTML straight to your clipboard.
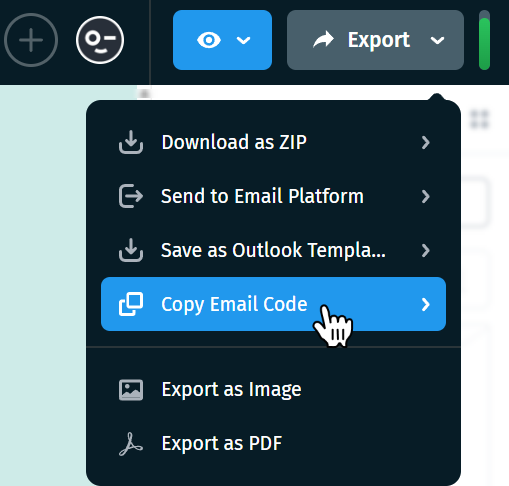
- Download as ZIP: Click Export > Download as ZIP, and make sure Host images/fonts online is toggled on. Extract the ZIP, open the
index.htmlfile in a text editor, and copy the entire code.
With the code ready, head into HubSpot:
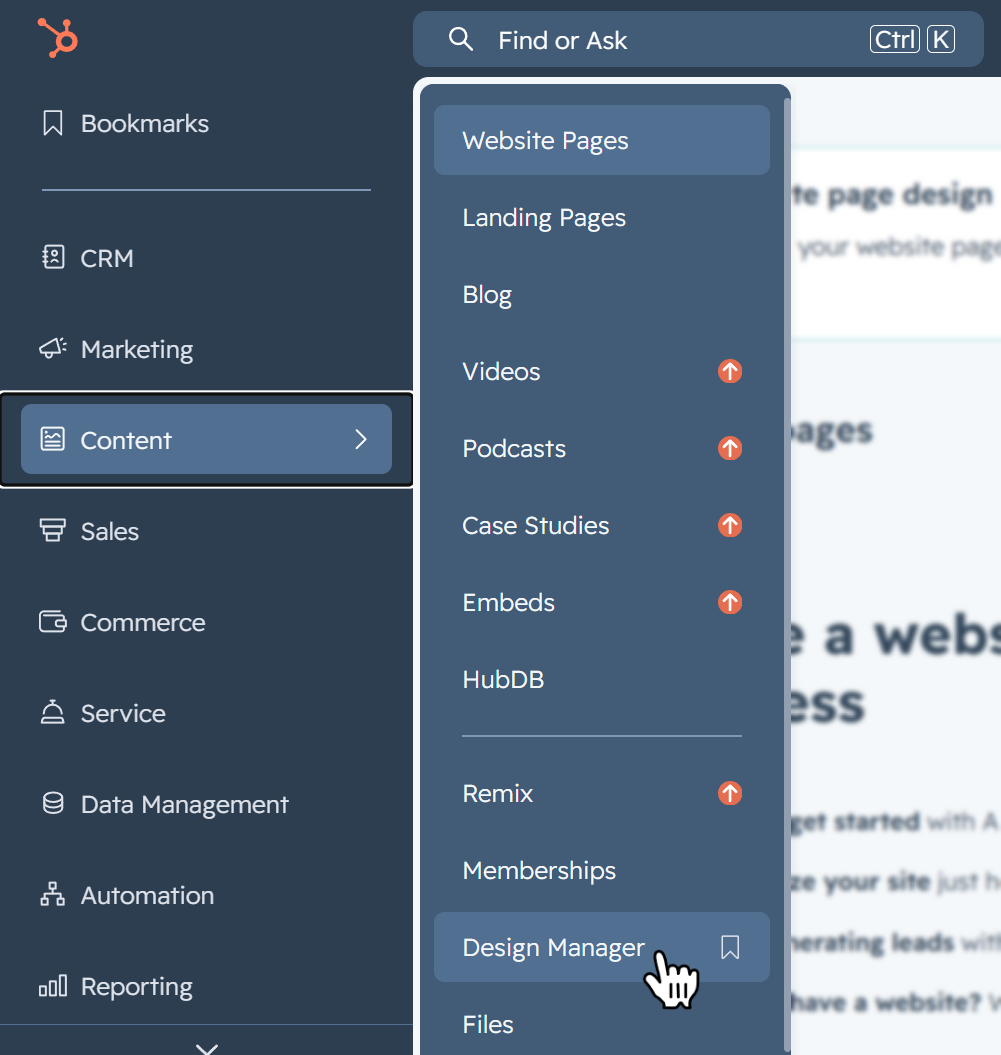
From the top navigation, click Content > Design Manager.
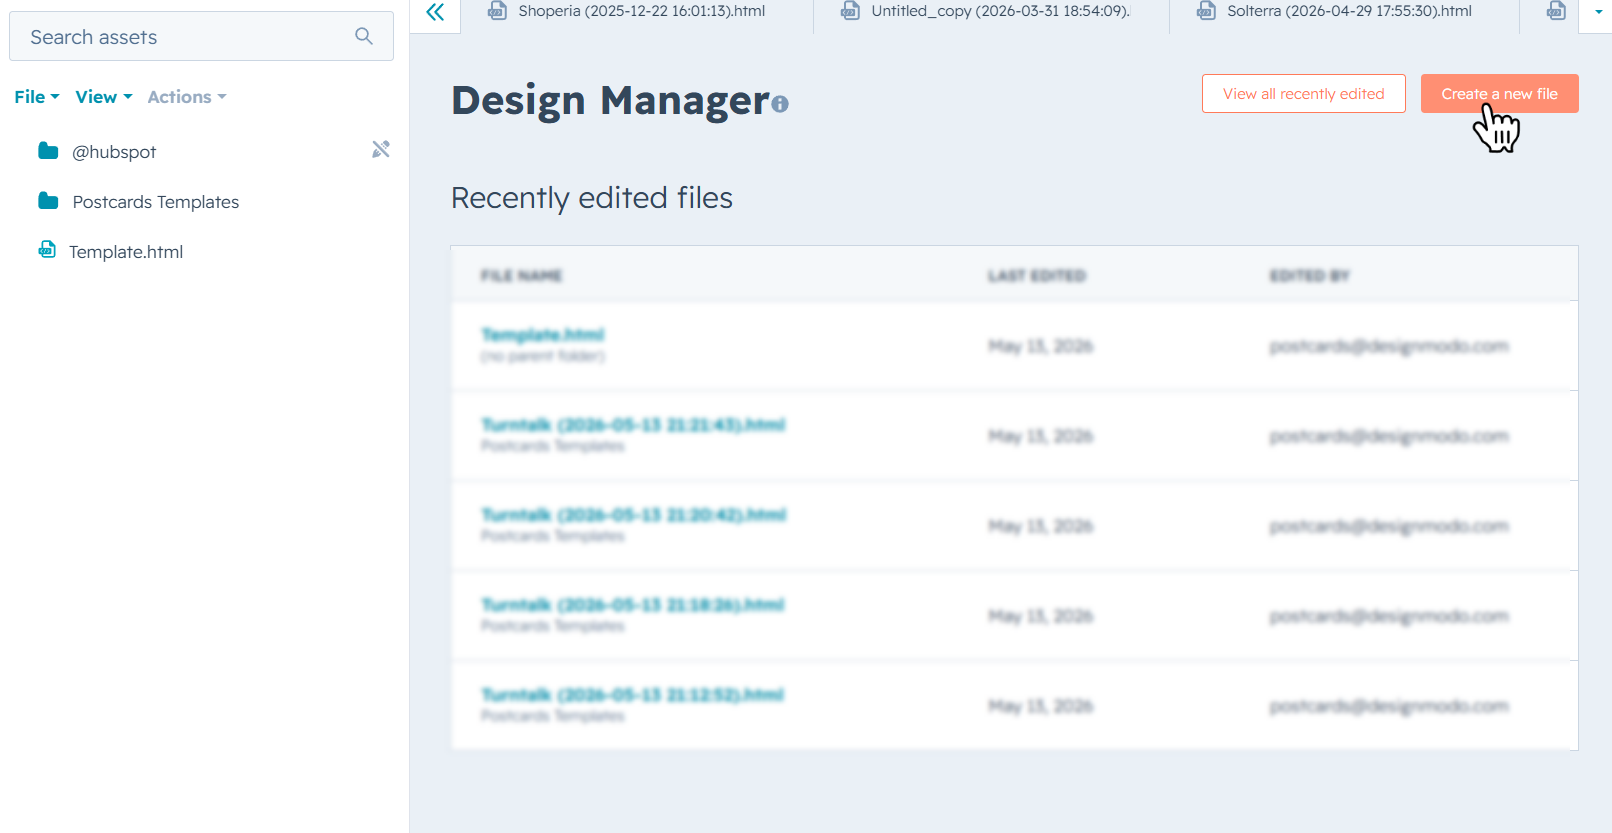
Now click the orange Create new file button in the top right
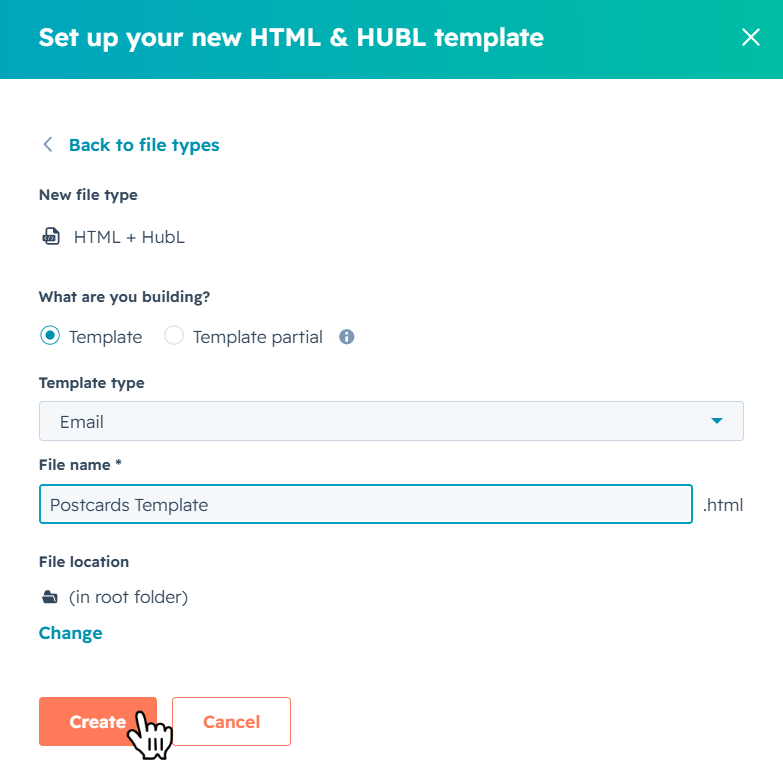
Select HTML + HubL and click Next. Leave the type set to Template, and under the template type dropdown choose Email. Give your file a name and click Create.
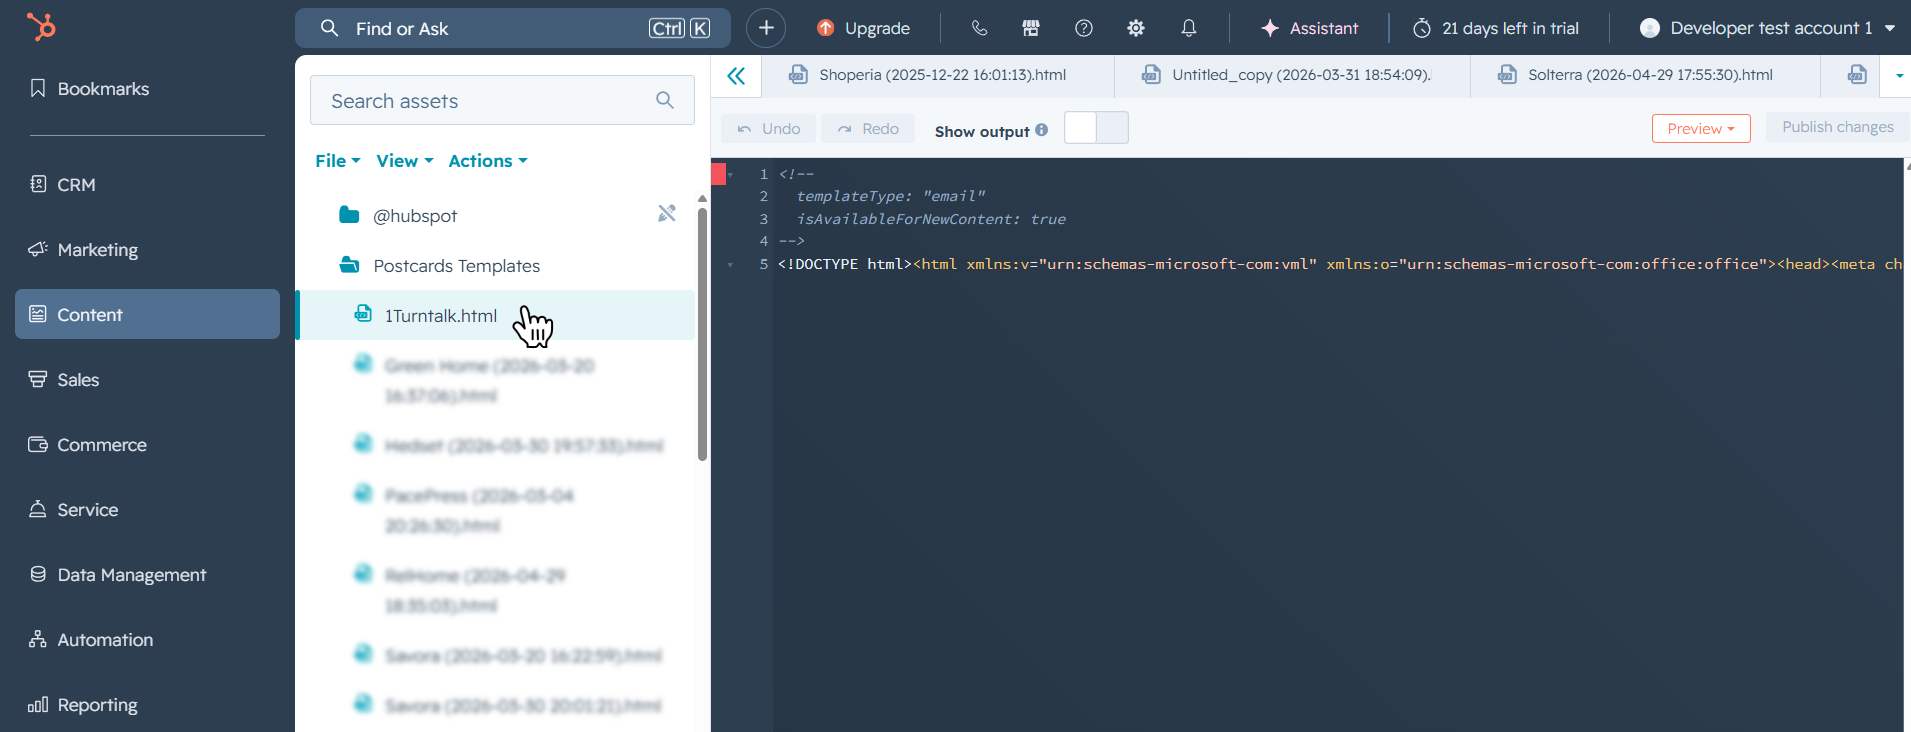
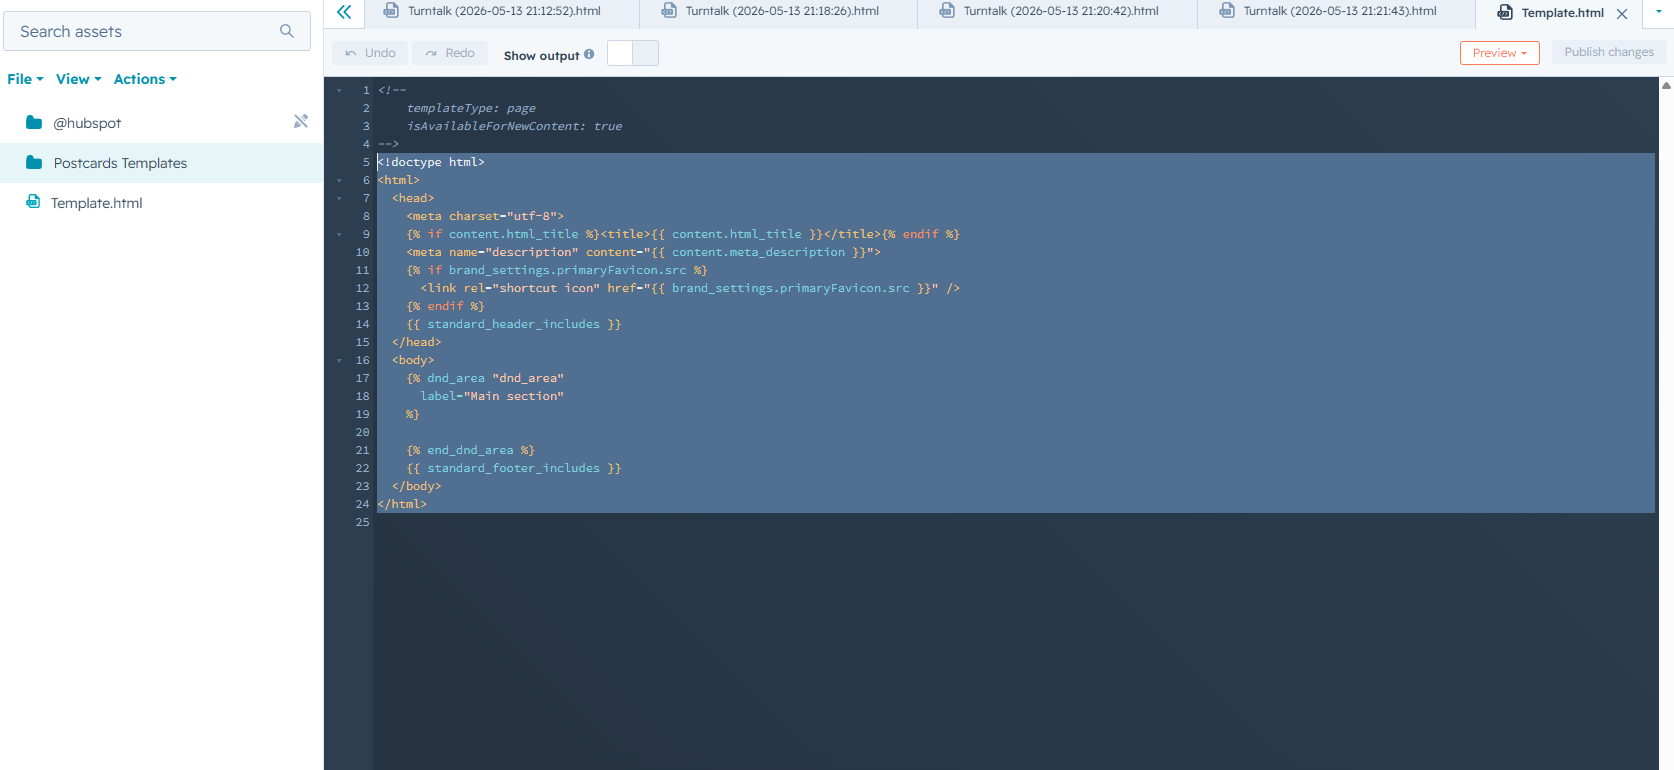
You'll be redirected to the file's code editor, where HubSpot will have auto-generated a placeholder template. Keep the first four lines at the very top intact, these are the template annotations that tell HubSpot how to handle the file:
<!--
    templateType: email
    isAvailableForNewContent: true
-->
Select and delete everything below those lines:
Then paste in your Postcards HTML using whichever method you copied it with above.
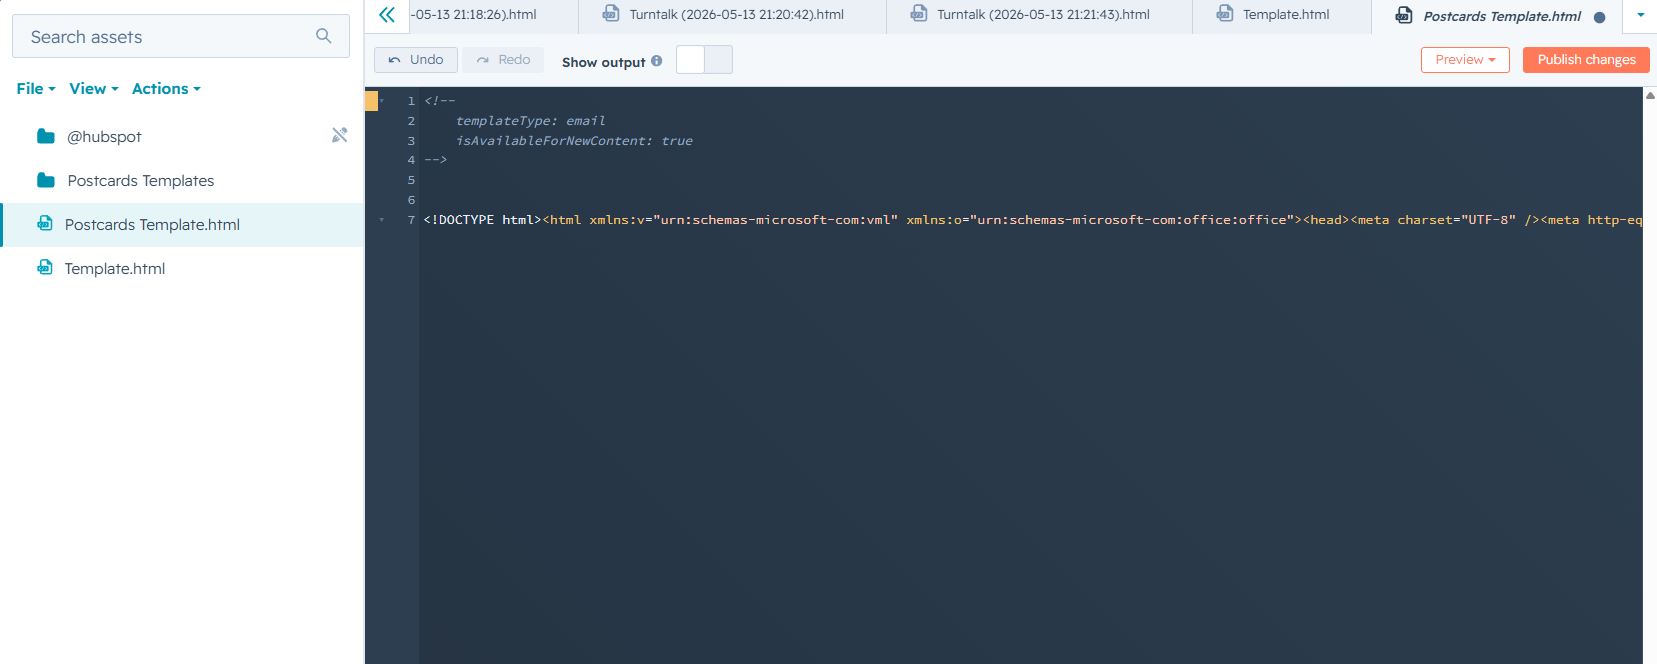
After pasting your Postcards HTML, click Publish changes in the top right corner of the editor.
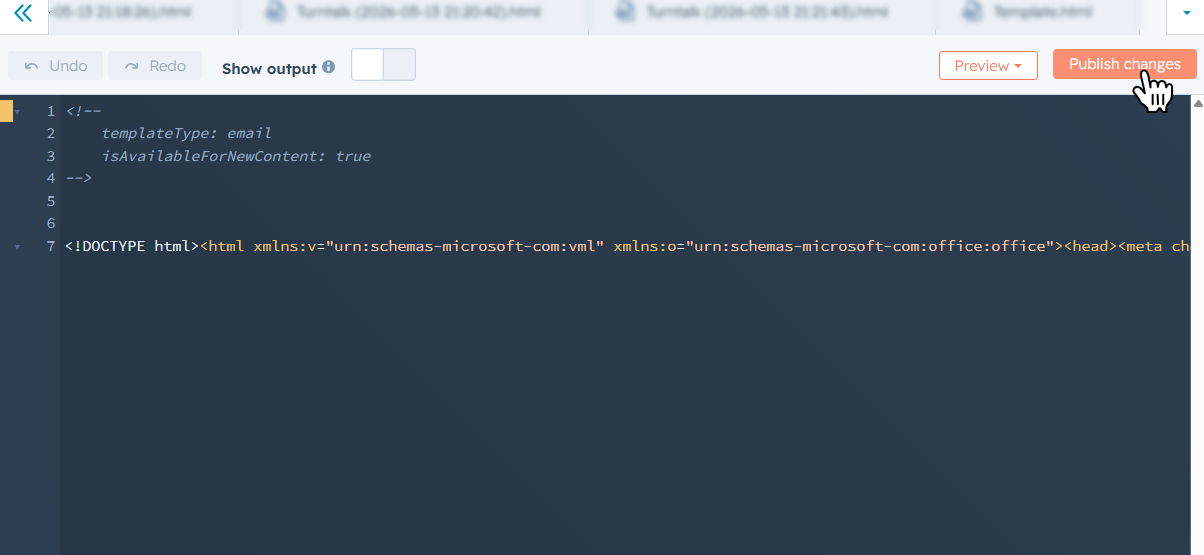
Your template is now saved in HubSpot and ready to use.
What we covered
- How to add the required HubL variables to your Postcards template before exporting.
- How to make a section of your template editable in HubSpot's drag-and-drop editor.
- How to use the built-in HubSpot integration to send your template directly.
- How to manually export your Postcards template as HTML or copy the email code.
- How to upload your HTML into HubSpot's Design Manager as a coded email template.