
How to Upload an Email Template in AWeber
In this tutorial, we’ll be creating a custom HTML email template in AWeber using a Postcards template.
Prerequisites
- A Designmodo account
- An AWeber account
- A text editor that can open HTML files
Steps
1. Create a Postcards template with the required AWeber tag
The first thing we need is a template to work with. We’ll be creating a template in Postcards and adding the required AWeber tag to it.
We want to add the required tags in the Postcards editor so we can just copy and paste the code once we get to AWeber.
There is 1 required tag from AWeber, and it looks like:
<AW:BODY>
This is called a dropzone, and it’s where your message content goes.
In the Postcards app, I created a template that looks like:
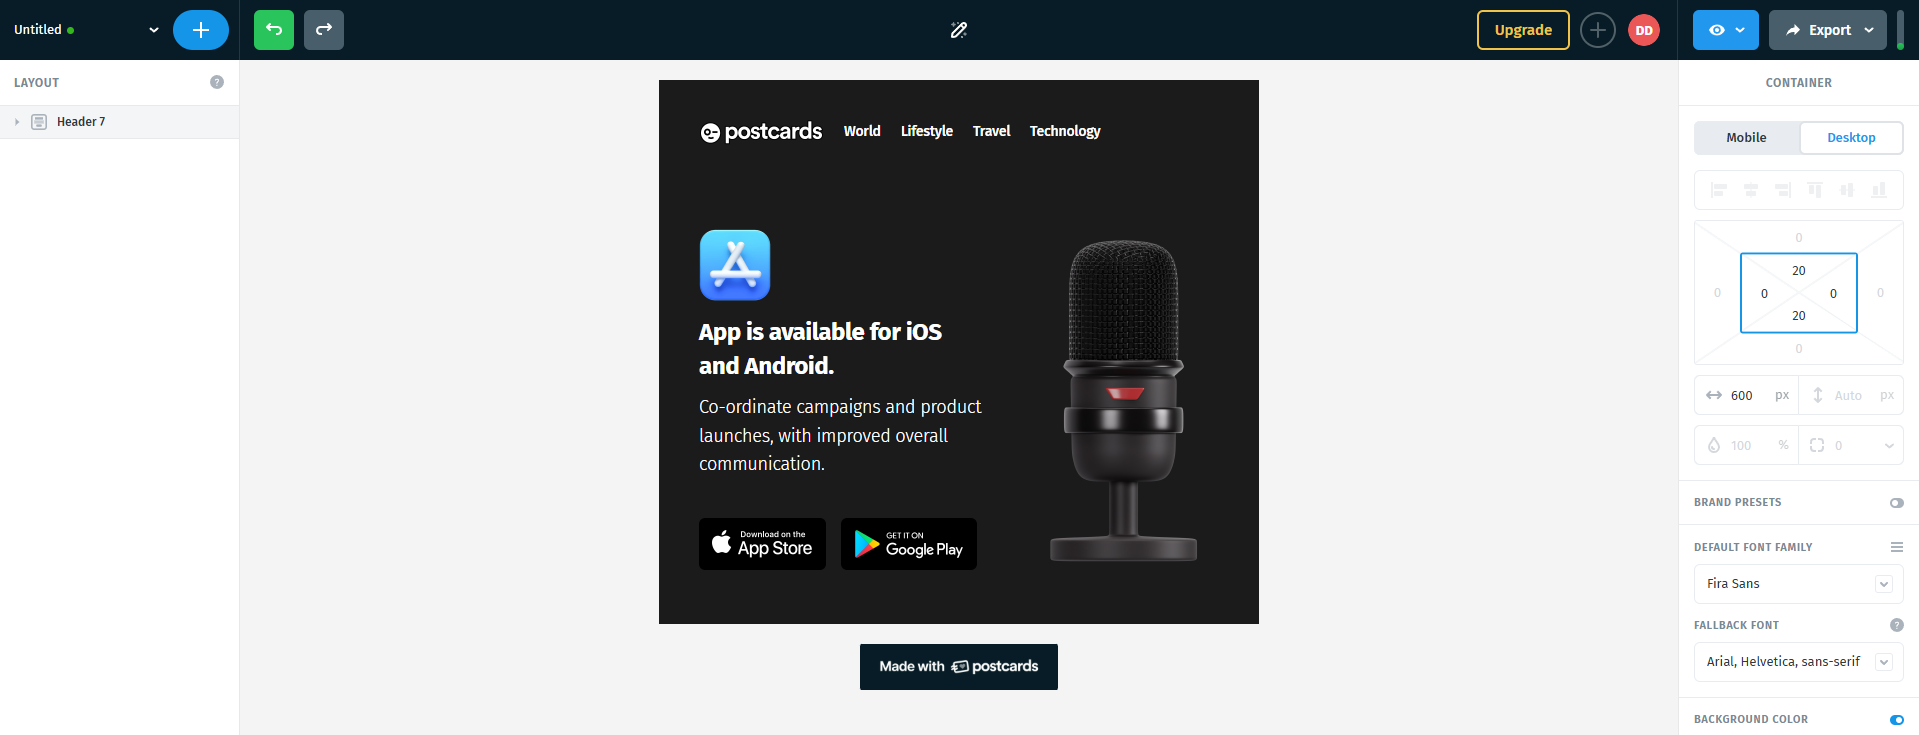
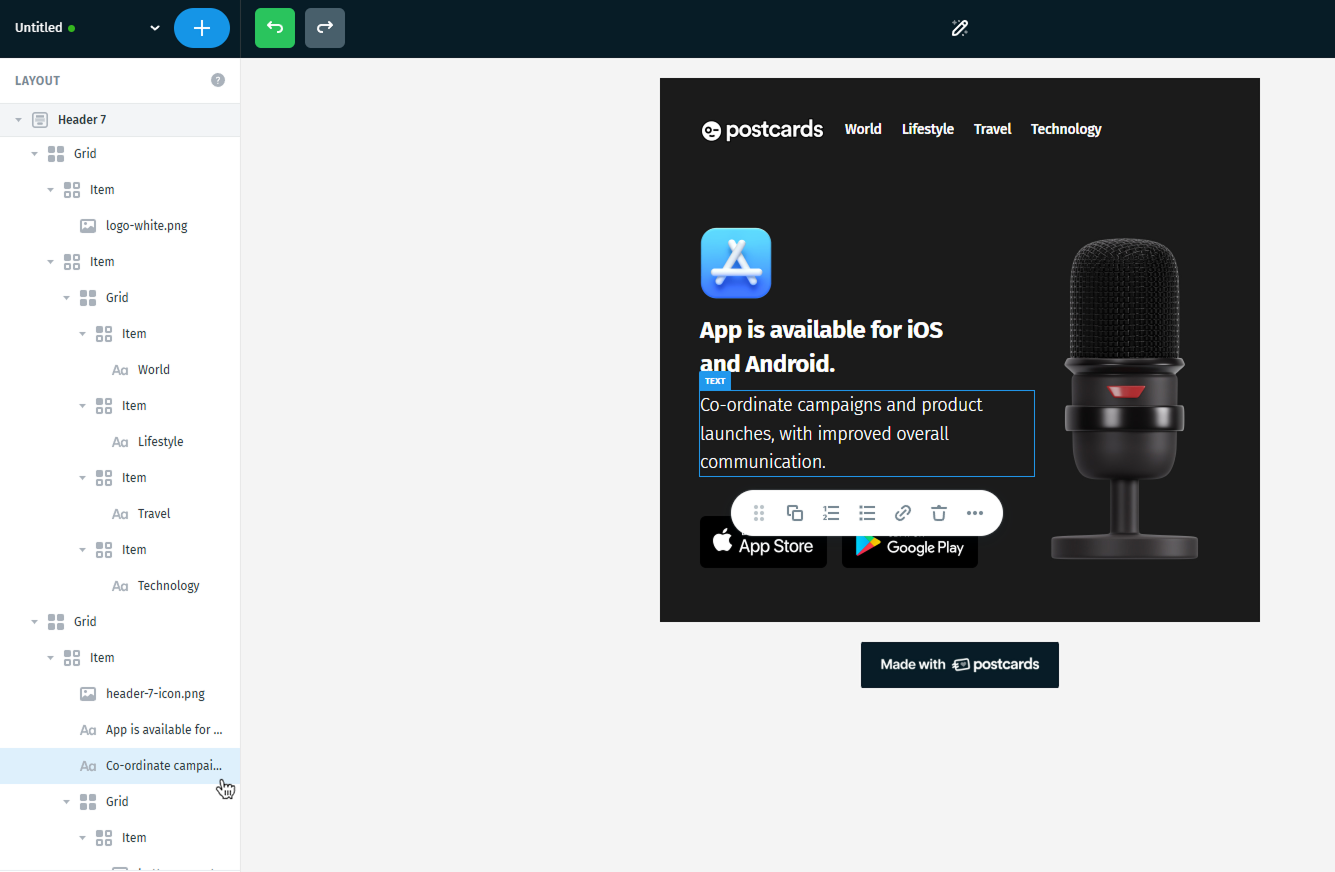
We’ll be adding the AWeber body tag to the Header subtitle, so click on the Header and that’ll open up the menu to edit the content. Then find the "TEXT" element.
Replace the contents in the editor with the AWeber body tag like this:
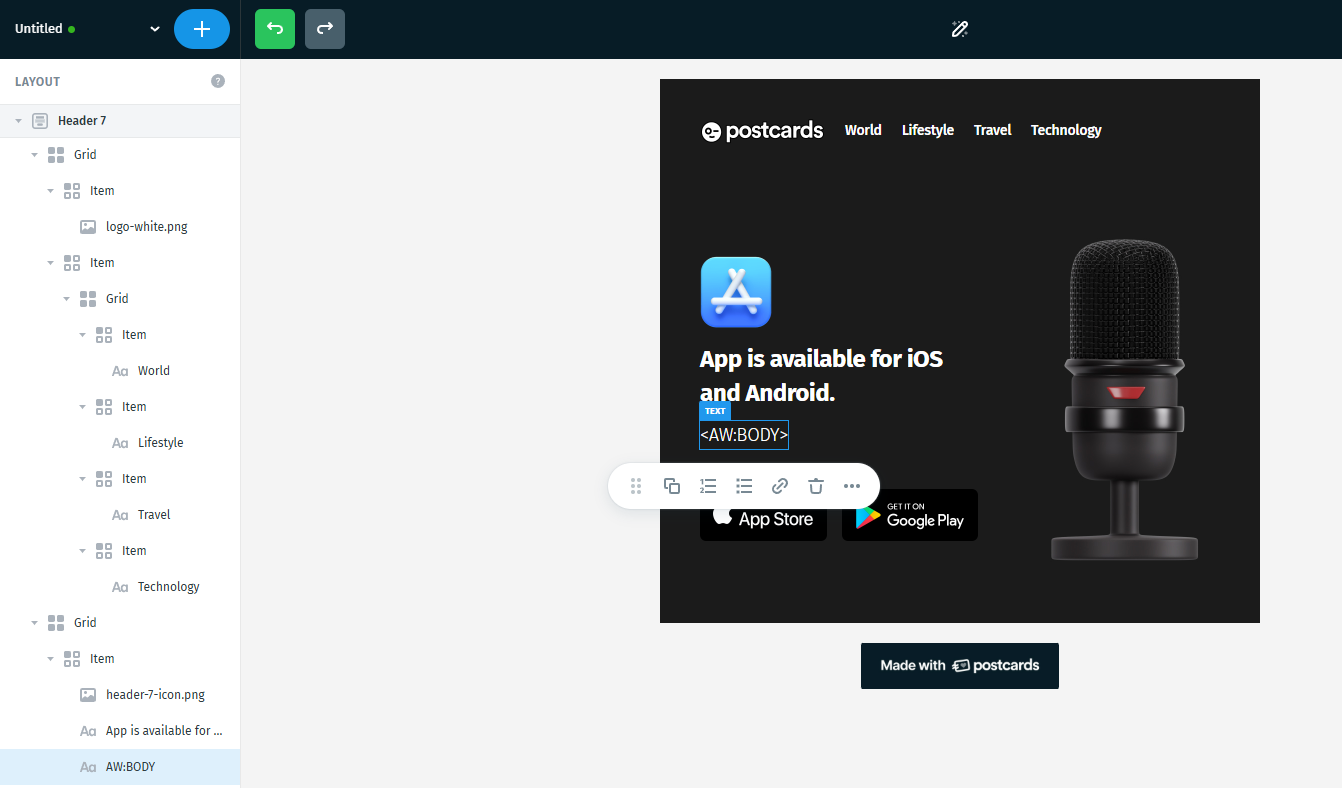
After inserting the tag, wait a few seconds for autosave (check the green dot next to your project name to confirm changes are saved).

Now our template is ready to go.
Export the HTML from Postcards
Once your design is ready, the next step is to export the HTML from Postcards so you can import it into AWeber. Postcards gives you two ways to do this through the Export menu:
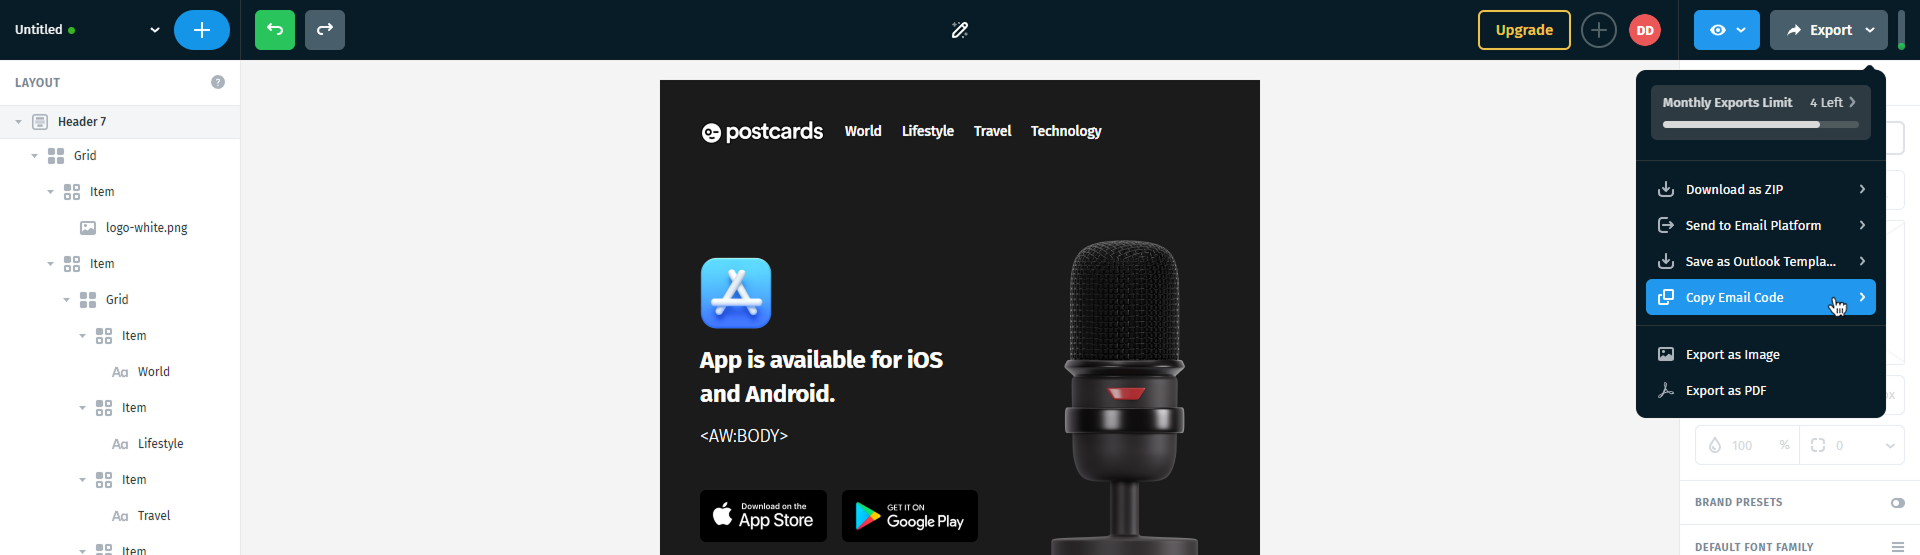
- Copy Email Code — this is the quickest option. It copies clean, production-ready HTML directly to your clipboard, so you can paste it right away into AWeber:
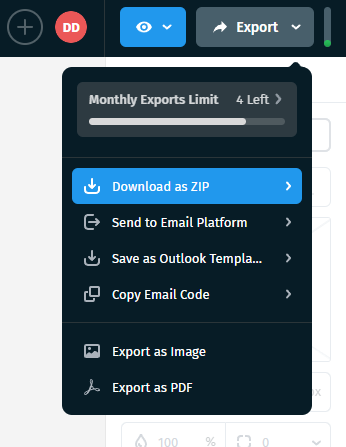
- Click Export in the top-right corner.
- Select Copy Email Code.
- The full HTML will be copied automatically to your clipboard.
- Download as ZIP — this downloads the full HTML package of your email, including the
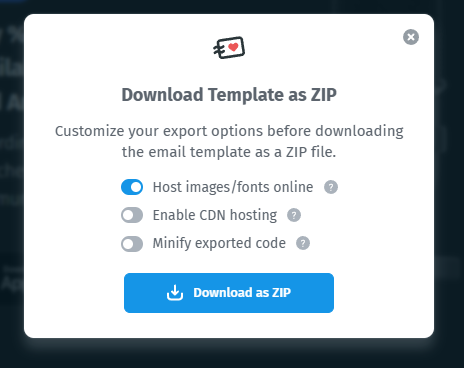
index.htmlfile. Make sure Host images/fonts online is enabled before downloading, unless you plan to use your own hosted image and font files.- Click Export in the top-right corner and select Download as ZIP.
- Click the "Download as ZIP" button.
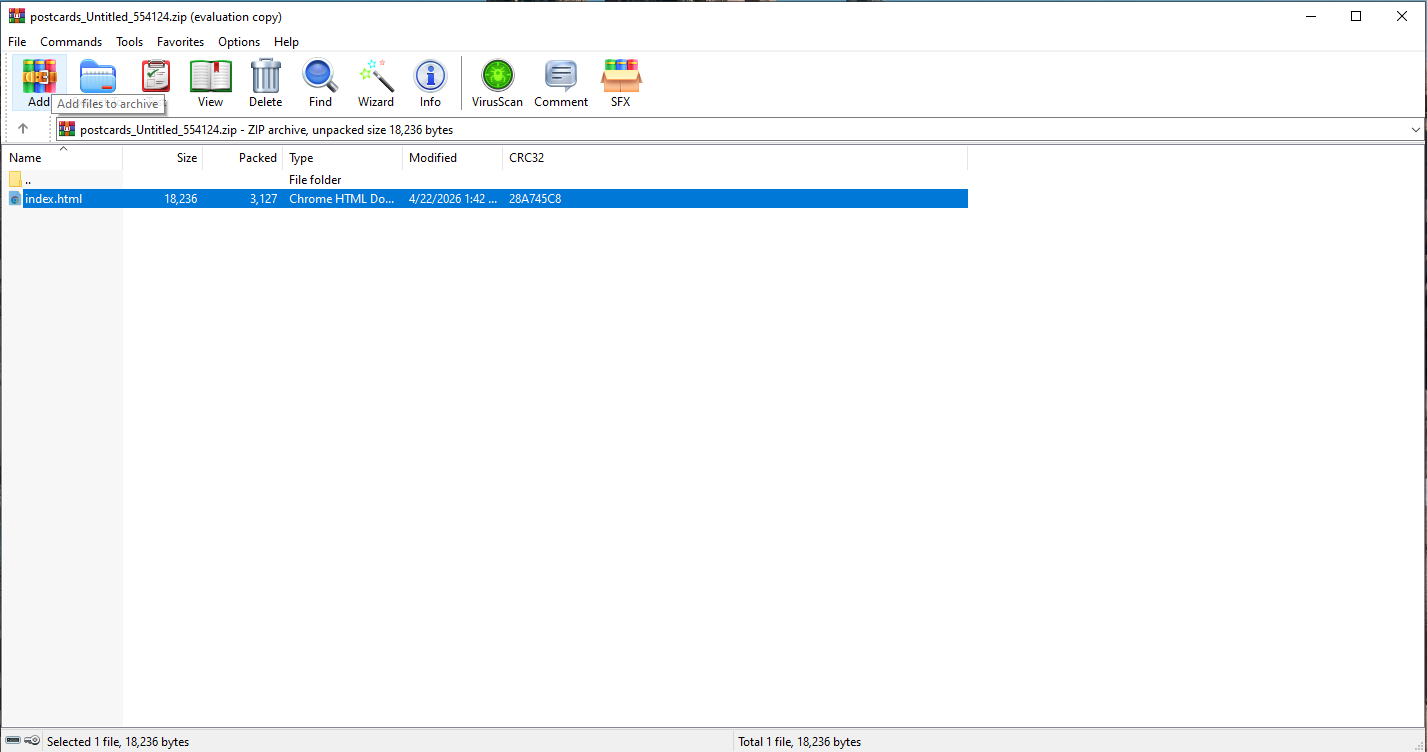
- Open the ZIP and extract the contents into a folder.
- Inside the extracted folder, locate the
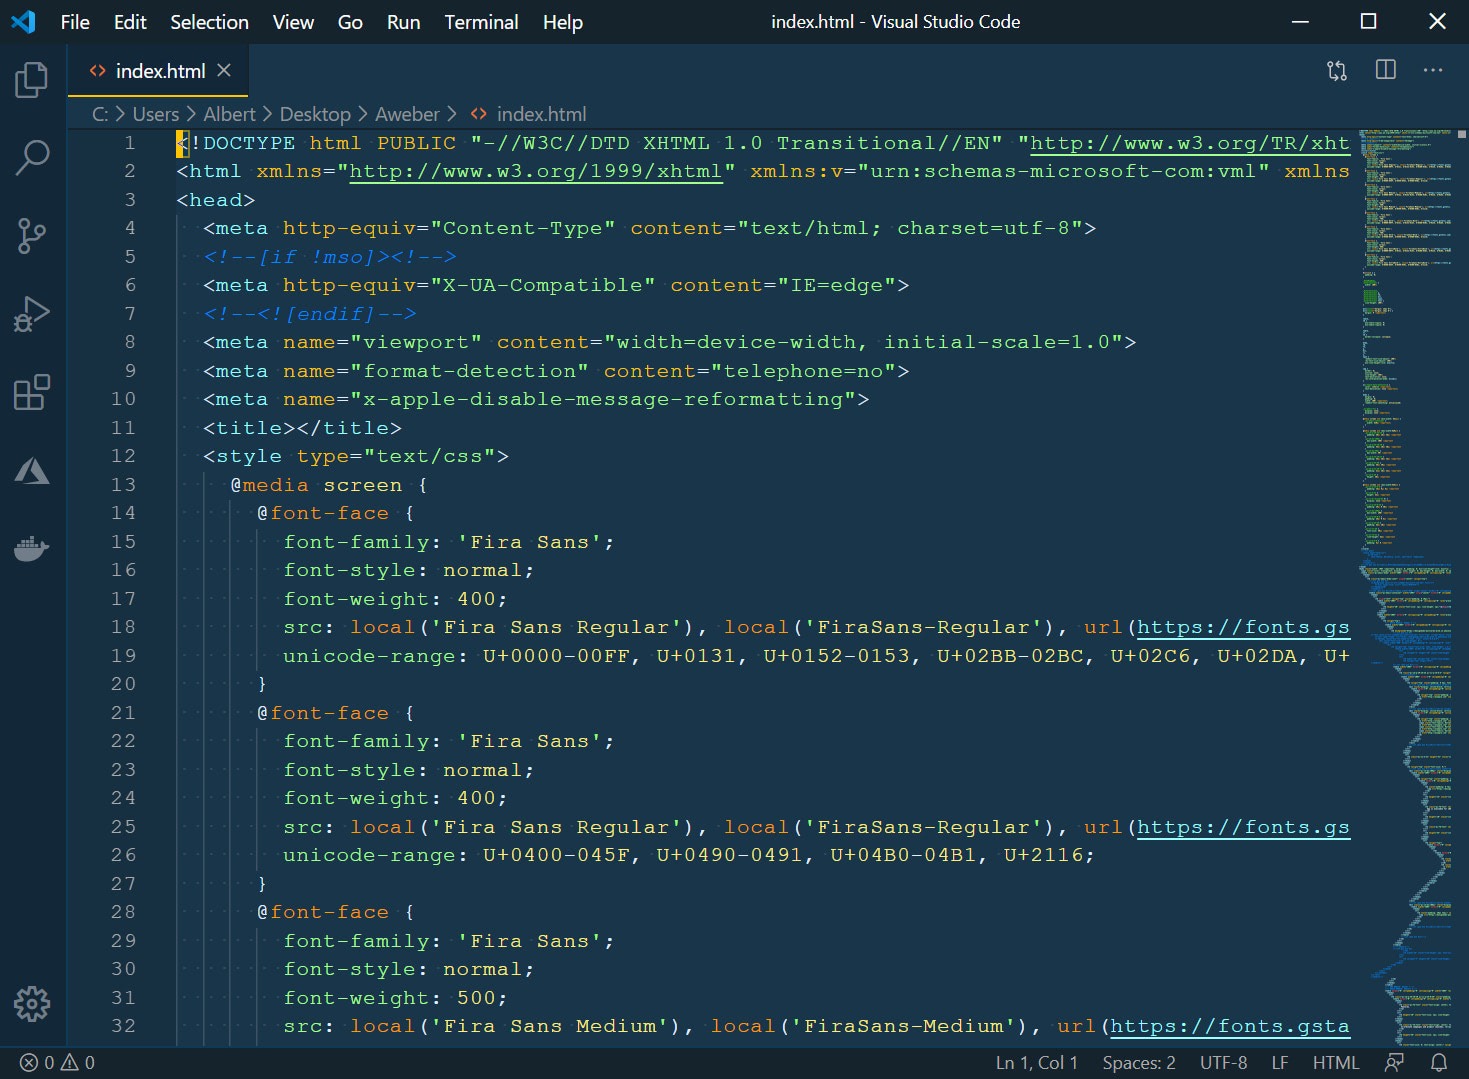
index.htmlfile. - Open
index.htmlin a text editor such as Notepad, Notepad++, or Visual Studio Code. - Copy the full HTML code from that file. (CTRL + A - to select all, then, CTRL + C - to copy)
Extract the file into a folder you can work with. It should look something like this:
2. Create an email template in AWeber
In your AWeber dashboard under Messages, select “Email Template Manager.”
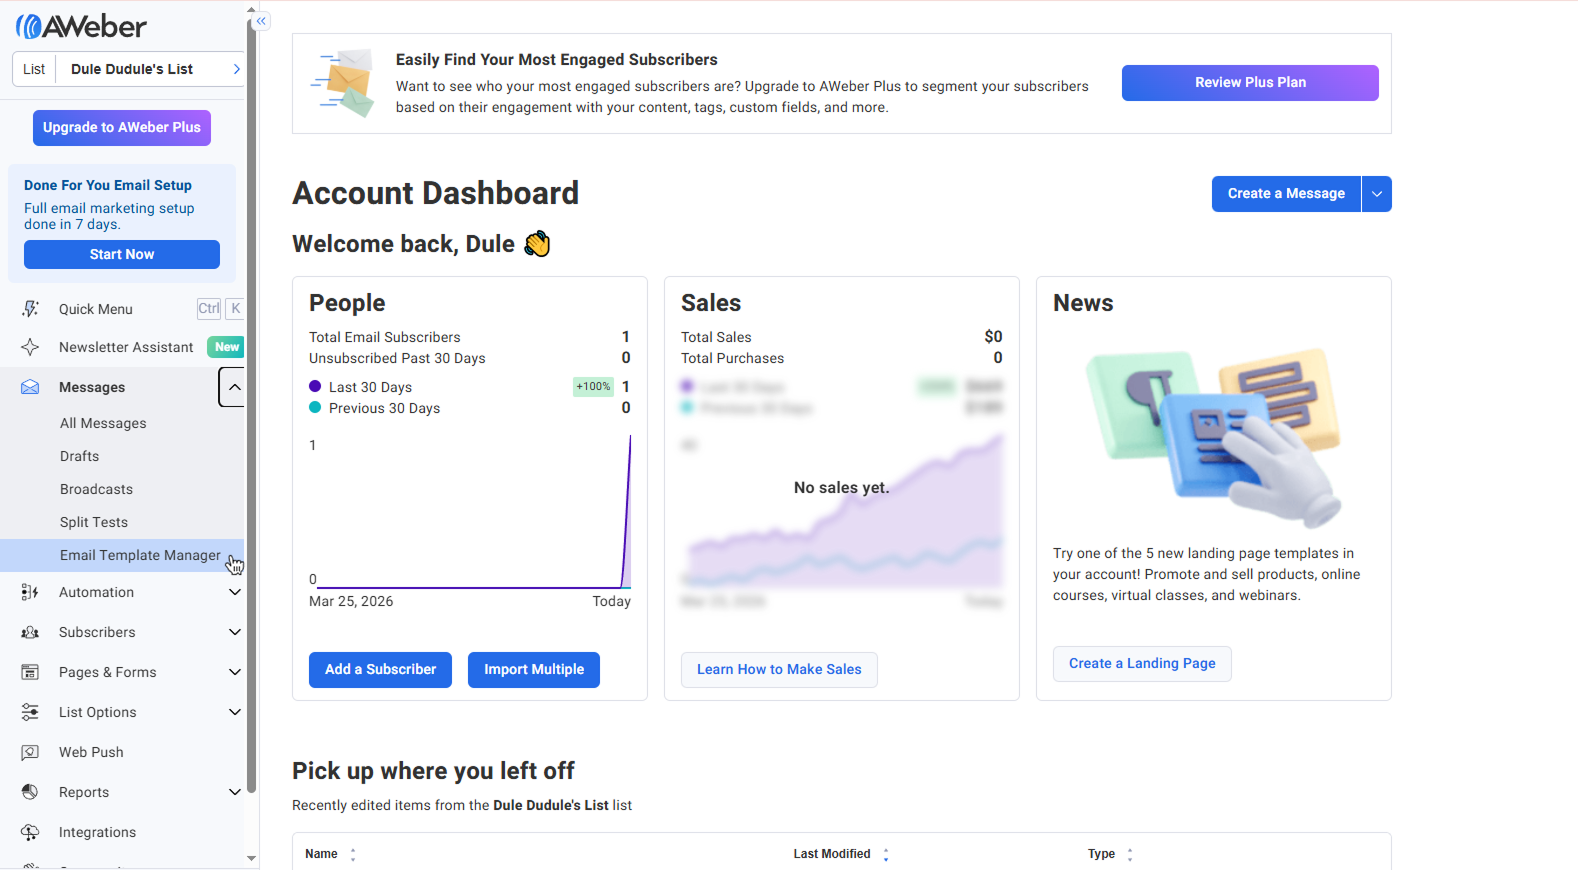
Click Design My Own Template → Import a template
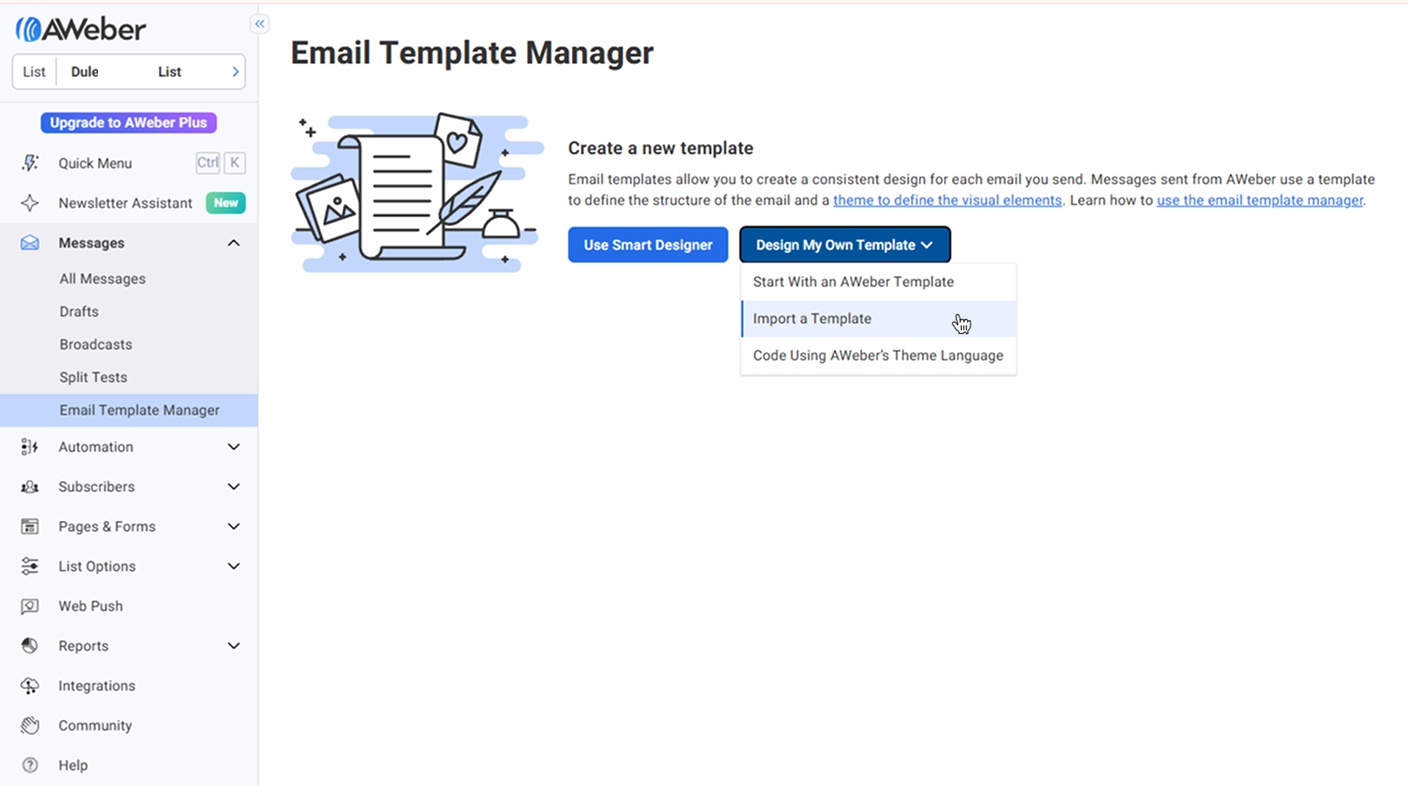
Your window should look like:
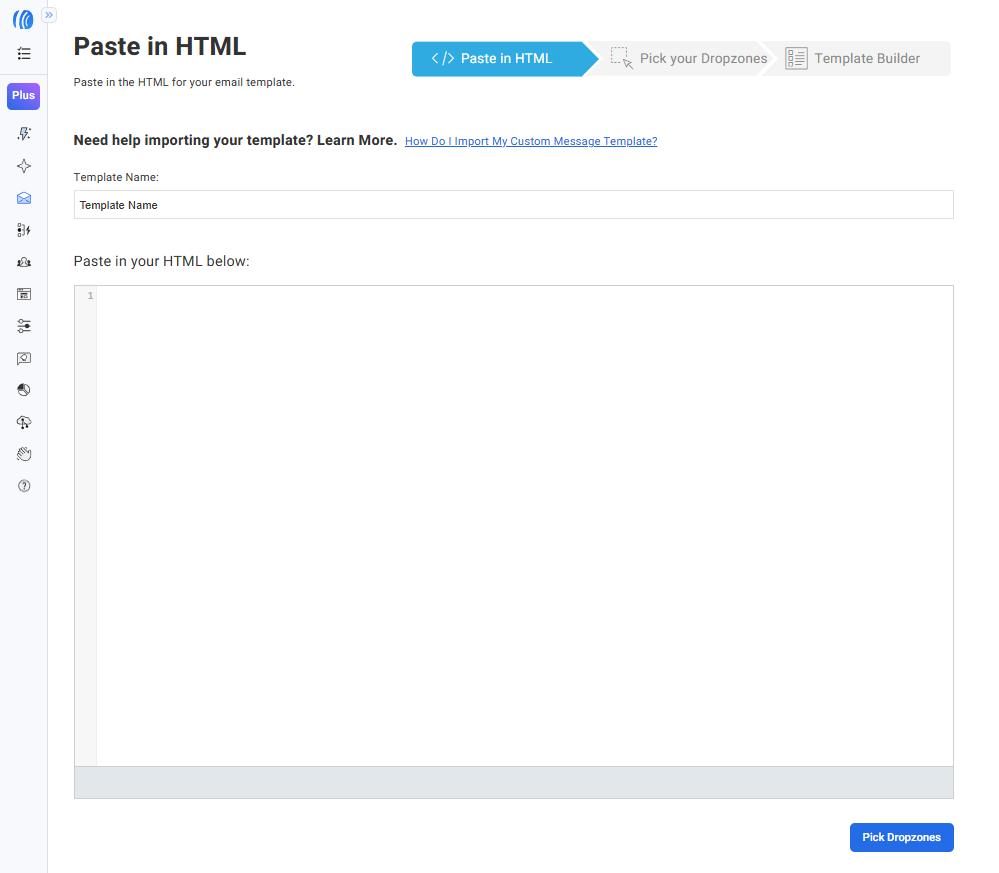
Paste your HTML code into the editor and name your template:
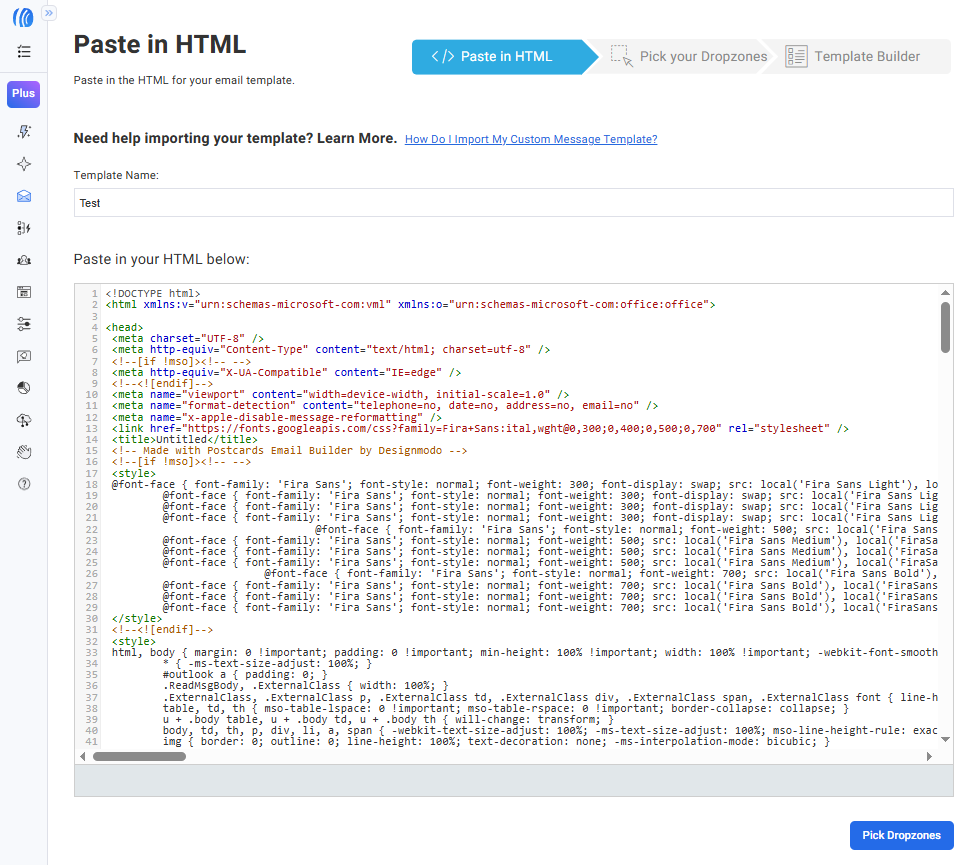
Next, press the “Pick Dropzones” button at the bottom of the page.
We already added the required dropzone, so we can continue onto the “Template Builder” page. Press the “Template Builder” button at the bottom of the page or at the top of the page.
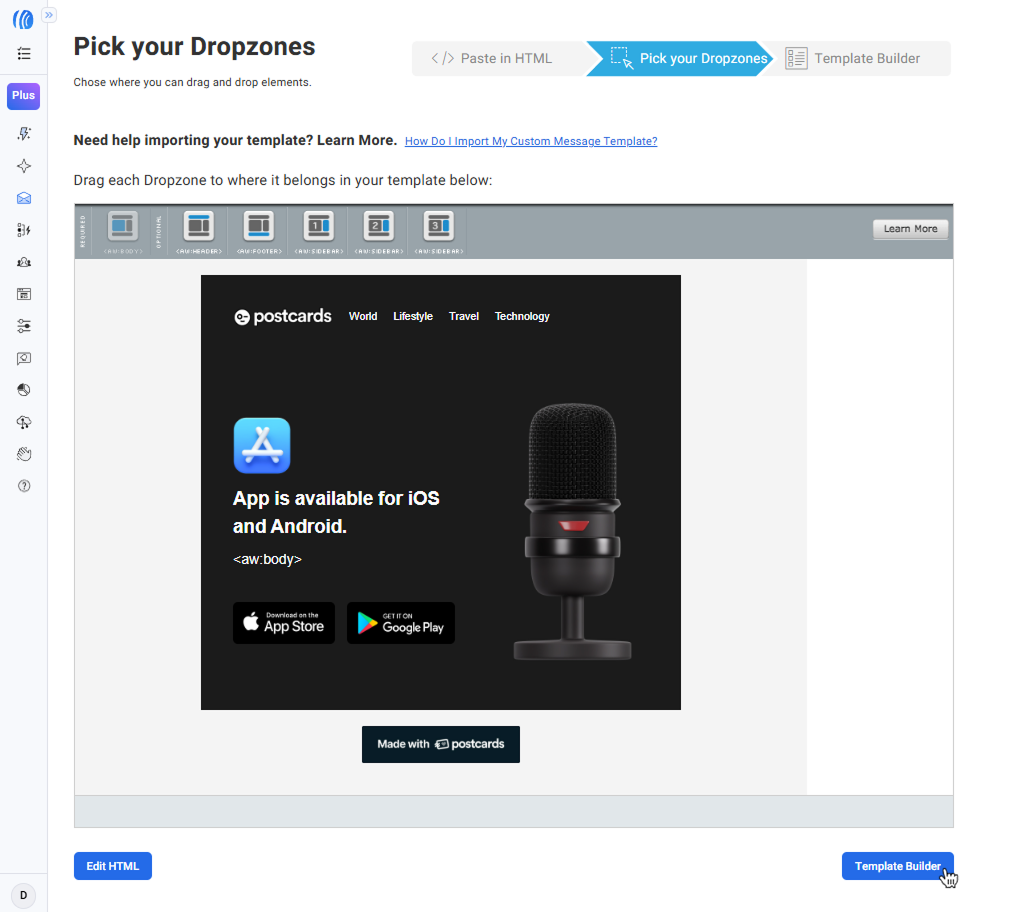
After that, you’ll be redirected to AWeber’s editor, where you can make any additional changes to your template if needed. Once you’re done, click the “Save & Exit” button in the bottom-right corner.
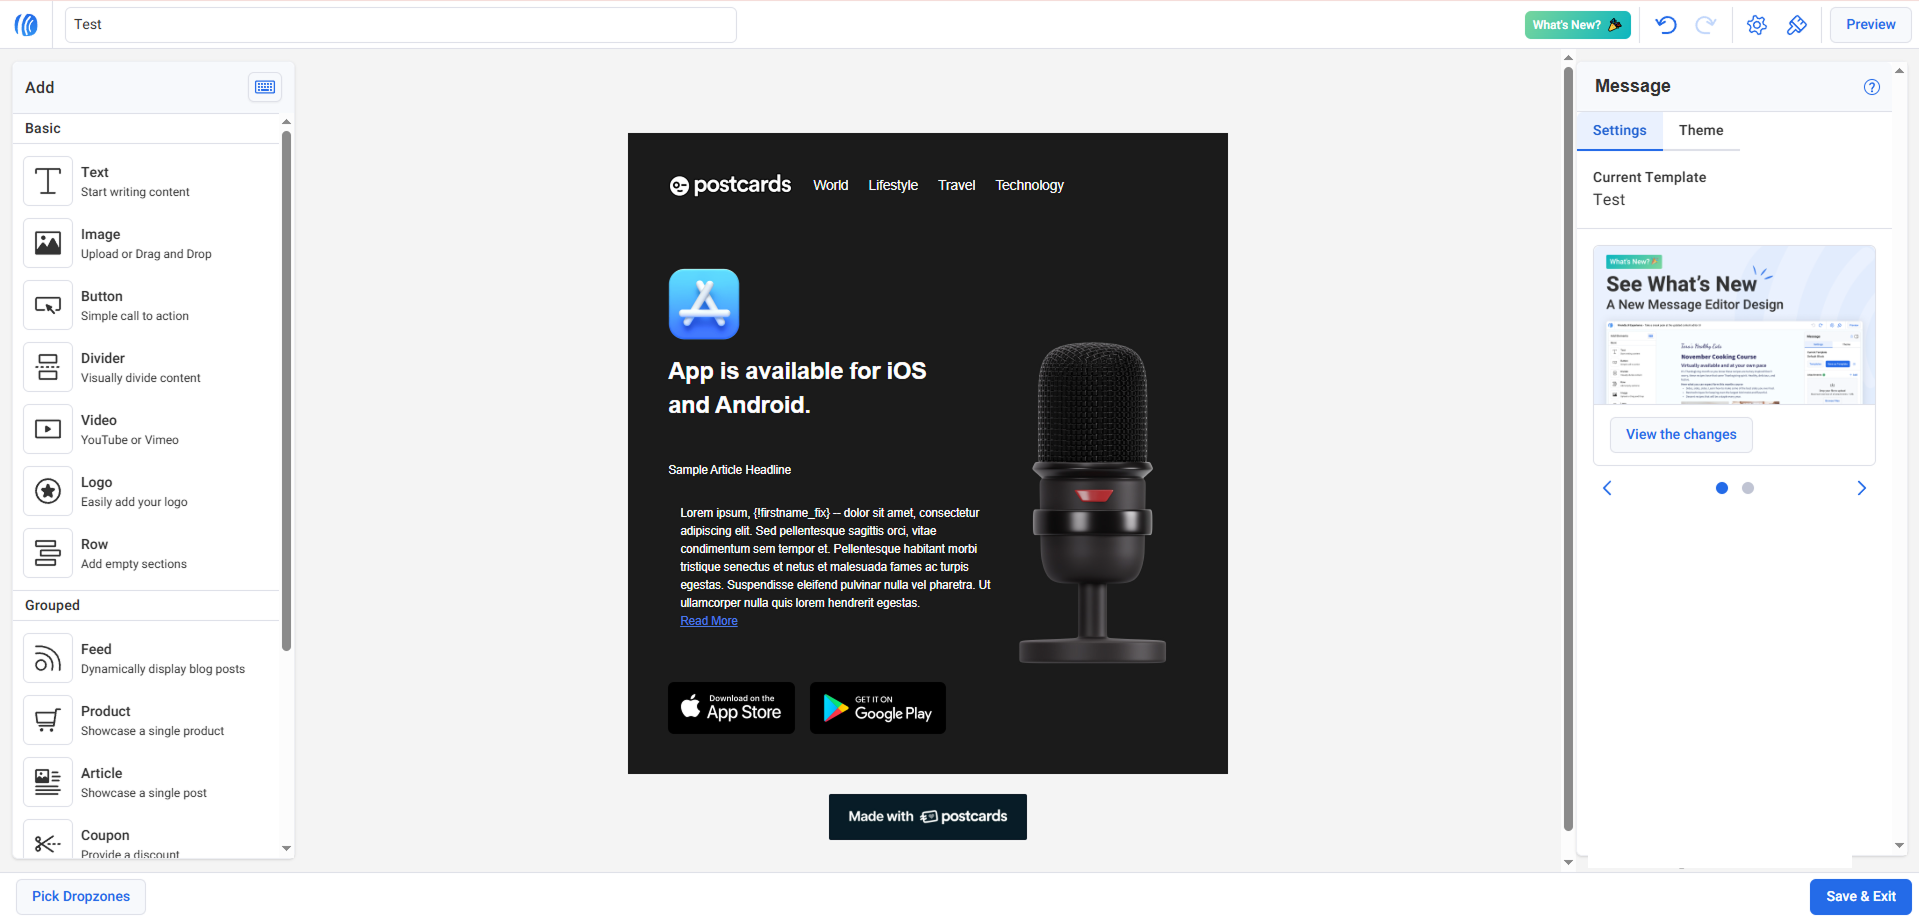
Press “Save As Template” and give it a name.
At this point, your template is ready to go.
I sent myself a test email, and the template looks like:
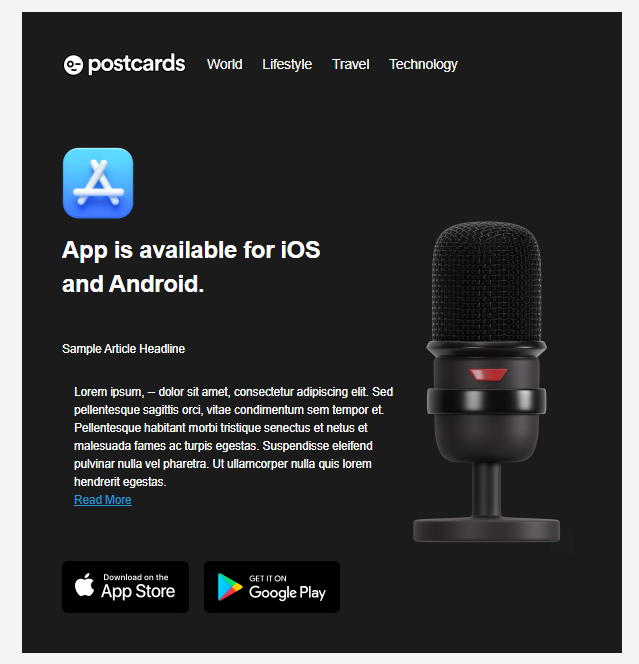
What we covered
- How to create a Postcards template with AWeber tags.
- How to create an email template in AWeber using HTML code.