How to Upload an Email Template in Vertical Response
How to create a campaign with a custom HTML email in Vertical Response using a Postcards template.
In this tutorial, we’ll be creating an email campaign in Vertical Response using a template from Postcards.
Prerequisites
- A Designmodo account
- A Vertical Response account
Steps
1. Create and export a Postcards template
The main thing we need is a Postcards template for the HTML file.
In the Postcards app, create a template. Mine looks like this:
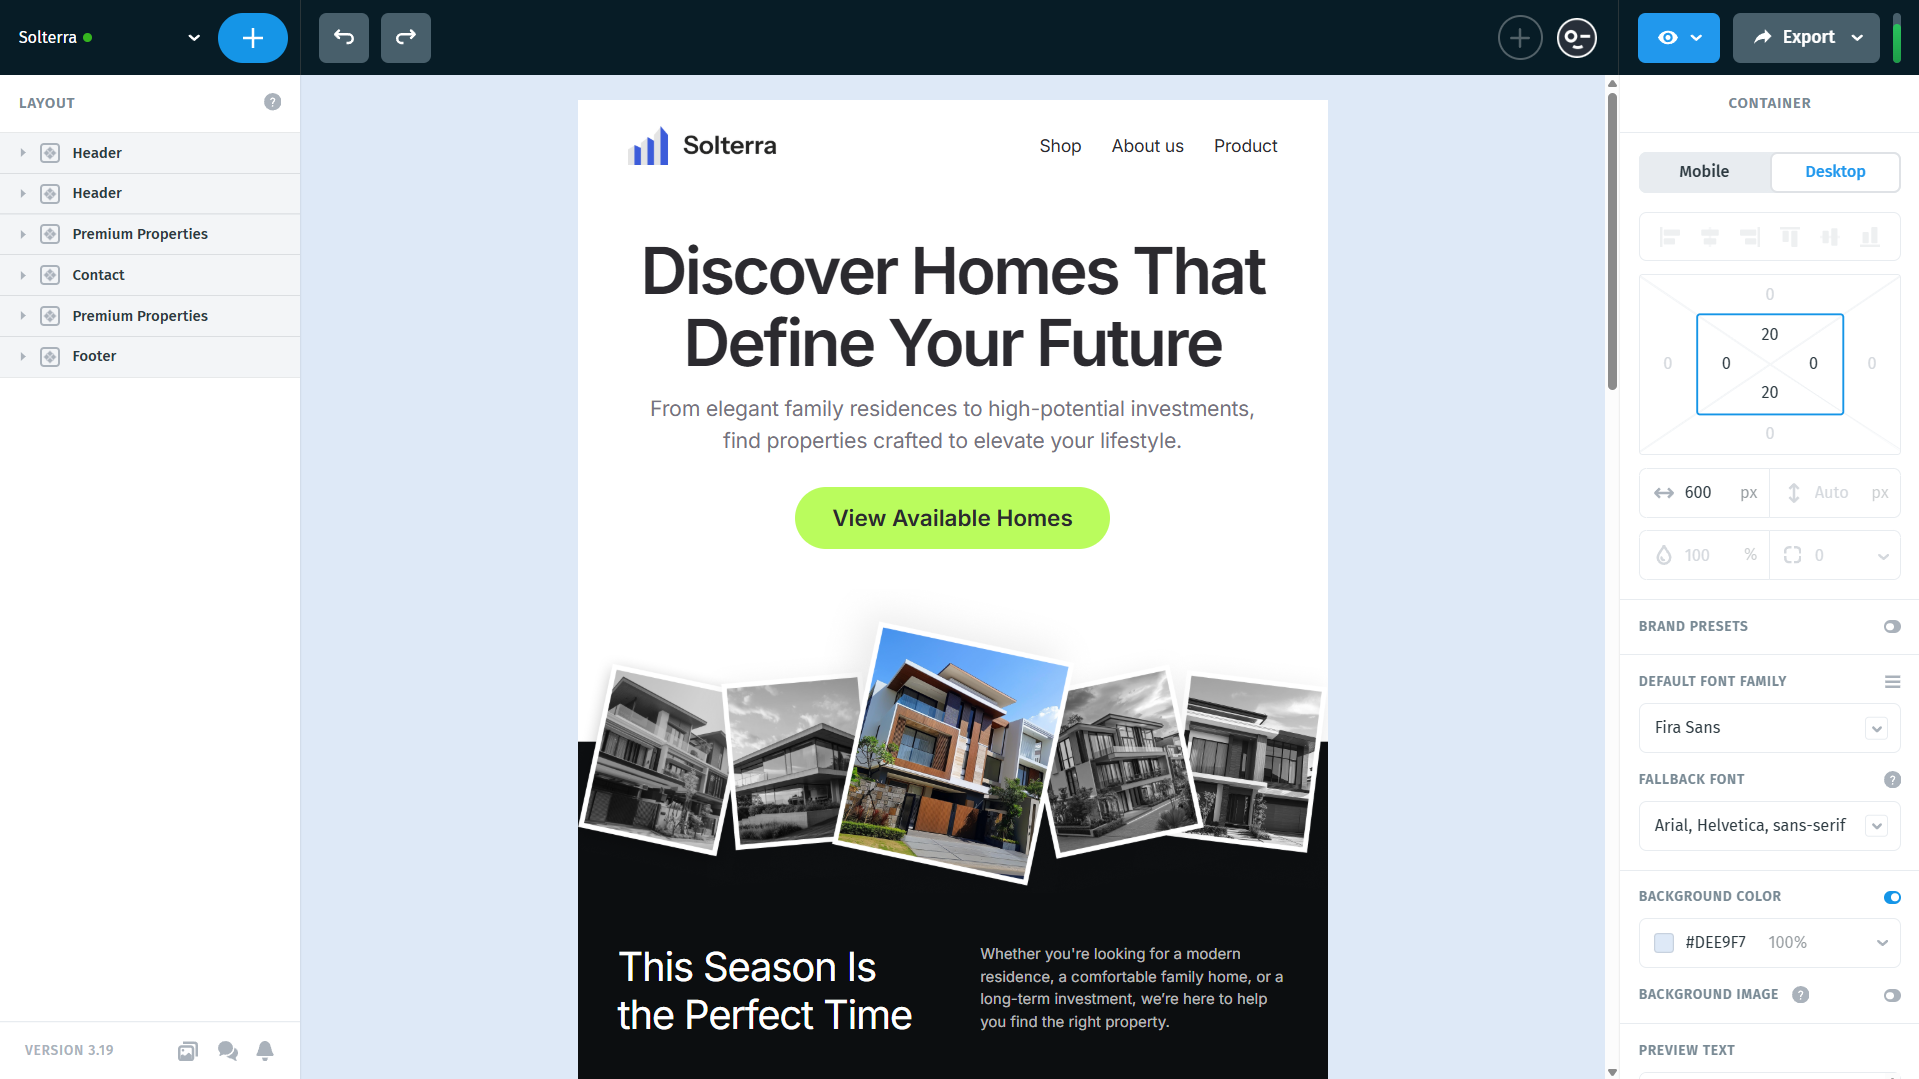
Next, export your template from Postcards so you can bring the HTML into VerticalResponse. You can do this in two ways:
- Quickest option: go to Export → Copy Email Code. This copies the full HTML to your clipboard, ready to paste into VerticalResponse.
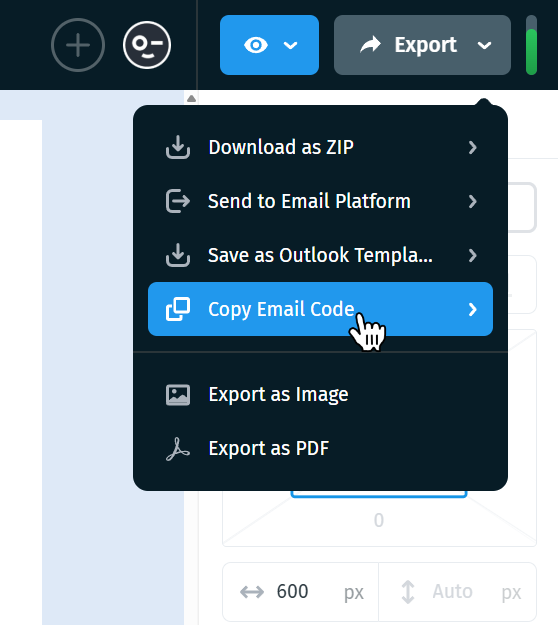
- Alternative option: go to Export → Download as ZIP if you’d prefer to upload the exported HTML file instead. There will be an option called “Host images online.” Make sure this option is checked. Your screen should look like this:
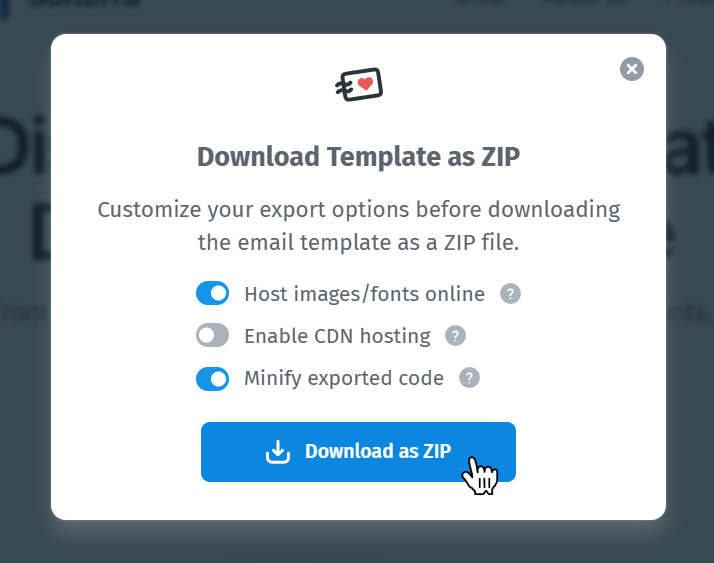
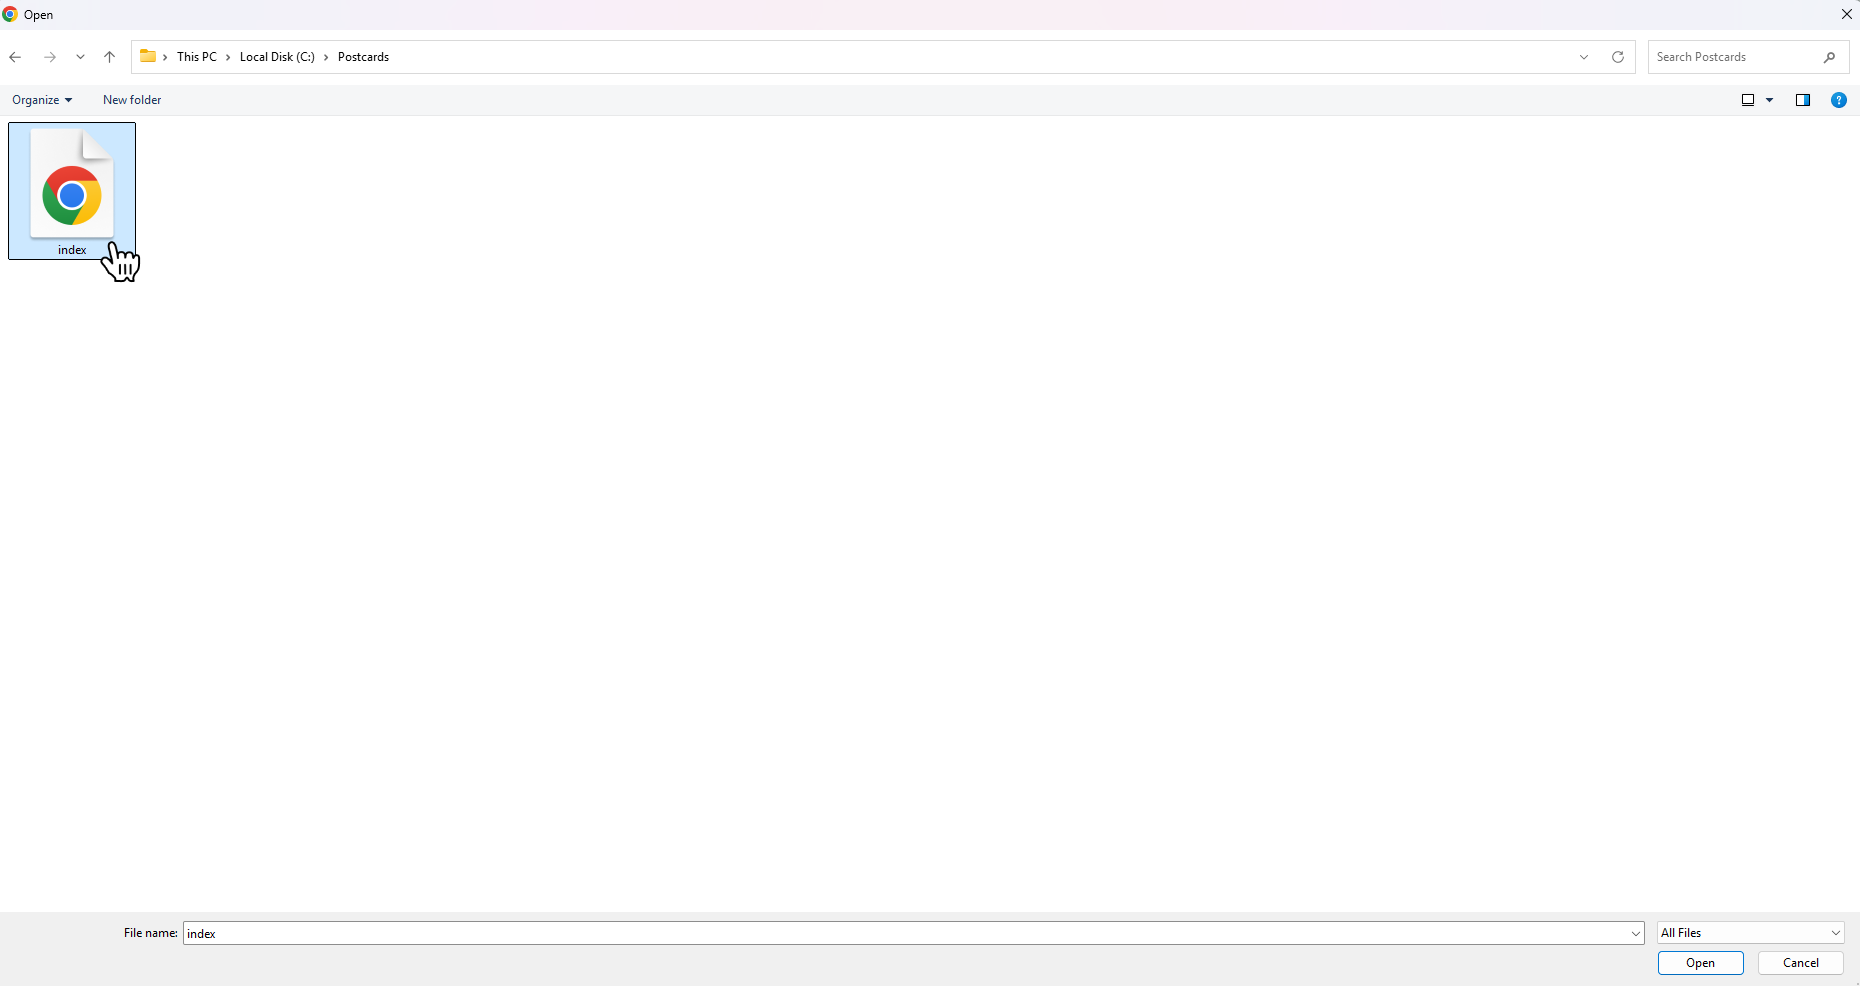
Press “Download Zip” and extract the file into a folder. My folder looks like this:
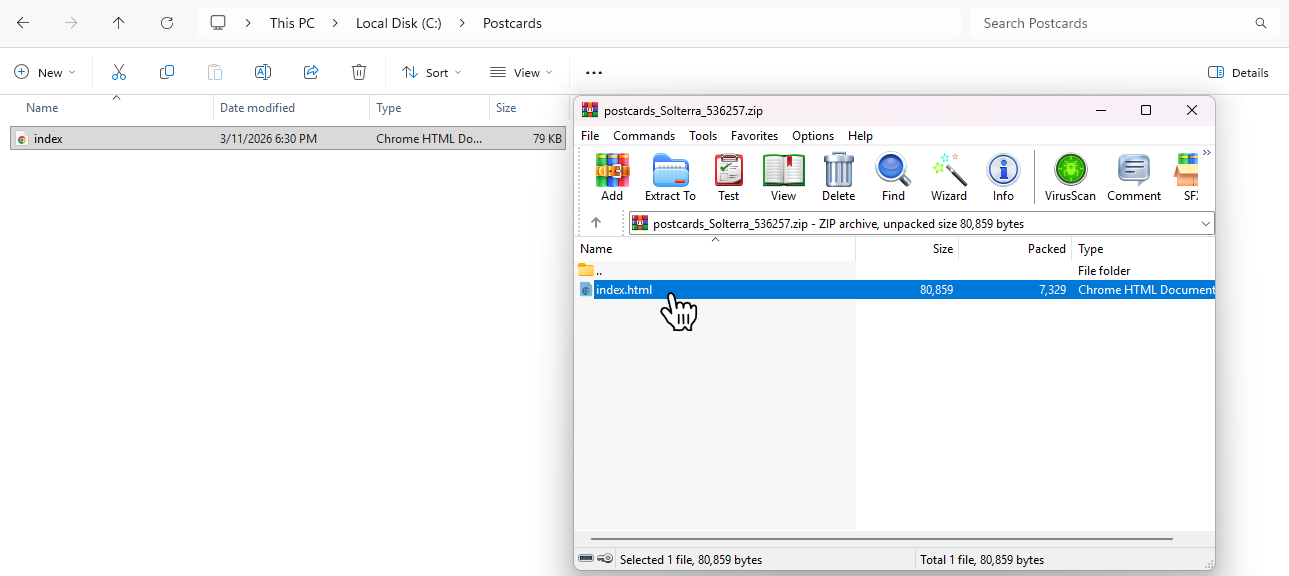
If you open this file in your browser, you should see the Postcards template you just created.
At this point, you have everything you need to start building your campaign in VerticalResponse.
2. Create a new campaign in Vertical Response
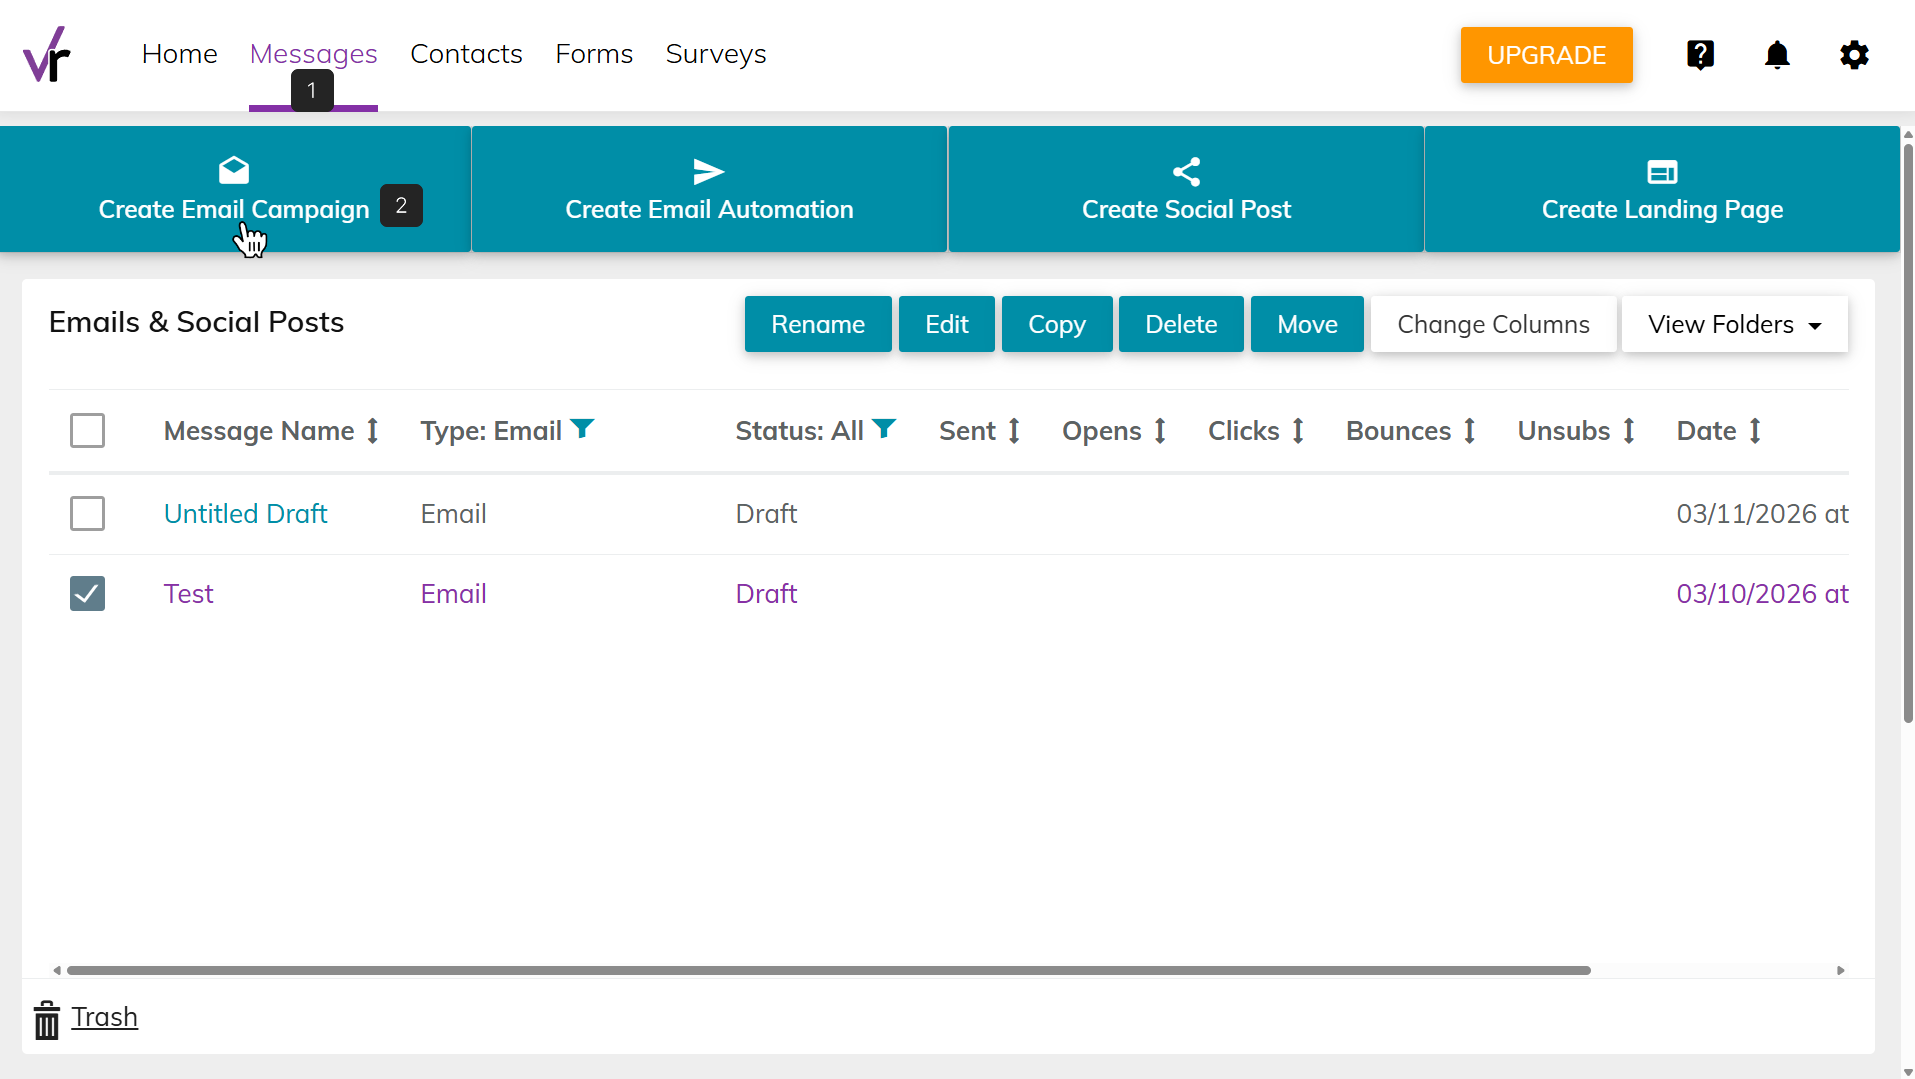
In your VerticalResponse dashboard, go to the Messages tab and click Create Email Campaign.
On the Select Template page, choose Custom Code.
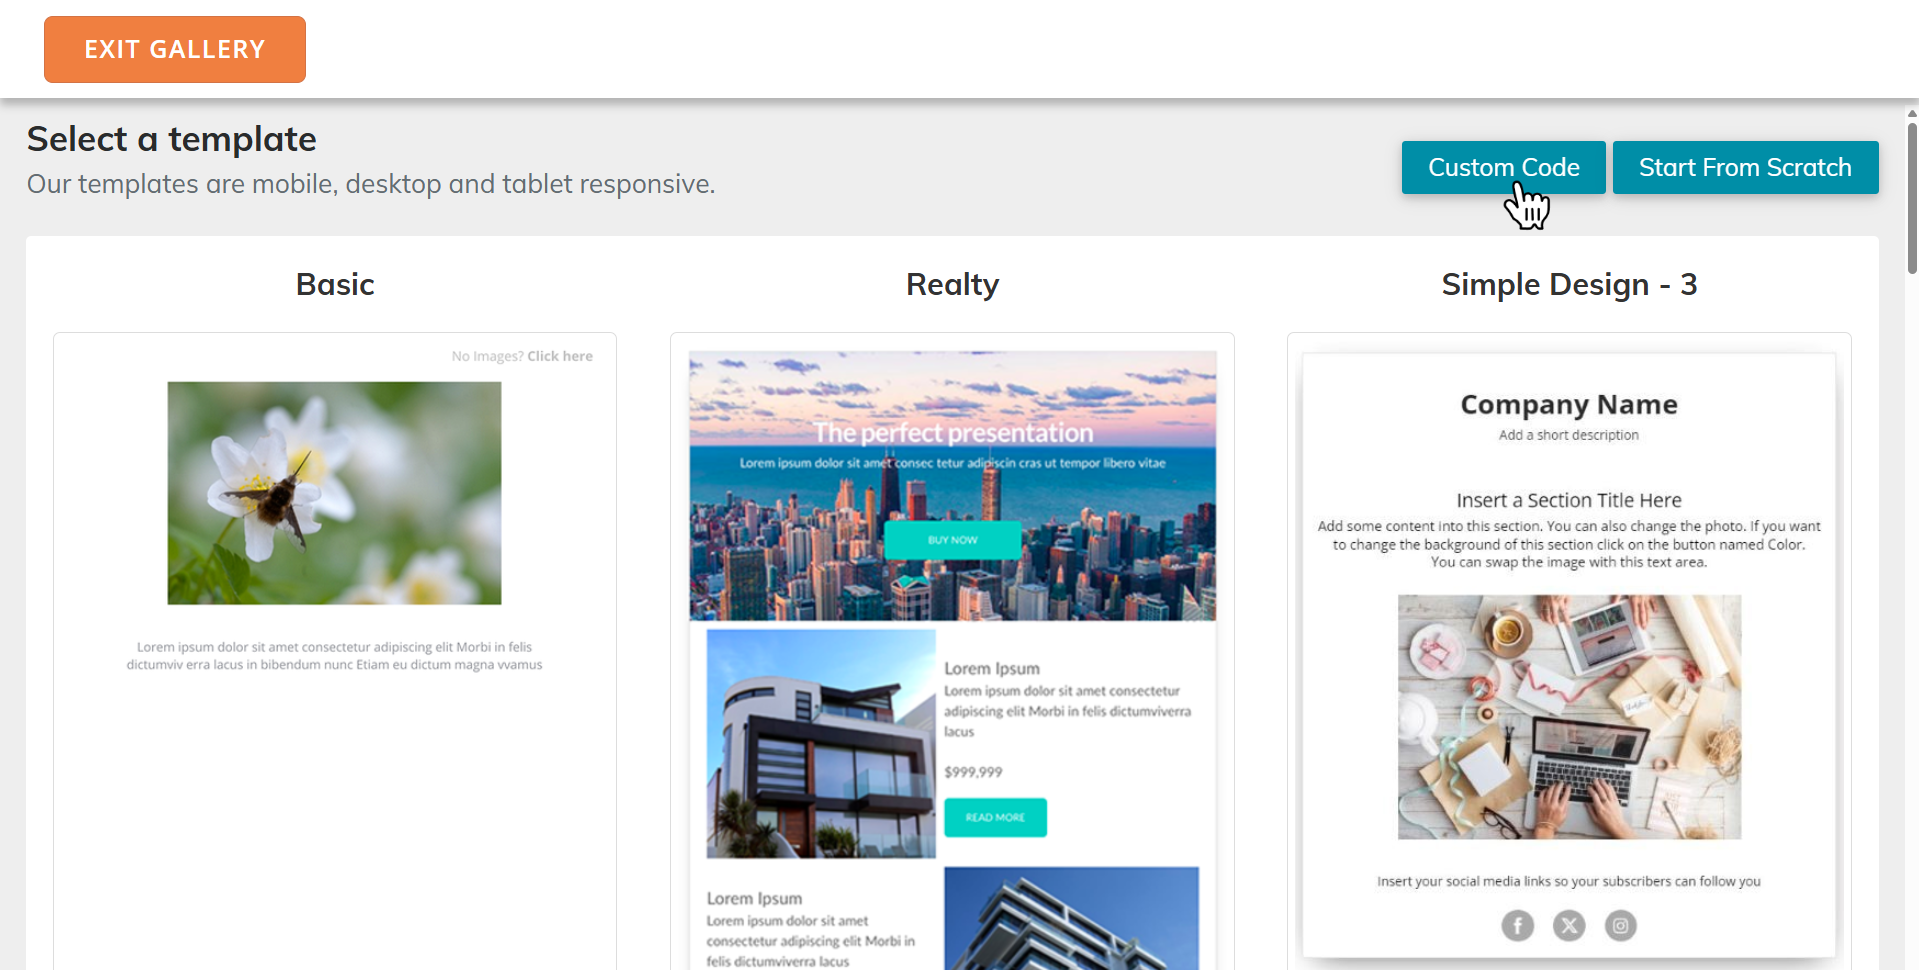
On the Select Template page, choose Custom Code.
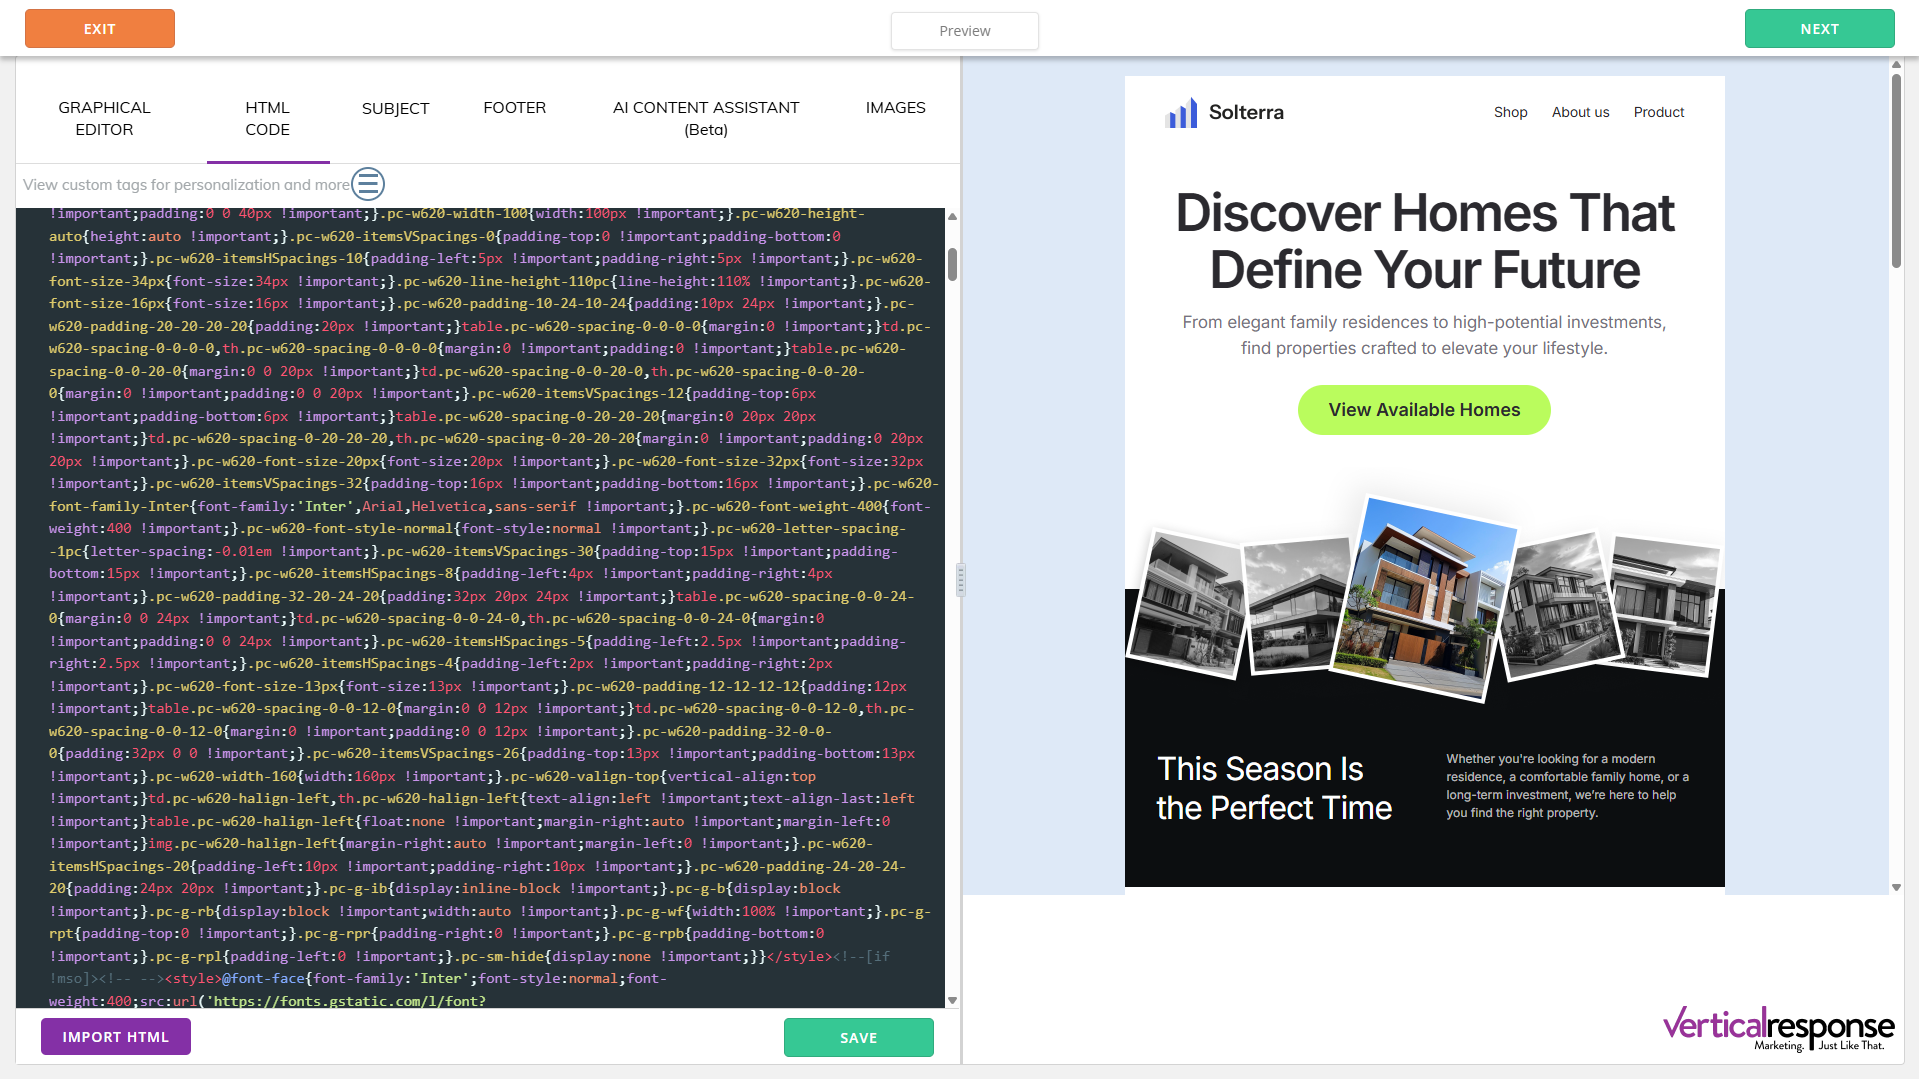
In the editor that opens, select HTML CODE.
From here, you can continue in one of two ways:
- If you used Export → Copy Email Code, paste the copied HTML directly into the HTML editor.
- If you used Export → Download as ZIP in Postcards, click "Import HTML" in the bottom-left corner.
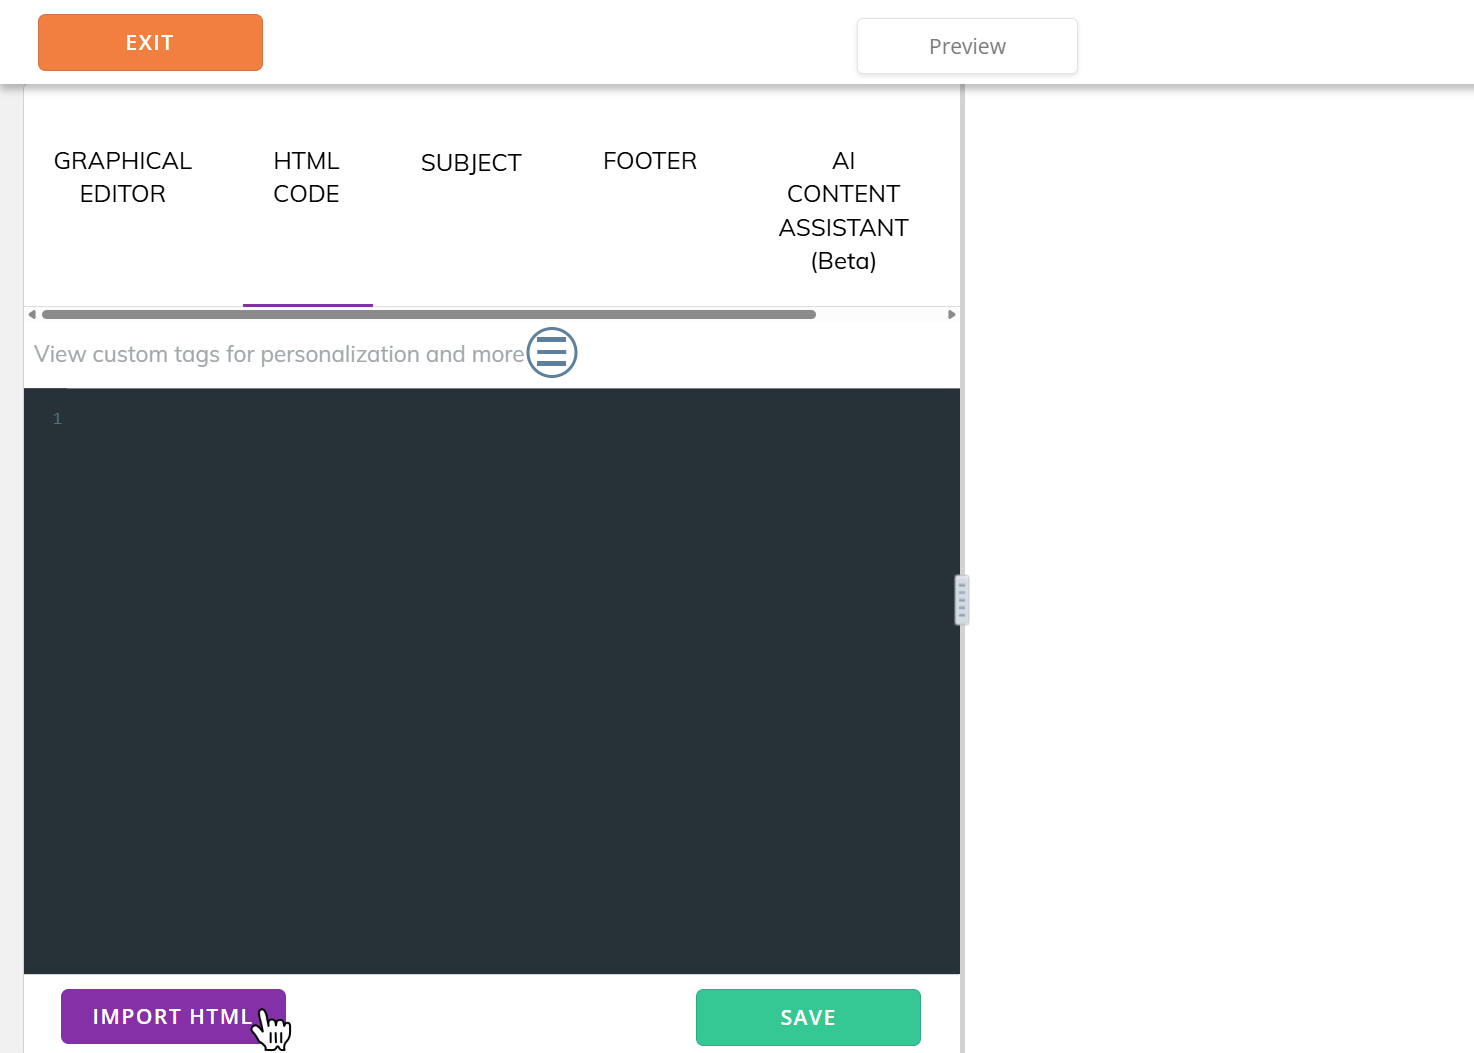
- Then locate and upload the extracted
index.htmlfile from your computer.
Both options work the same way, so you can use whichever is more convenient.
You can also open your index.html file in a text editor and copy and paste all the contents into this editor, which will accomplish the same thing.
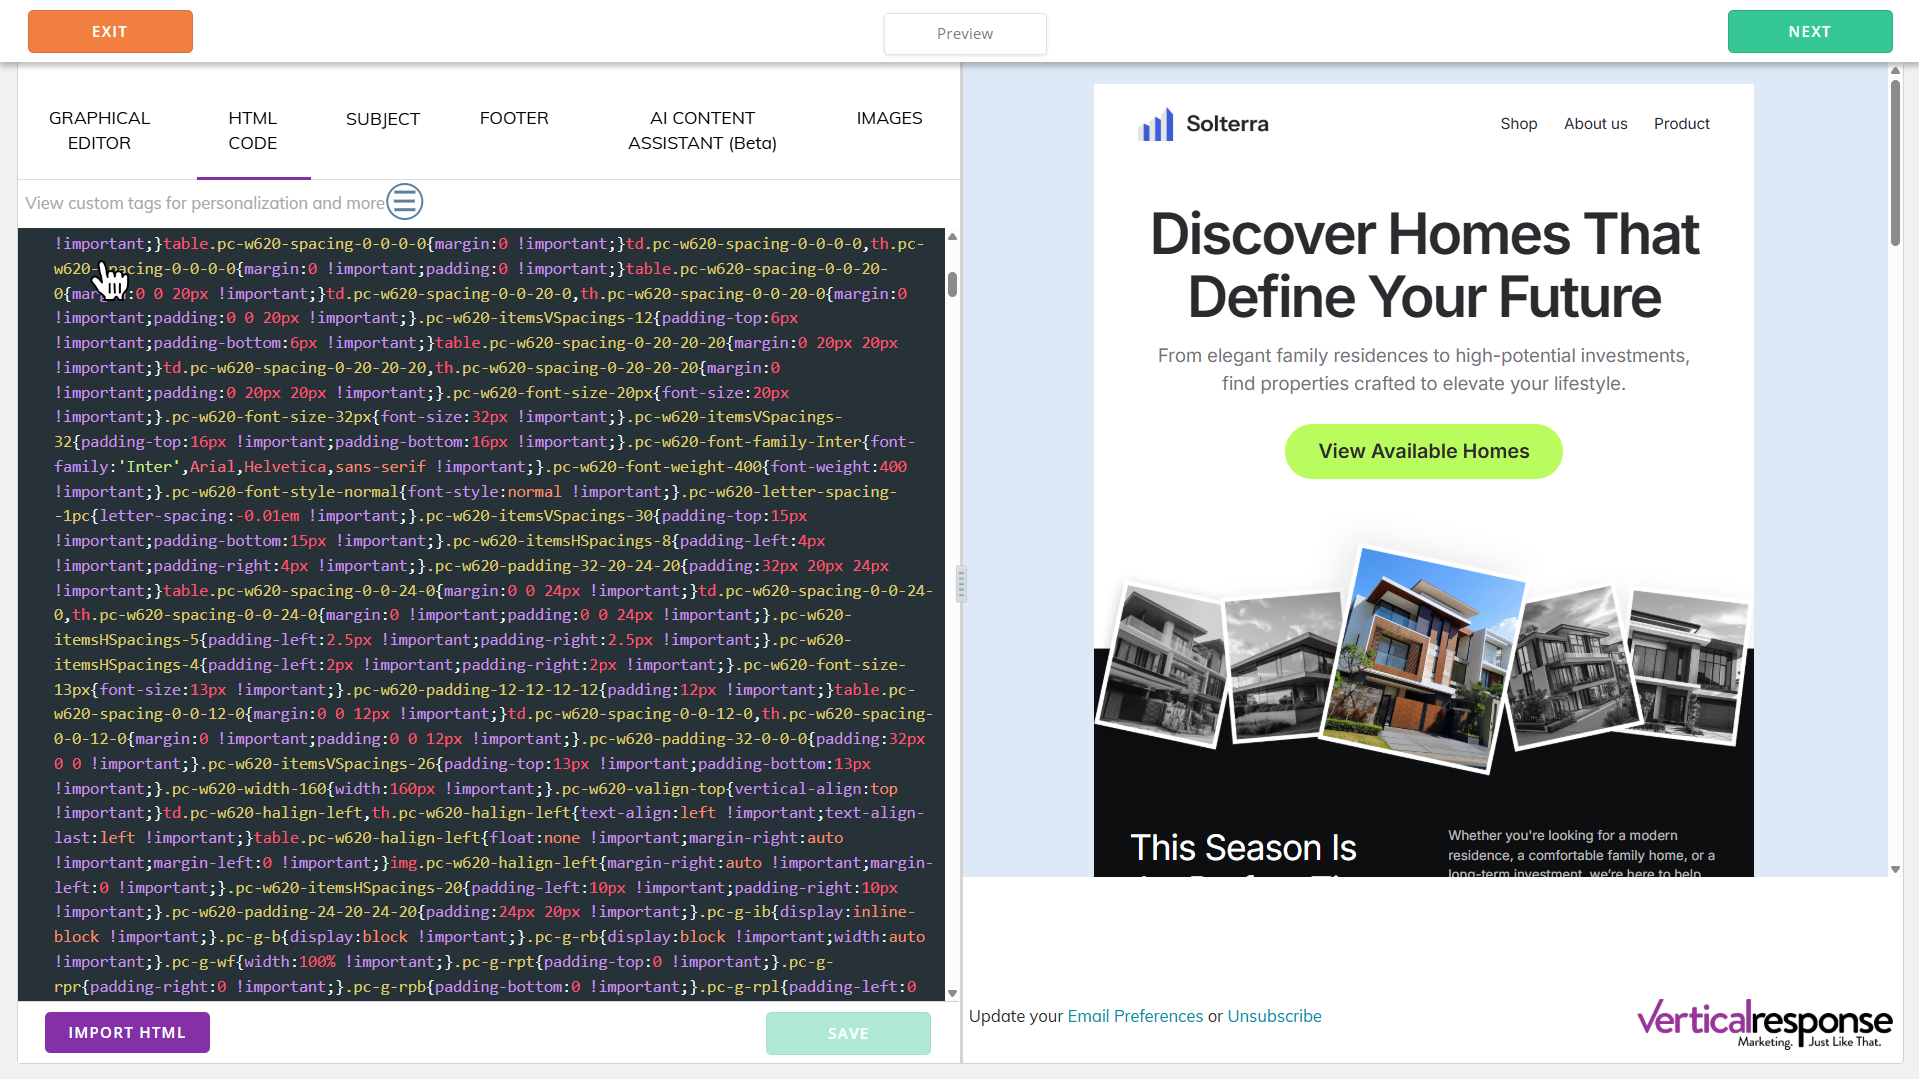
Once this is done, your screen should look like this:
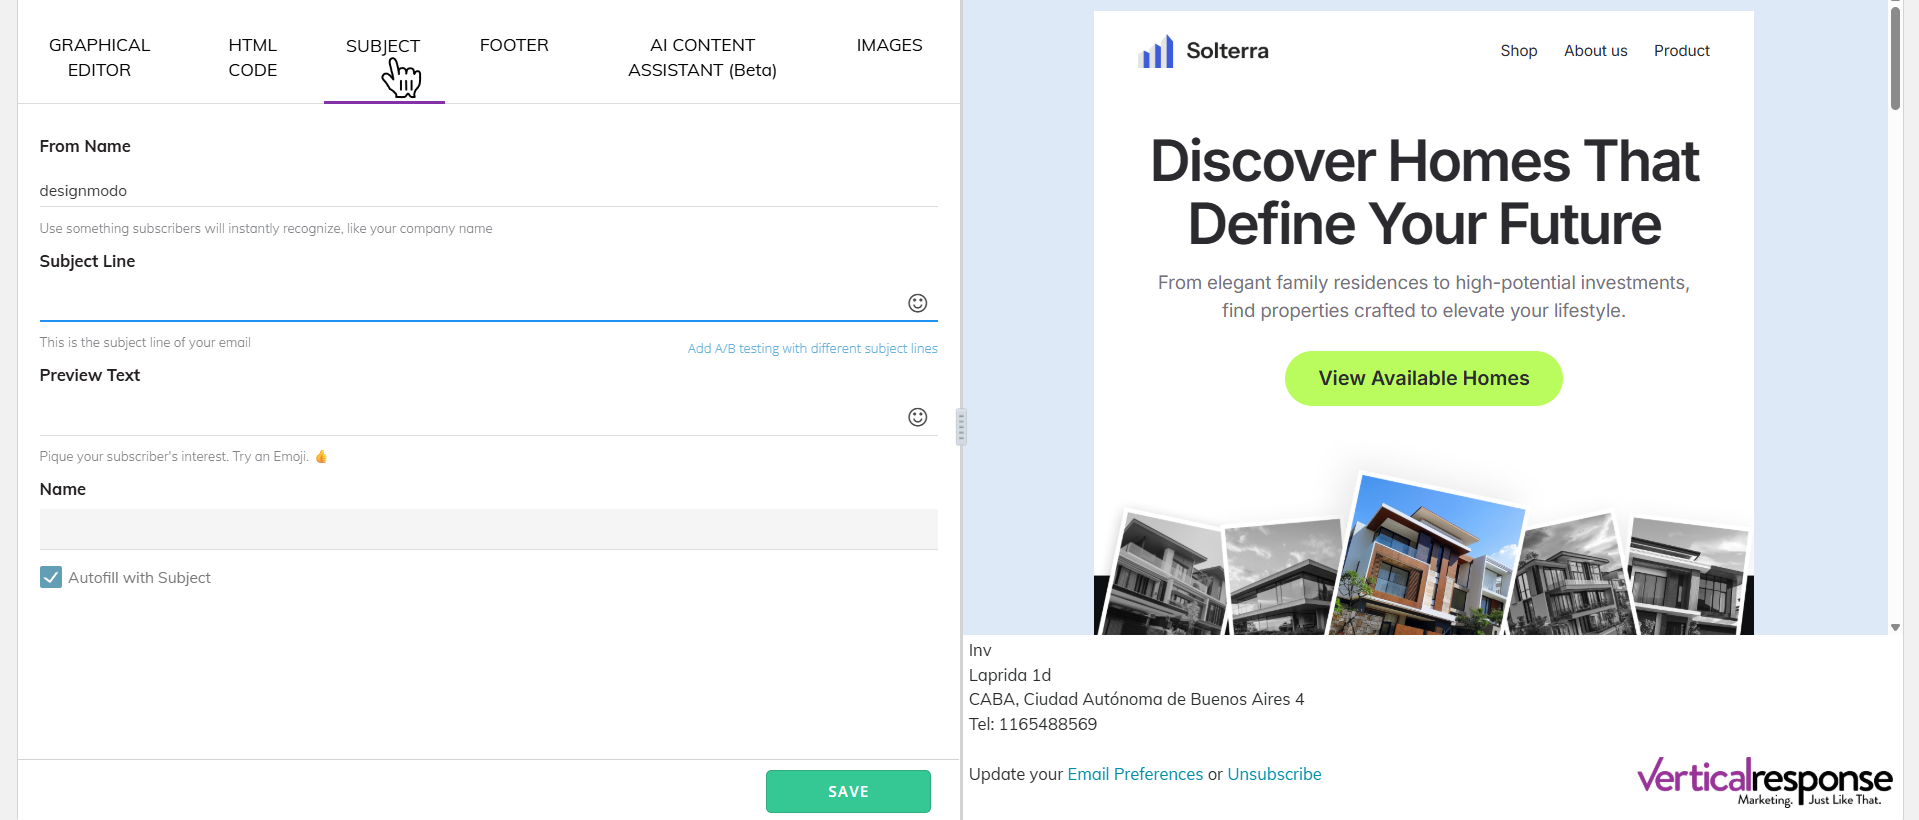
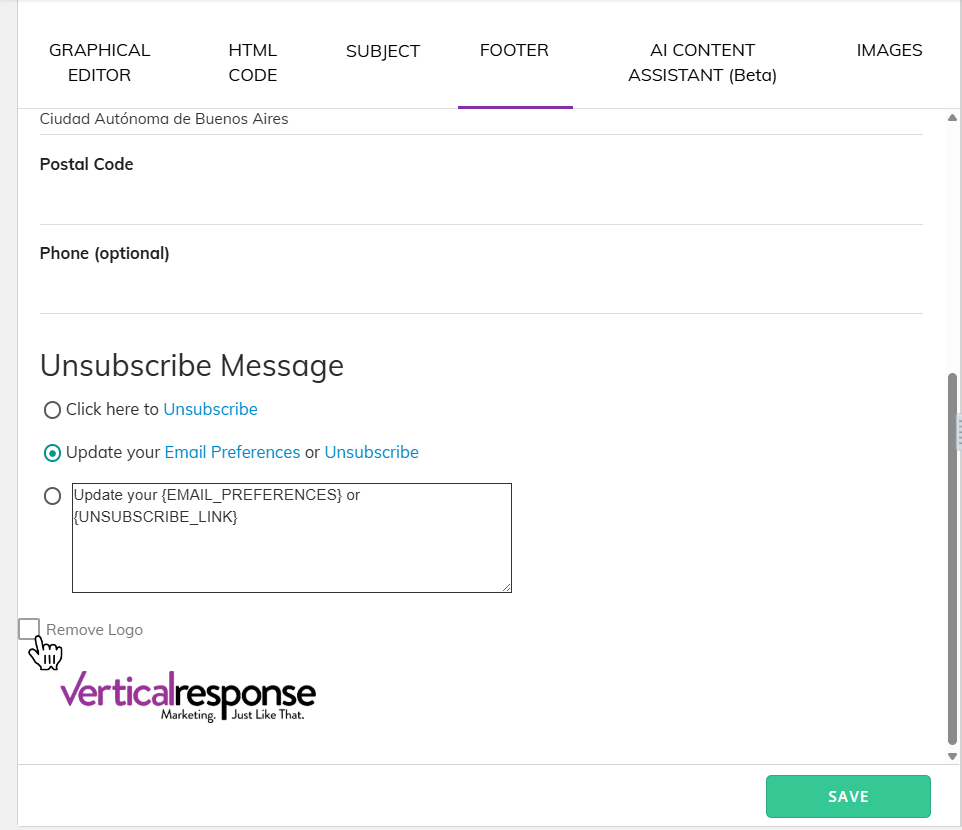
After this, you can click the “SUBJECT” and “FOOTER” menu options to edit those values:
The footer is required for email marketing compliance. Most business emails must include a physical mailing address and an unsubscribe link. If you want to remove the VerticalResponse branding, you may need to upgrade to a paid plan.
3. Add personalization to your email
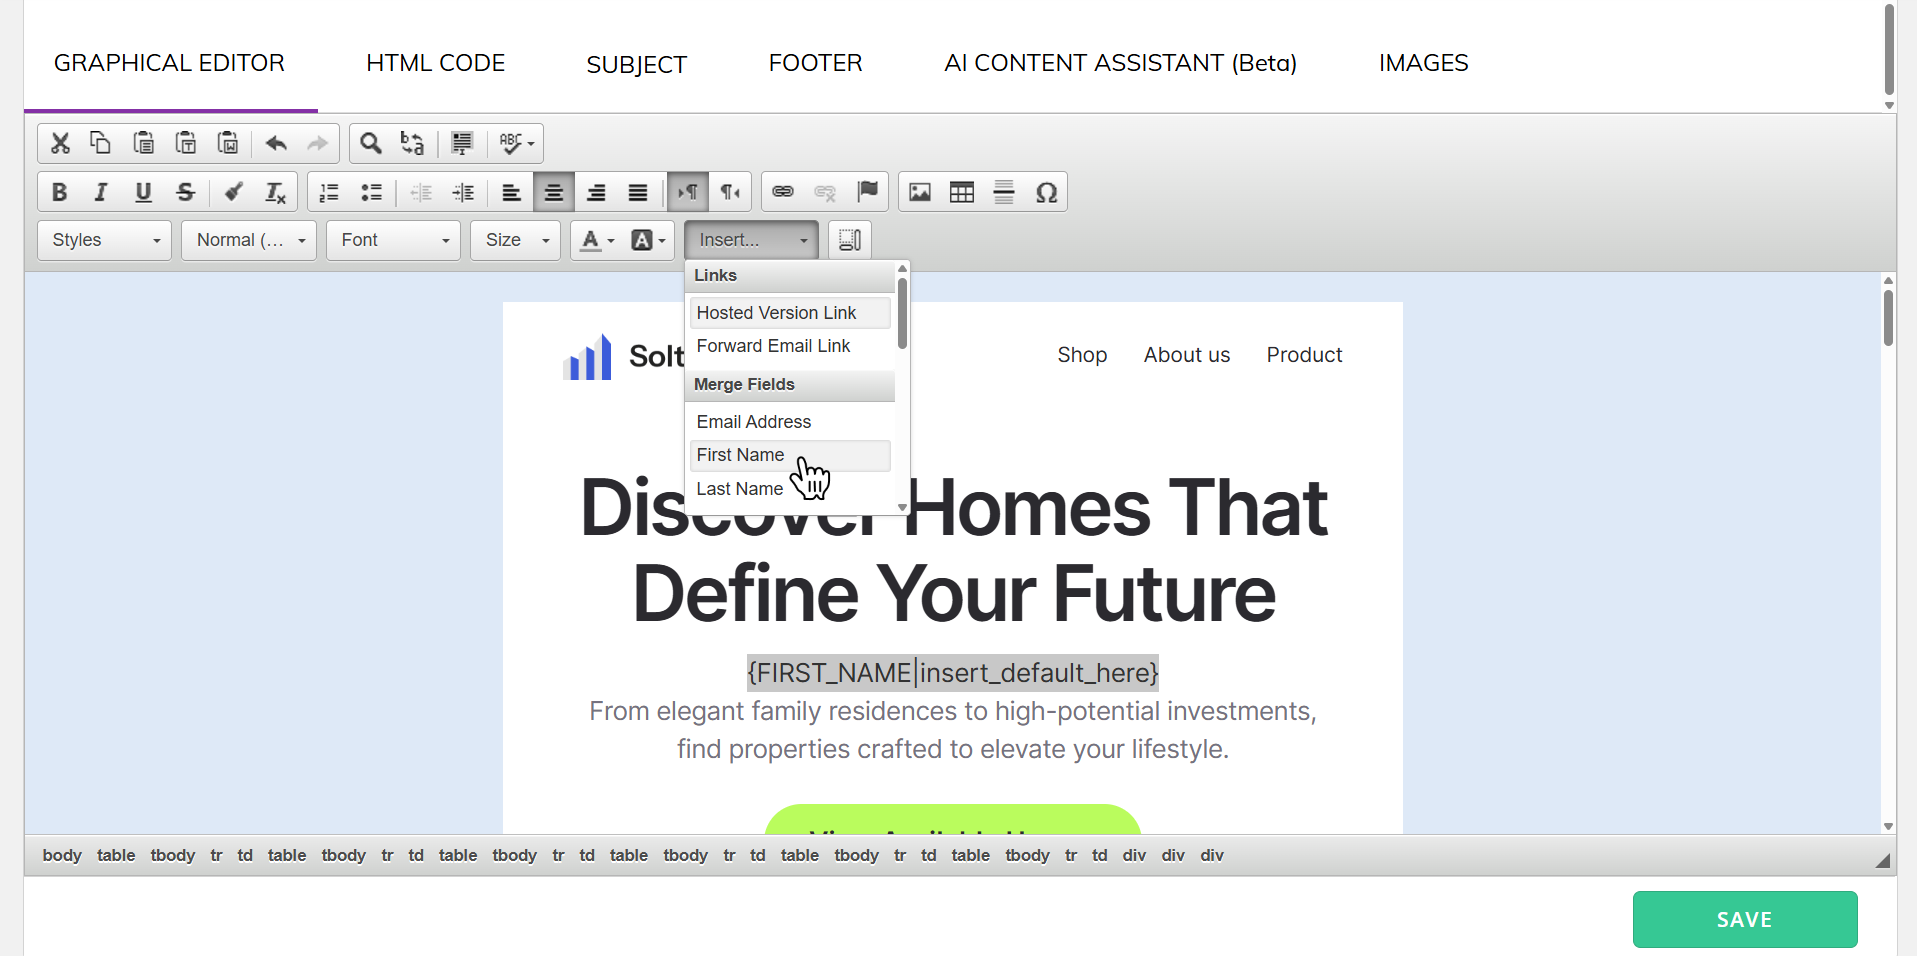
Once your email template is set, you can add some personalization using the Vertical Response graphical editor:

Personalization tags let you insert contact-specific details into your email, such as the recipient’s first name. Instead of manually editing each message, VerticalResponse replaces these tags automatically when the email is sent.
To add one, place your cursor where you want the personalized content to appear, then open the Insert dropdown and choose the tag you want to use.
VerticalResponse will insert that tag directly into your email at the cursor position.
This is useful for adding simple personalized details without changing the overall layout of your Postcards template.
4) Preview and test your campaign
Before sending your campaign, it’s a good idea to preview everything and send yourself a test email.
Click Preview near the top of the editor to review the final result and make sure:
- your layout looks correct
- images load properly
- links work as expected
- personalization tags appear in the right place
Sending a test first is the easiest way to catch formatting issues before the campaign goes out to your contacts.
What we covered
- How to create a template in Postcards
- How to export your HTML from Postcards using Copy Email Code or Download as ZIP
- How to create an email campaign in VerticalResponse using custom HTML
- How to add personalization tags in VerticalResponse
- How to preview and test your campaign before sending