
How to Upload an Email Template in Campaign Monitor
In this tutorial, we’ll cover how to import a custom HTML template from Postcards into Campaign Monitor, including the required HTML you need to prepare before export.
Prerequisites
Before you begin, make sure you have:
- A Designmodo account
- A Campaign Monitor account
- A Postcards template you want to upload
- A text editor if you want to edit the exported HTML manually later (optional)
1. Prepare the template in Postcards
Before exporting the template, add the required Campaign Monitor tags directly in Postcards. You can do all of this manually later in a text editor, but fortunately, you can also prepare it inside Postcards before downloading the file. That makes the import process much easier.
First, add the required unsubscribe link. Campaign Monitor requires an unsubscribe link in custom HTML email templates, and the HTML syntax:
<unsubscribe>Unsubscribe</unsubscribe>
If you don't write anything between the tags, the link text will be "Unsubscribe from this list".
Here you can read more about Unsubscribe links in Campaign Monitor:
https://help.campaignmonitor.com/s/article/unsubscribe-links-in-emails
https://www.campaignmonitor.com/create/important/
In Postcards, go to the footer of your template and paste <unsubscribe>Unsubscribe</unsubscribe> inside a text element exactly where you want the unsubscribe link to appear.
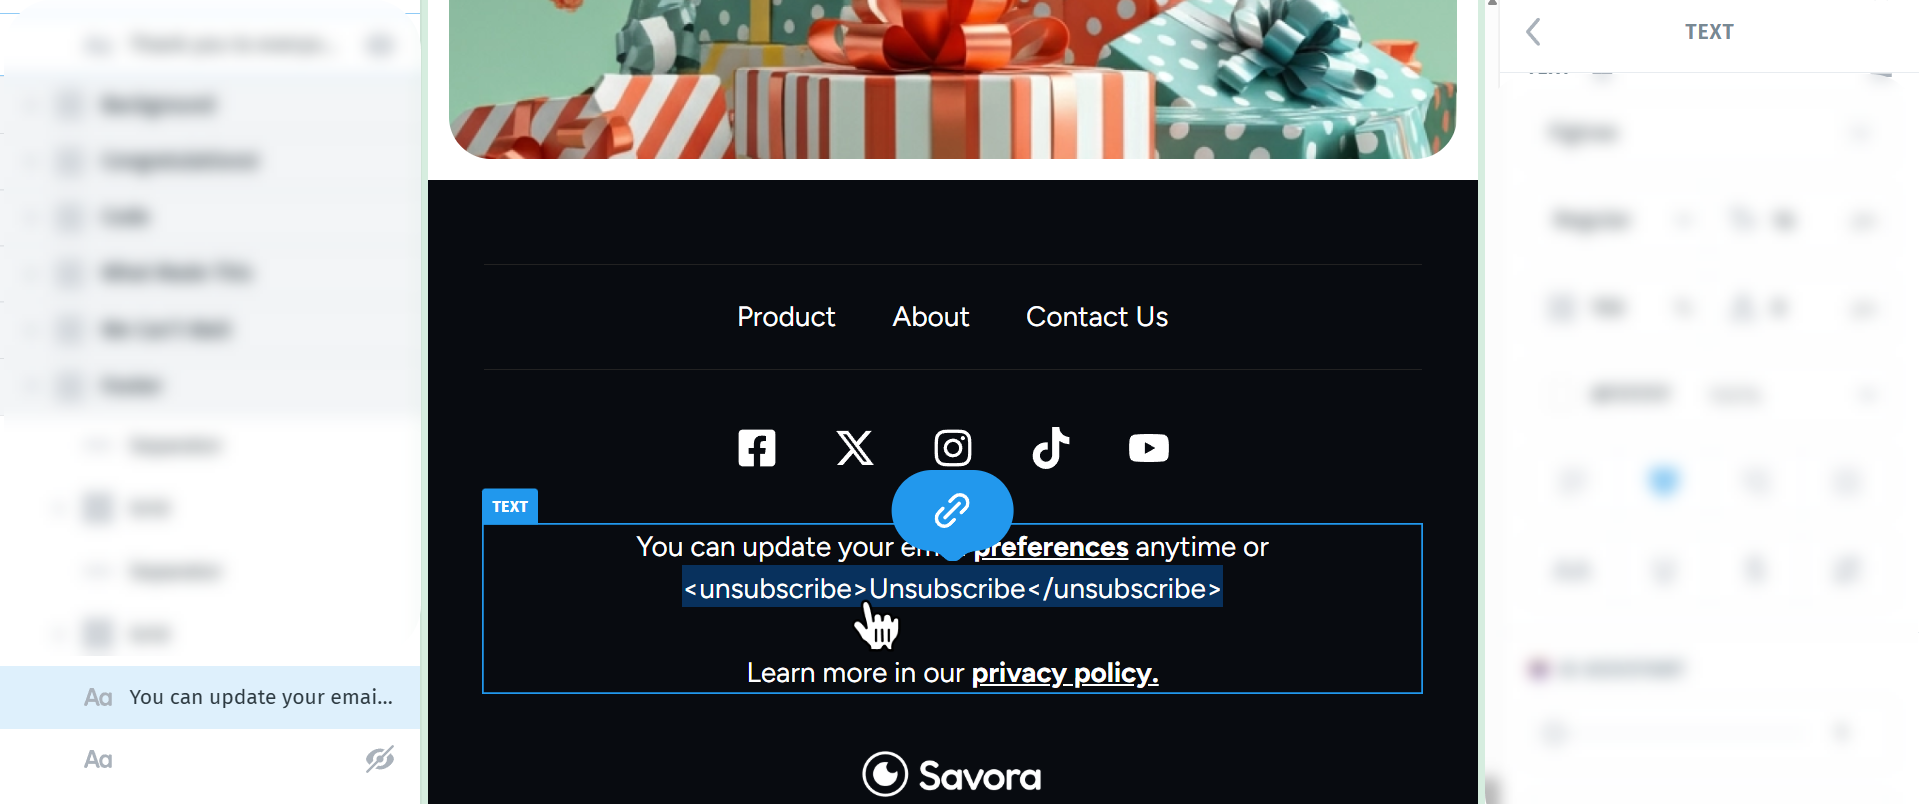
Make sure you paste it as plain text only. Do not turn it into a normal link inside Postcards. Campaign Monitor recognizes that HTML tag as the unsubscribe link when the template is used.
Next, add a Campaign Monitor editable content tag. For this tutorial, we’ll use:
<singleline />
which Campaign Monitor uses for a single-line editable text field in the custom template content editor. It is typically used for short text such as a heading, and the text between the opening and closing tags becomes the default value.
You can also use other editable Campaign Monitor tags, such as <multiline> , which creates a multi-line text field, and <img editable> , which lets content authors replace or remove an image in Campaign Monitor’s custom template content editor. You can read more about editable content here: https://www.campaignmonitor.com/create/editable-content/
Since I don’t want to actively use this field in the finished email, I’ll place it right below the unsubscribe line in an inconsequential place. In Postcards, add a Text element and paste: <singleline />
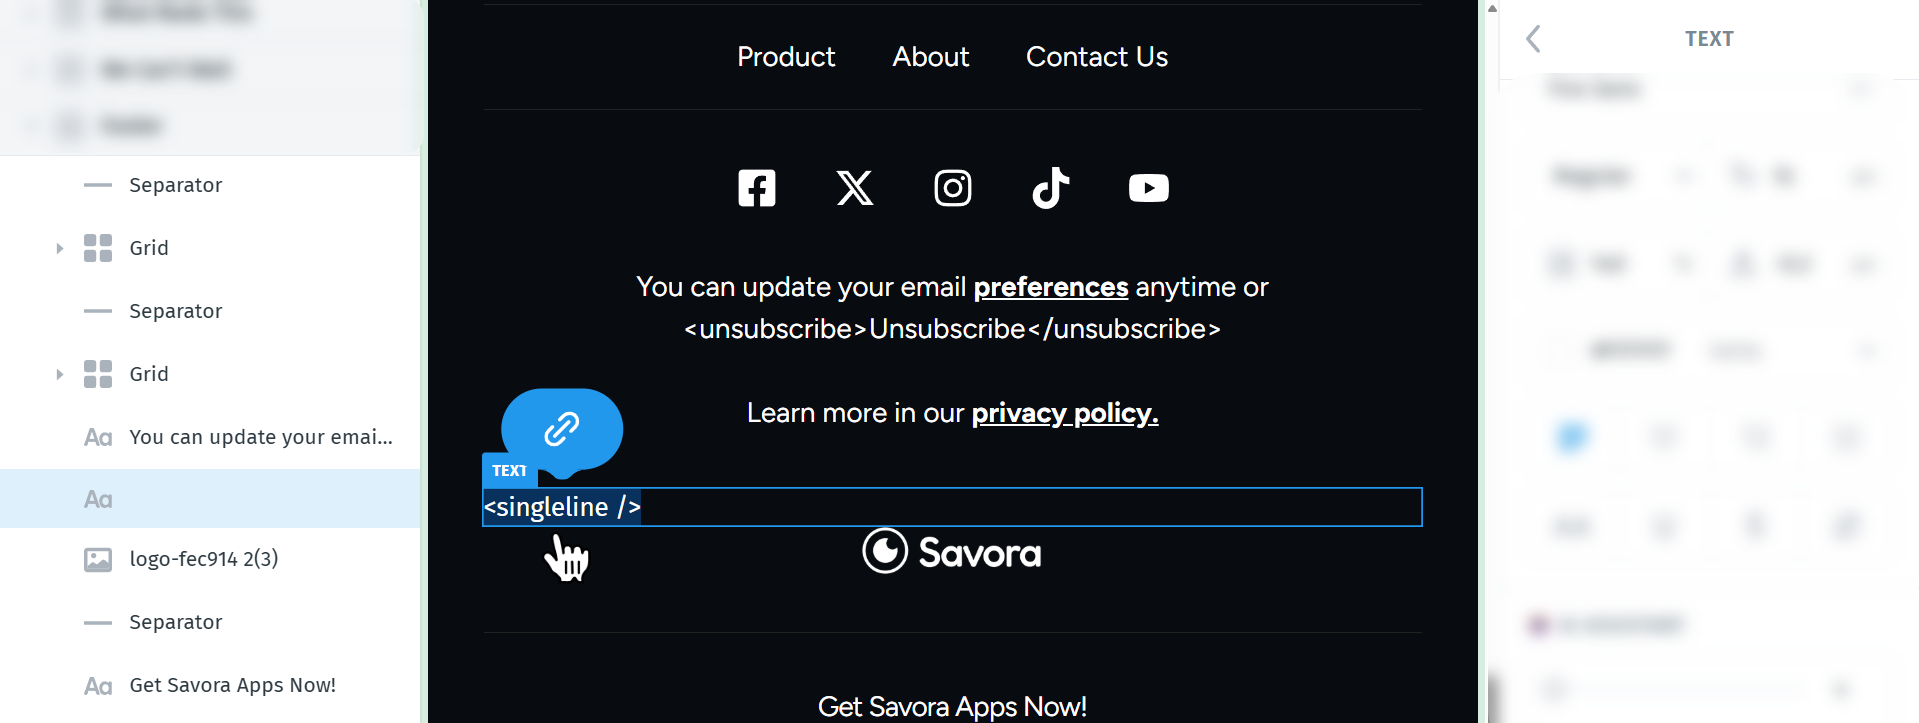
Leaving the field empty like this keeps it from adding visible default text to the sent email while still giving the template an editable Campaign Monitor region.
You can also add optional personalization tags, but these are not required. For example, if you want to show the subscriber’s first name and fall back to the word subscriber when no first name is available, you can paste this directly into any Postcards text element:
[firstname,fallback=subscriber]
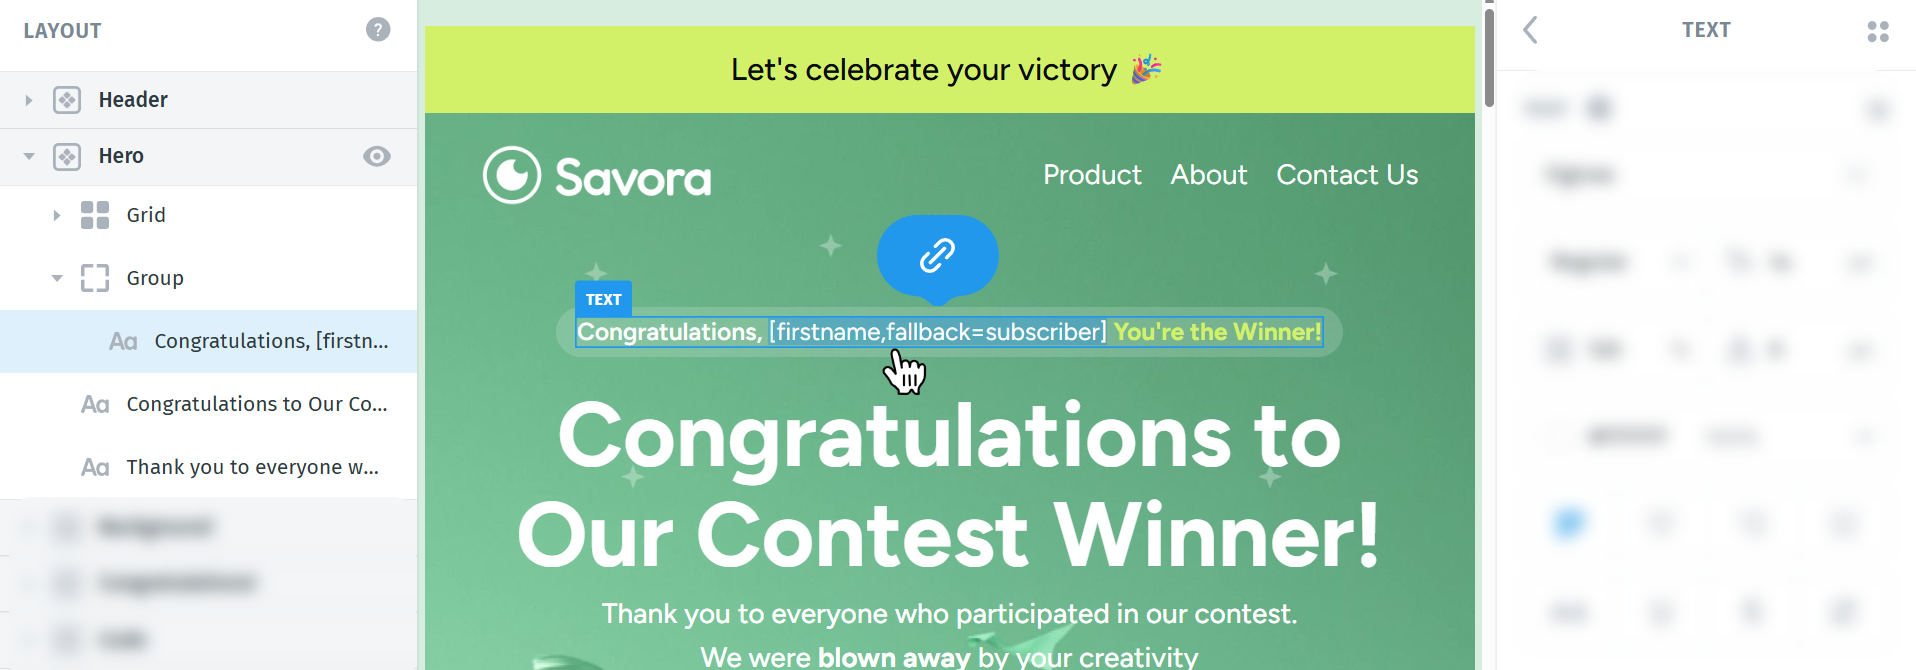
You can read more about Campaign Monitor’s personalization tags here:
https://www.campaignmonitor.com/create/personalization/
https://help.campaignmonitor.com/s/article/personalize-emails-with-subscriber-custom-fields
When the email is sent through Campaign Monitor, that tag will populate with the recipient’s first name when available, or with subscriber as the fallback. Campaign Monitor’s personalization docs also list the other available merge tags you can use.
2. Export the template from Postcards
For Campaign Monitor, the correct export method is Export → Download as ZIP, because Campaign Monitor asks you to upload an HTML file rather than paste the code directly. Postcards’ Download as ZIP export gives you the full email package for manual integration, including the HTML file you’ll need for upload.
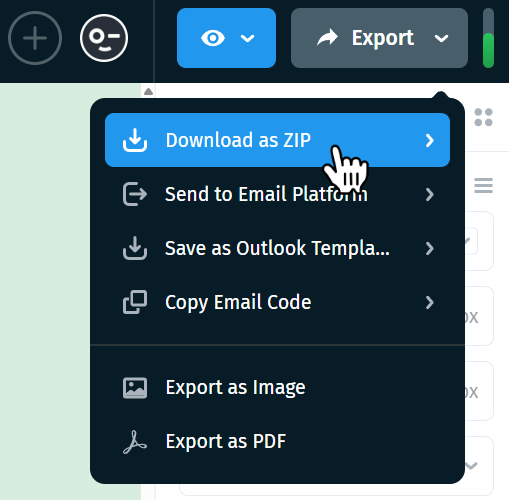
Before downloading, make sure Host images online is turned on. This ensures your images are hosted properly and display correctly after import, instead of requiring you to manage the image files manually.
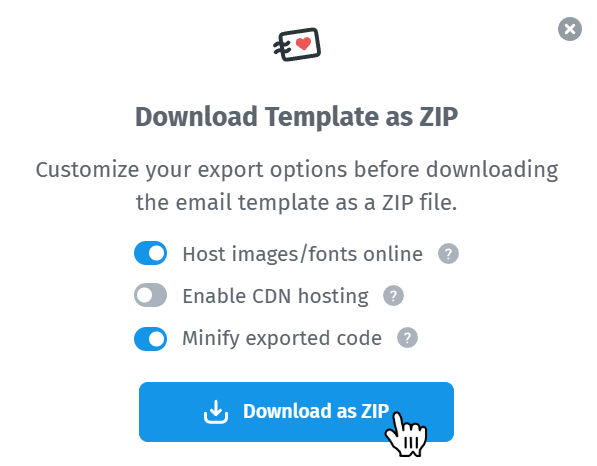
Once that setting is enabled, click Download ZIP. Postcards will automatically download a ZIP file containing your template files, including an index.html file. Extract the ZIP into a folder so you can access that HTML file and upload it to Campaign Monitor in the next step.
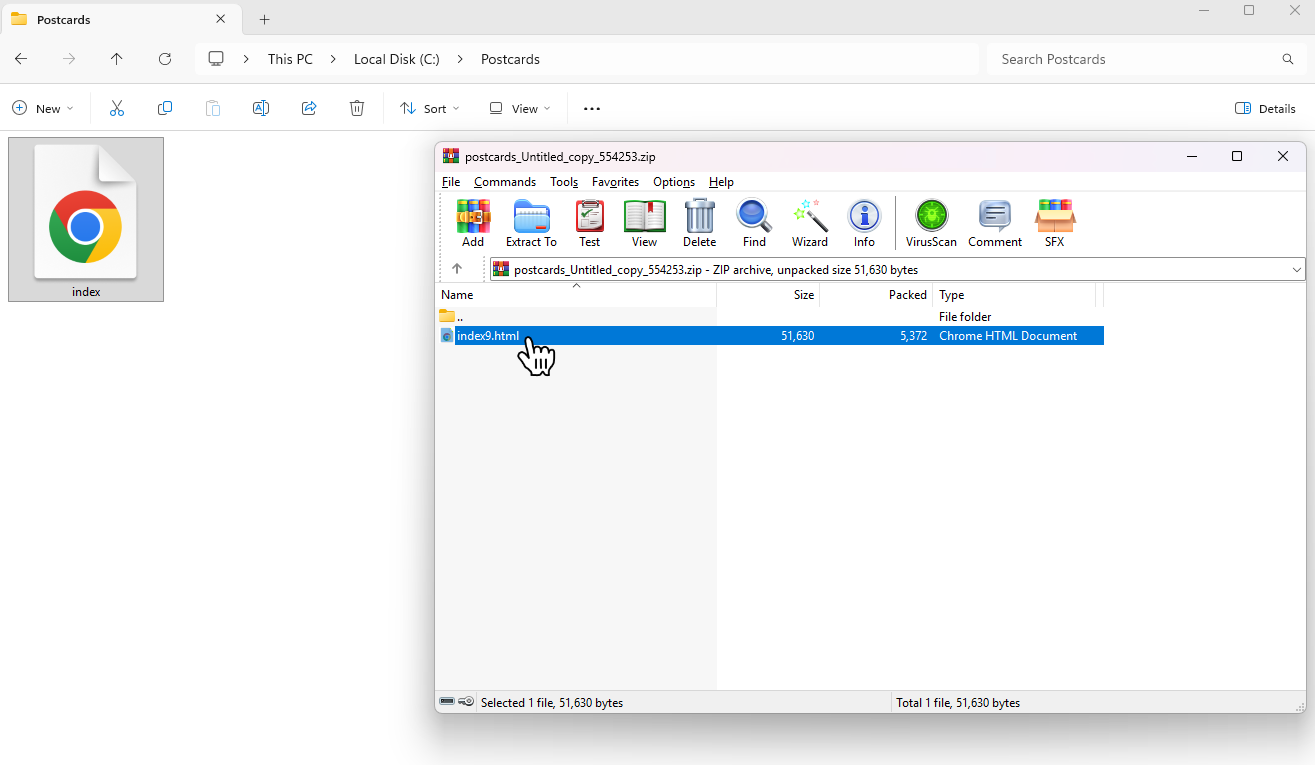
You can also add any Campaign Monitor HTML, editable tags, and personalization tags manually after export by opening the index.html file in a text editor and editing the code yourself before uploading it.
3. Upload the template to Campaign Monitor
Now that your Postcards template is exported, you can upload it to Campaign Monitor.
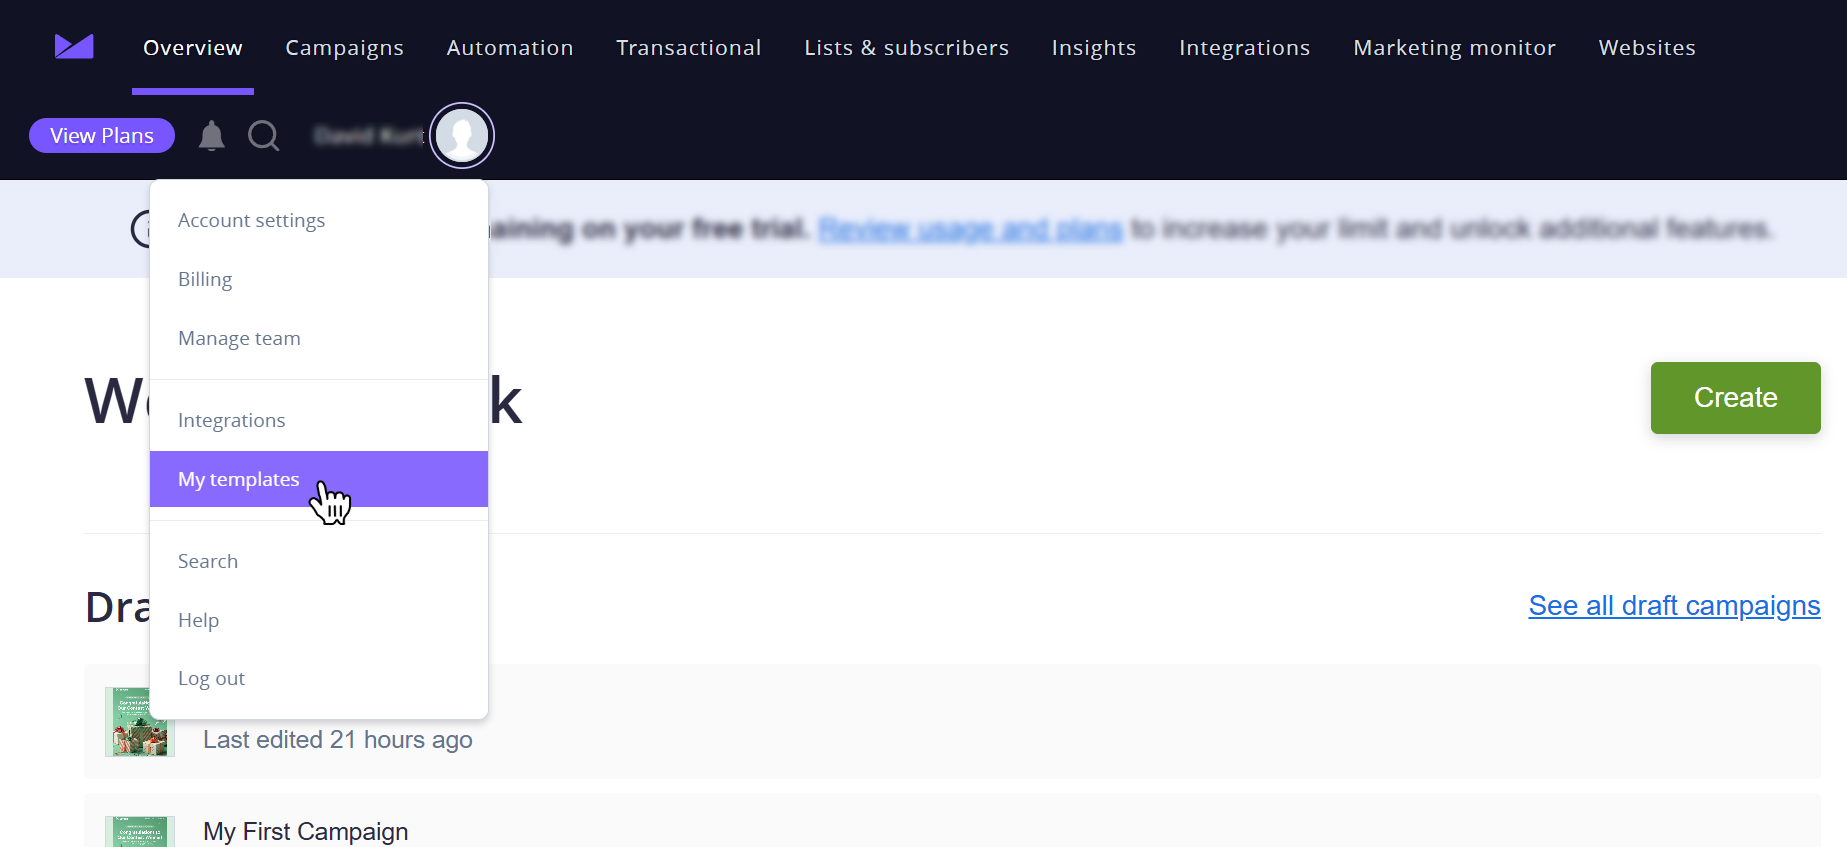
In Campaign Monitor, Click your Avatar Profile and open My templates.
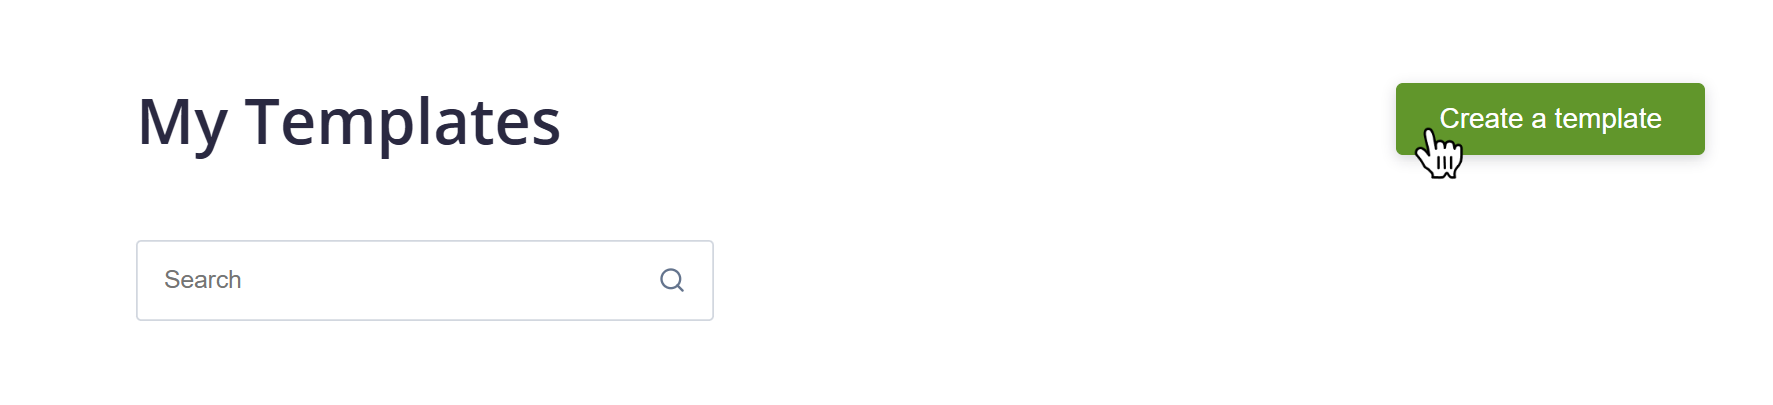
Then click Create a template.
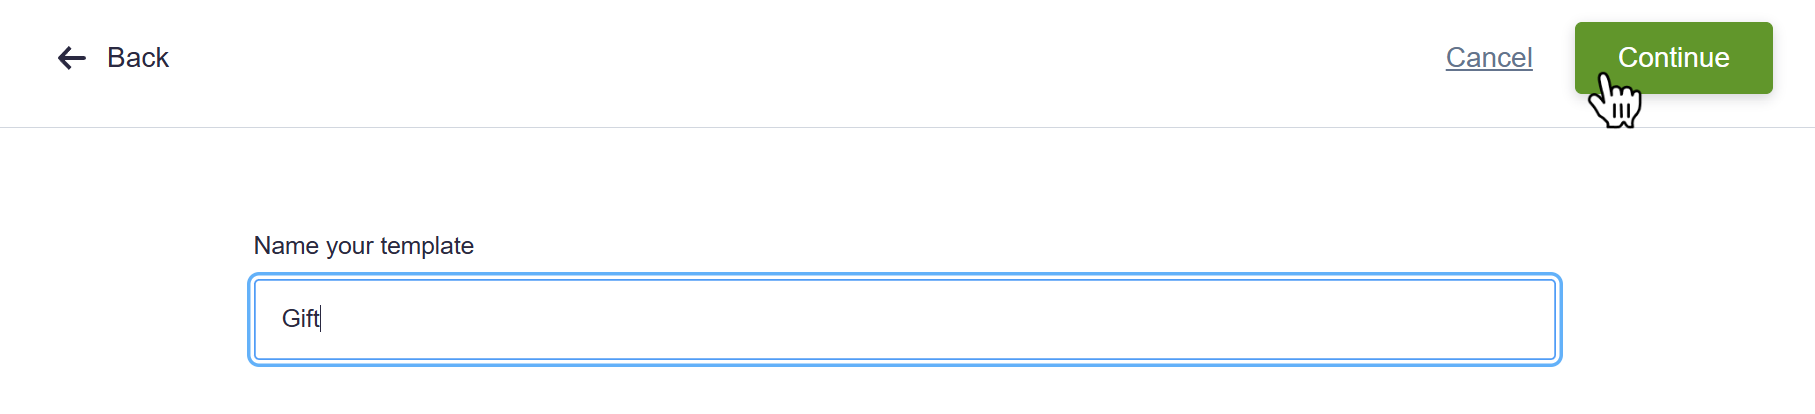
Now simply enter a name for your template and click Continue in the top-right corner.
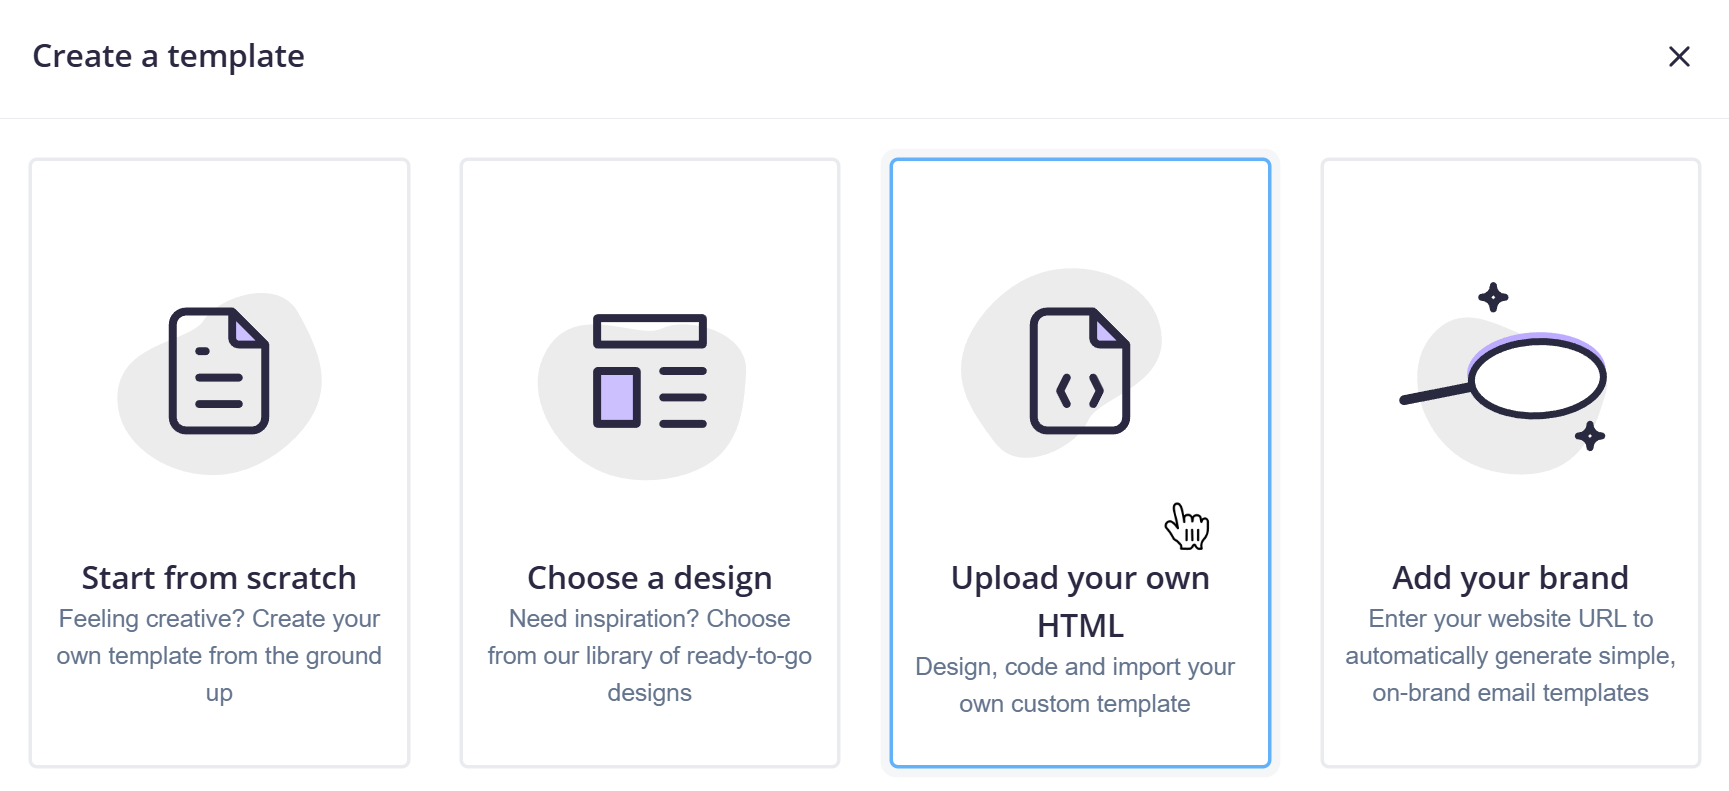
Now select Upload your own HTML, since we’re importing a template exported from Postcards.
On the import screen, under HTML page, click Upload and select the index.html file you extracted from your Postcards export.
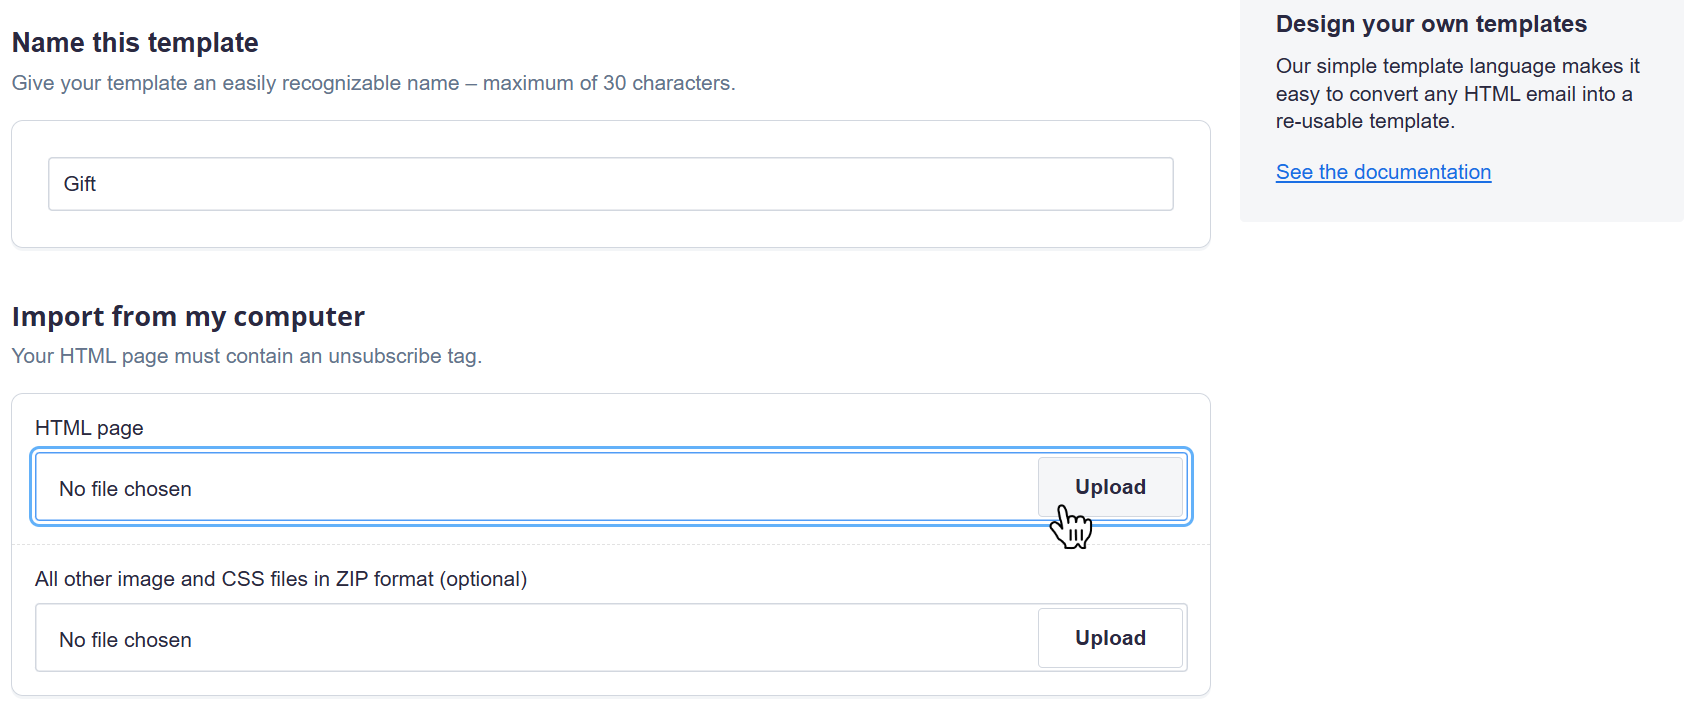
If your email also includes local image or CSS assets, Campaign Monitor also lets you upload a ZIP file with those supporting files, but if you exported from Postcards with Host images online enabled, your index.html file is usually the main file you’ll need.
Once the file is uploaded, Click Update Template at the bottom and Campaign Monitor will scan and import it. If there are no errors, the template will be added to your saved templates.
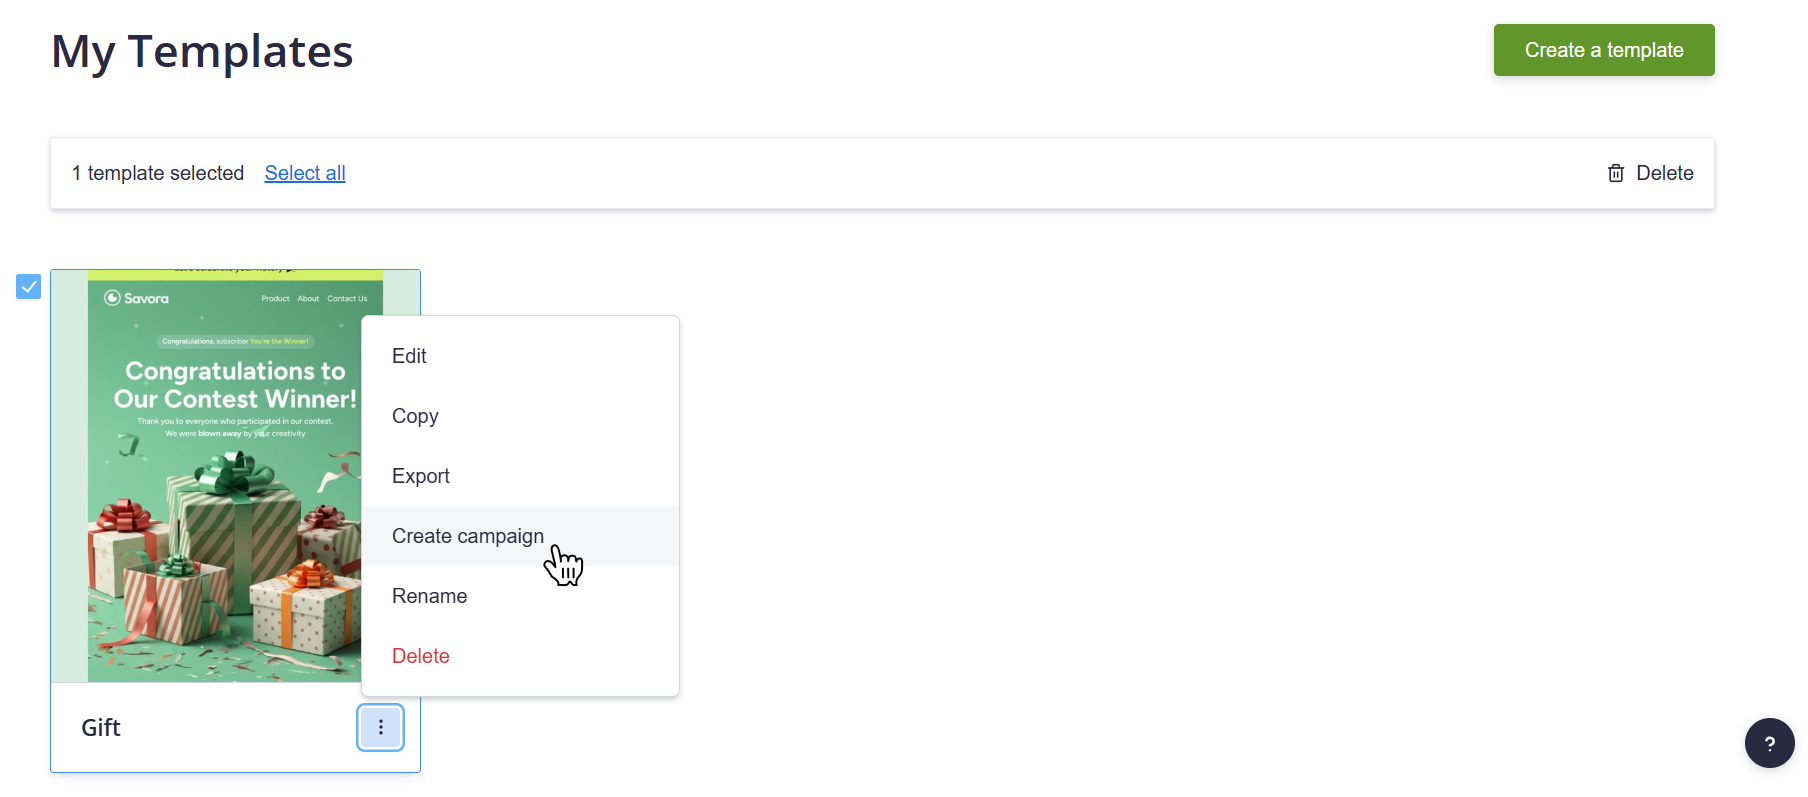
After the template is imported, you can create a campaign from it by clicking the three dots on the template card and selecting the campaign option on the right.
Custom coded templates open in their custom template content editor, where you can edit any Campaign Monitor editable regions you added, such as <singleline> , <multiline> , or editable images.
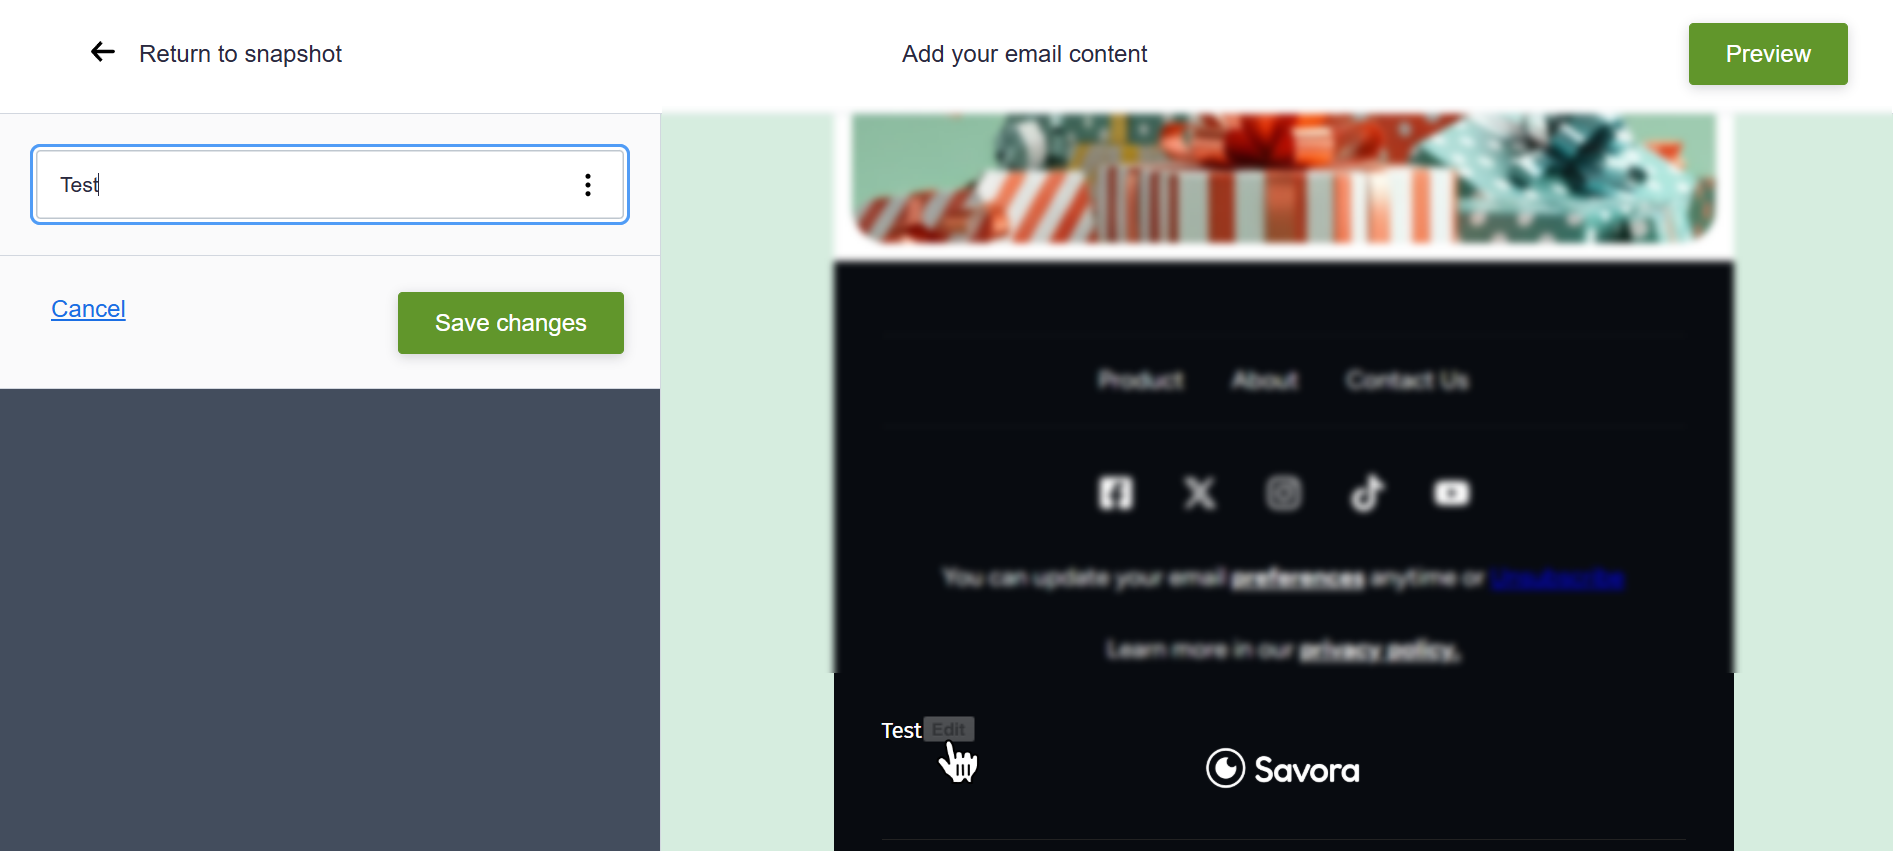
If you added personalization tags like [firstname,fallback=subscriber] , those will stay in the HTML and populate with subscriber data when the campaign is sent. If you added the required unsubscribe tag, Campaign Monitor will recognize it as the unsubscribe link in the final email.
What we covered
- How to prepare a Postcards template for Campaign Monitor by adding the required unsubscribe HTML
- How to add Campaign Monitor editable content tags like
<singleline>directly inside Postcards - How to add optional personalization tags like
[firstname,fallback=subscriber] - How to export the template correctly using Export → Download as ZIP
- How to upload the
index.htmlfile into Campaign Monitor as a custom HTML template - How to optionally edit the exported HTML manually in a text editor before uploading