How to Upload an Email Template in EmailOctopus
In this tutorial, we’ll walk through how to create an email template in EmailOctopus using a Postcards template from Designmodo. You’ll learn how to export a template from Postcards, add the required EmailOctopus merge tags, and import the template into EmailOctopus so it can be used in your campaigns.
Prerequisites
Before starting, make sure you have the following:
- EmailOctopus account
- Designmodo account
- A Postcards email template
Step 1: Add the required merge tags to your template
EmailOctopus allows you to use merge tags inside email templates. Merge tags are placeholders that EmailOctopus automatically replaces with specific information when the email is sent.
For example, the tag:
{{SenderInfo}}
will automatically be replaced with the sender’s company information (the details you provided in your EmailOctopus account settings) when the email is delivered.
It’s common for email service providers (ESPs) to require these types of tags in templates. They ensure recipients can see who sent the email and provide an easy way to unsubscribe.
EmailOctopus provides several merge tags, but two are required in every template in order to send campaigns:
- Sender information:
{{SenderInfo}} - Unsubscribe link:
{{UnsubscribeURL}}(must be used as a hyperlink)
If you’re using a free EmailOctopus account, you must also include the referral link:
- Rewards link:
{{RewardsURL}}
For this tutorial, we’ll add these required merge tags to the footer of the template.
Add the merge tags in the Postcards editor
In your template, scroll down to the footer section. This is typically where sender information and unsubscribe links are placed in email templates.
Add the sender information tag
Add a text element to the bottom of the footer and simply paste the following tag: {{SenderInfo}}
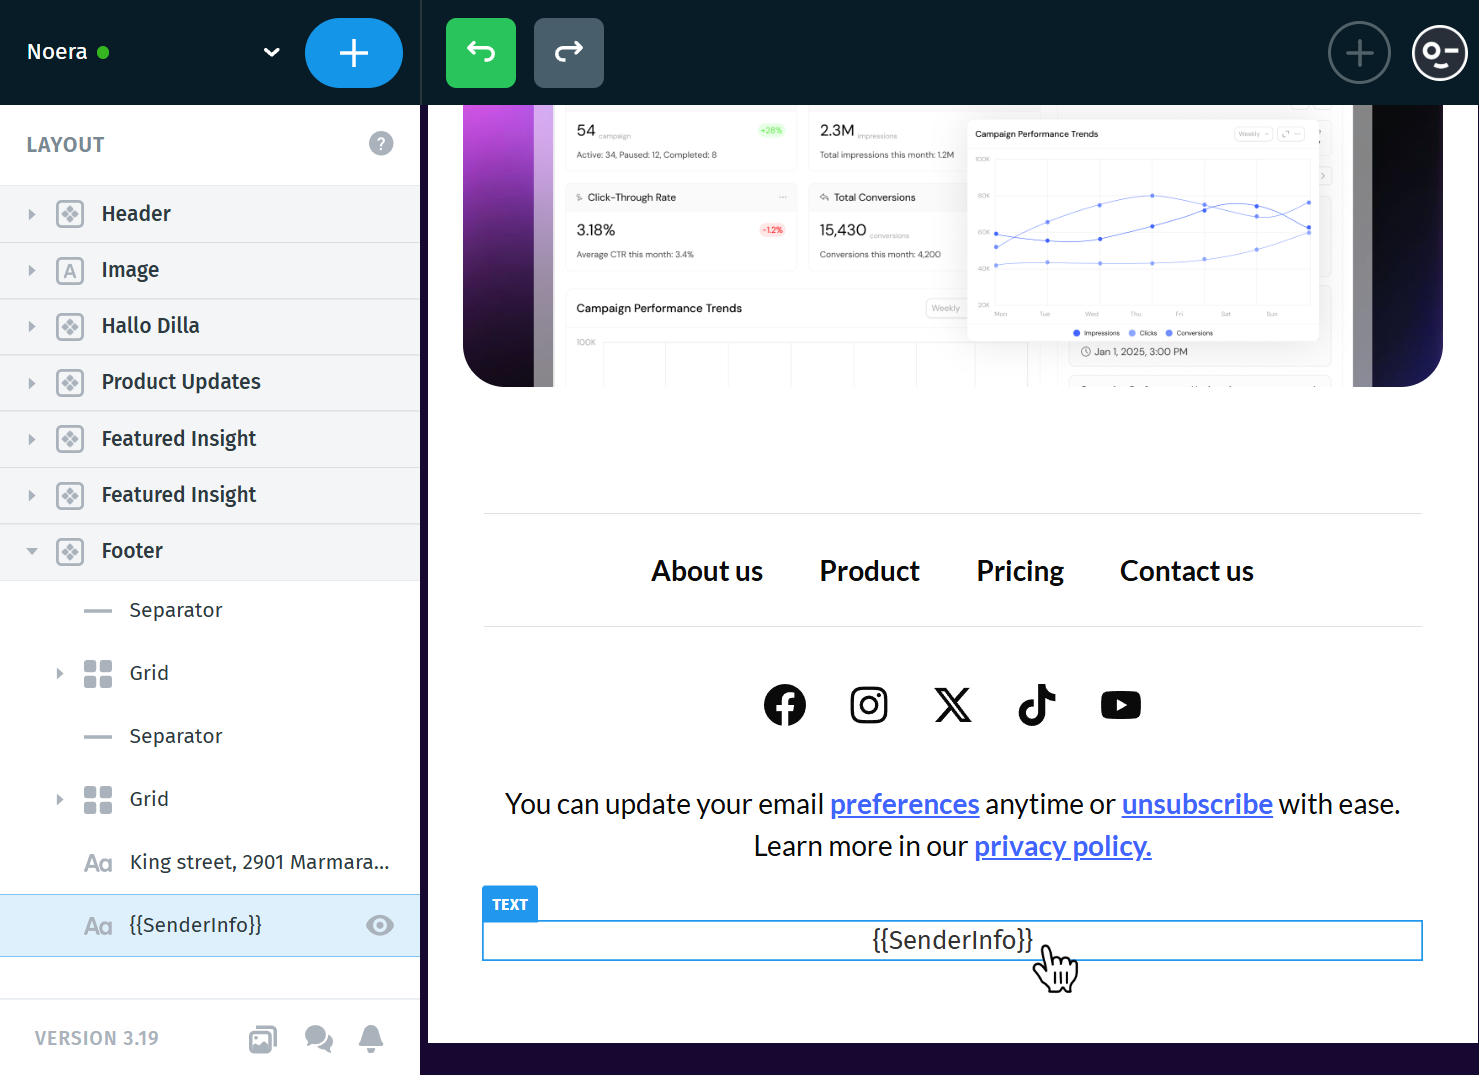
When the email is sent, this tag will automatically display the sender information associated with your EmailOctopus account.
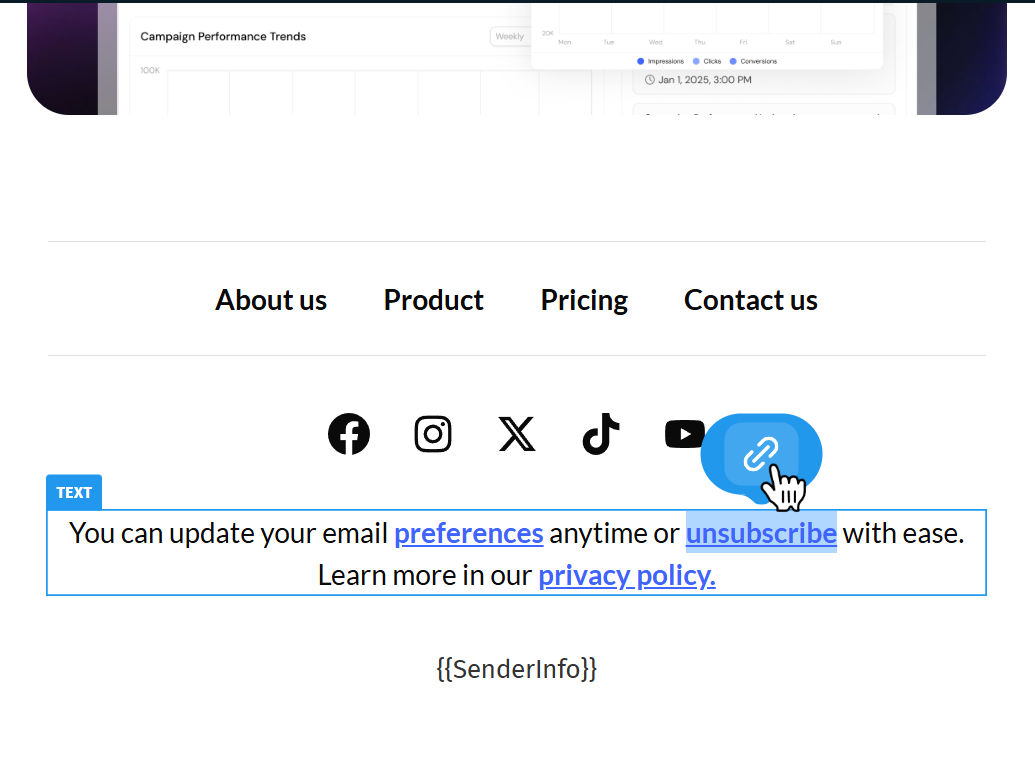
Add the unsubscribe link
Next, add an Unsubscribe text link or button to your footer.
Once the text or button is selected, click the link icon above or below the text to open the link settings.
In the URL field, paste the following merge tag: {{UnsubscribeURL}} and click the tick icon to save it.
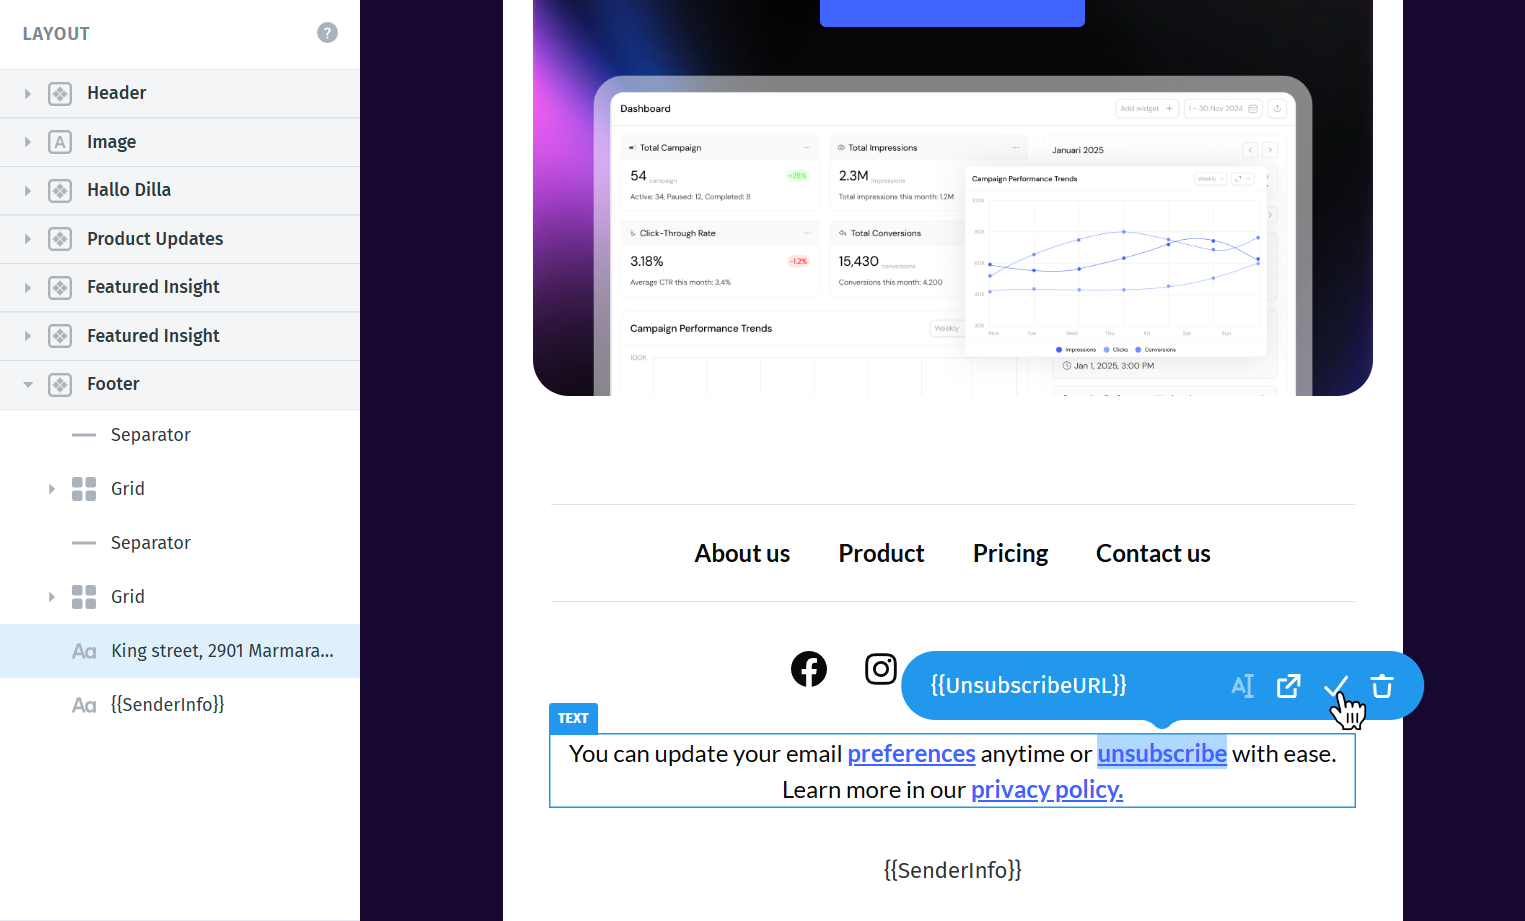
This tag must be used as a hyperlink. Simply typing the tag in the email body will not create a working unsubscribe link.
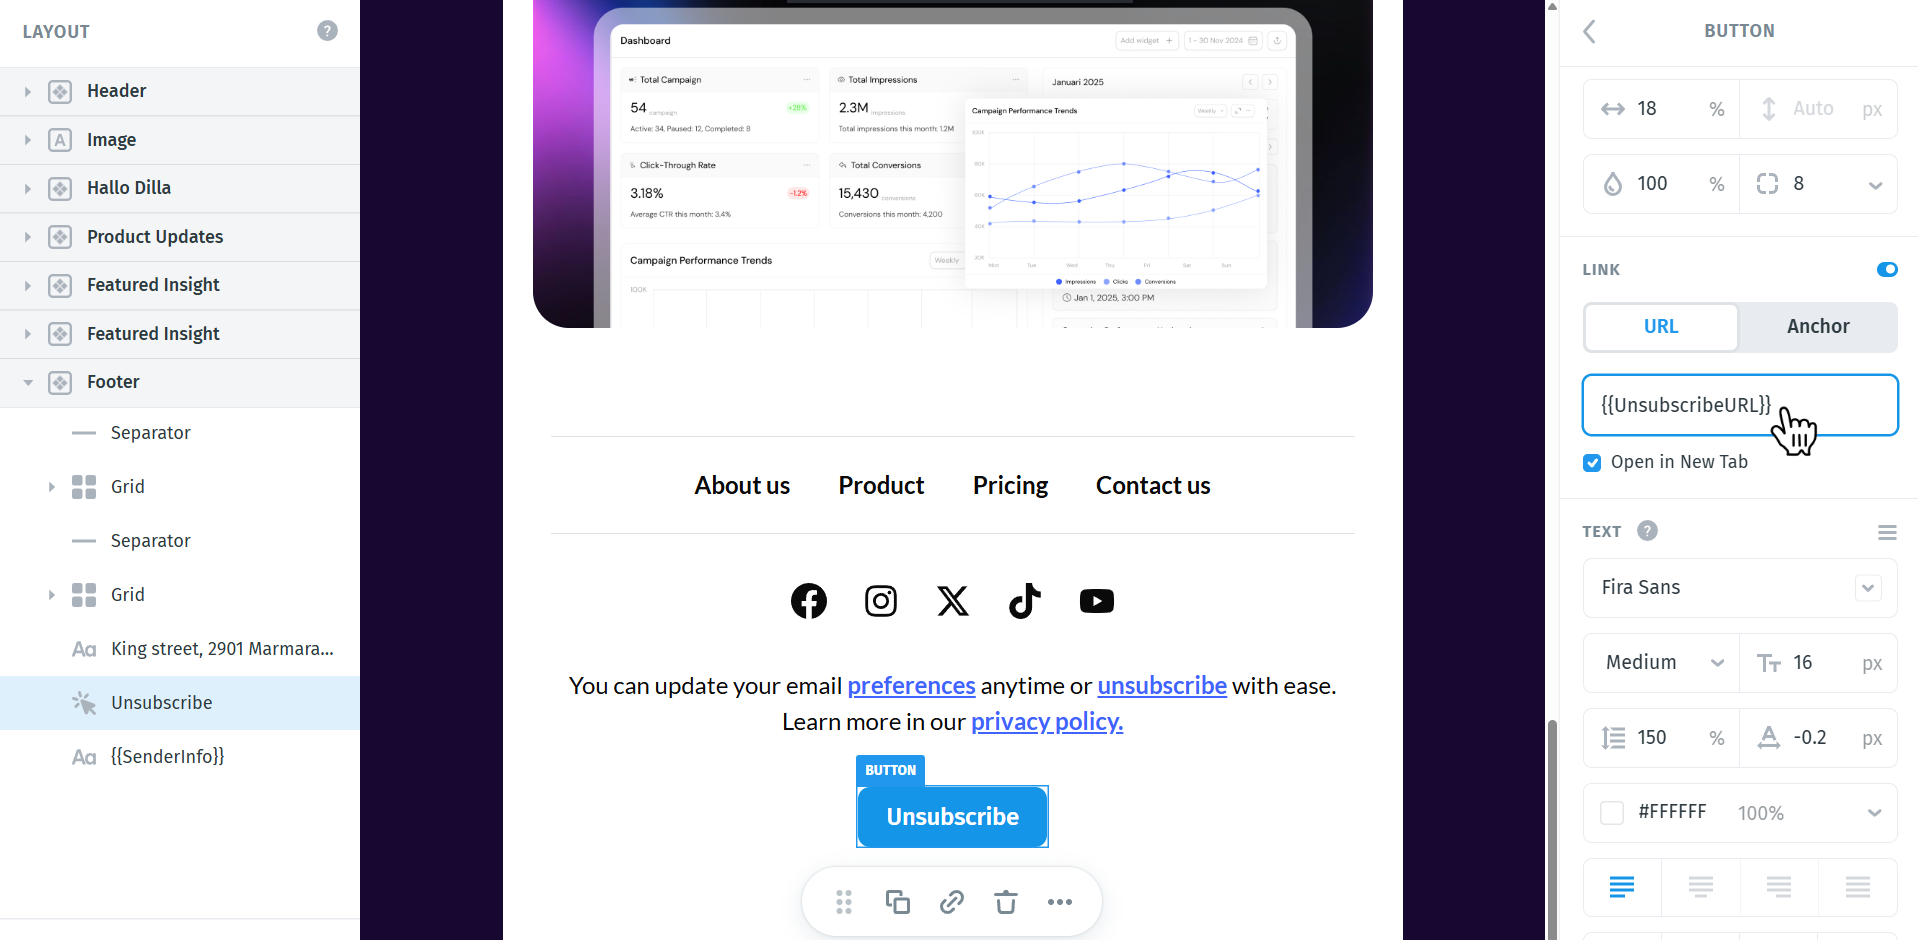
You can also insert the link from the settings panel on the right. Select the button or the text element (for example, if the text element simply contains the word “Unsubscribe”), then in the settings panel locate the Link URL field and paste the tag.
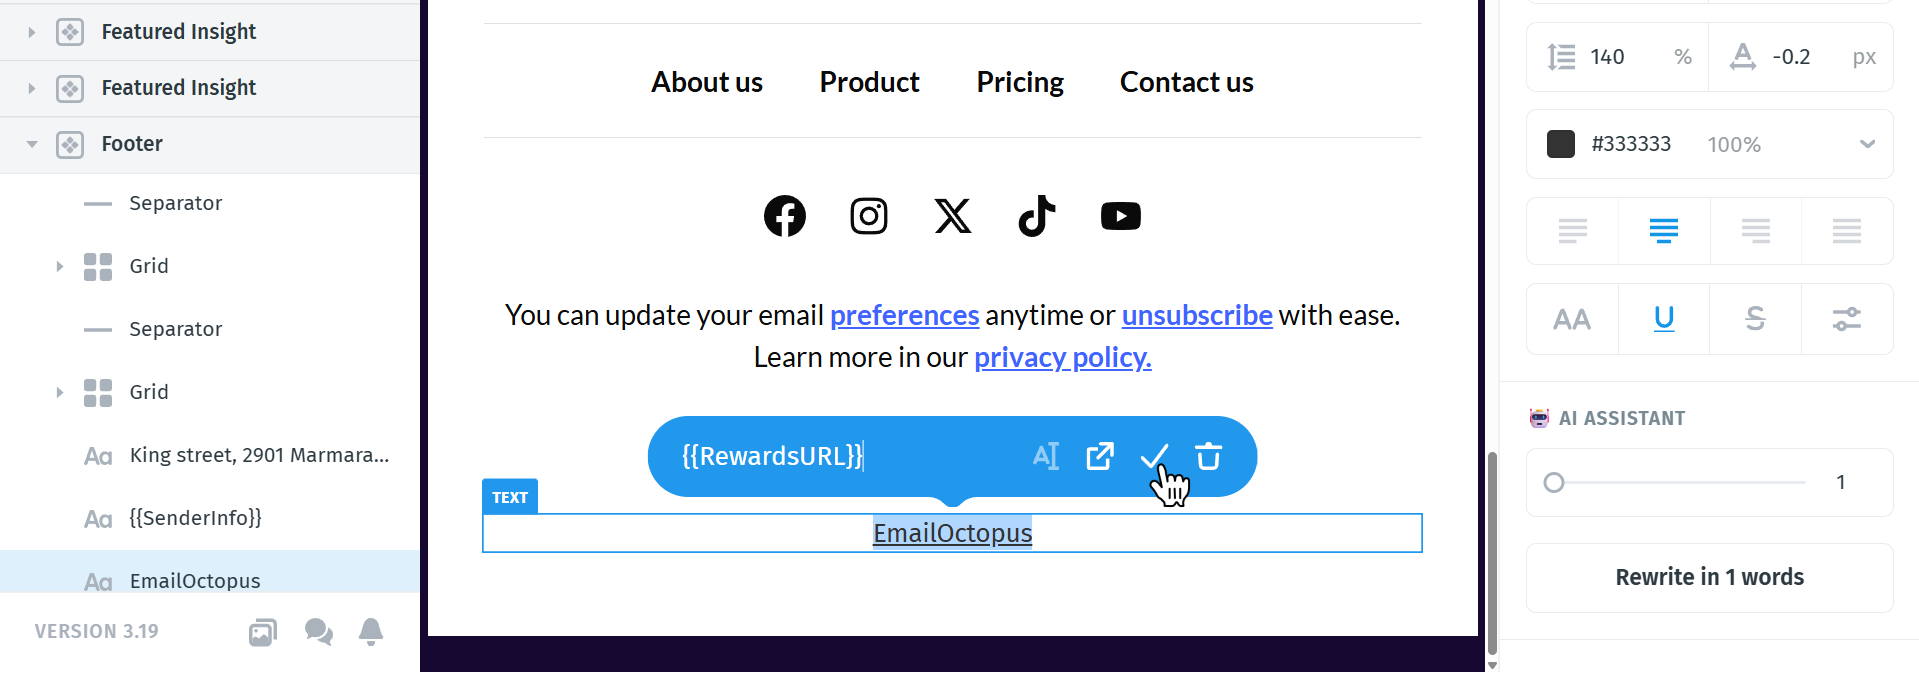
Add the rewards link (free accounts only)
If you are using a free EmailOctopus account, you must also include the rewards link.
Add a text link or button, then set the link URL to: {{RewardsURL}}
Once these tags are added, your template will meet EmailOctopus requirements and will be ready to export from Postcards.
Step 2: Create a campaign in EmailOctopus
Now we’ll create a campaign in EmailOctopus and import the template you exported from Postcards.
Head over to your EmailOctopus dashboard and navigate to the Campaigns section.
Click Create campaign in the top-right corner:

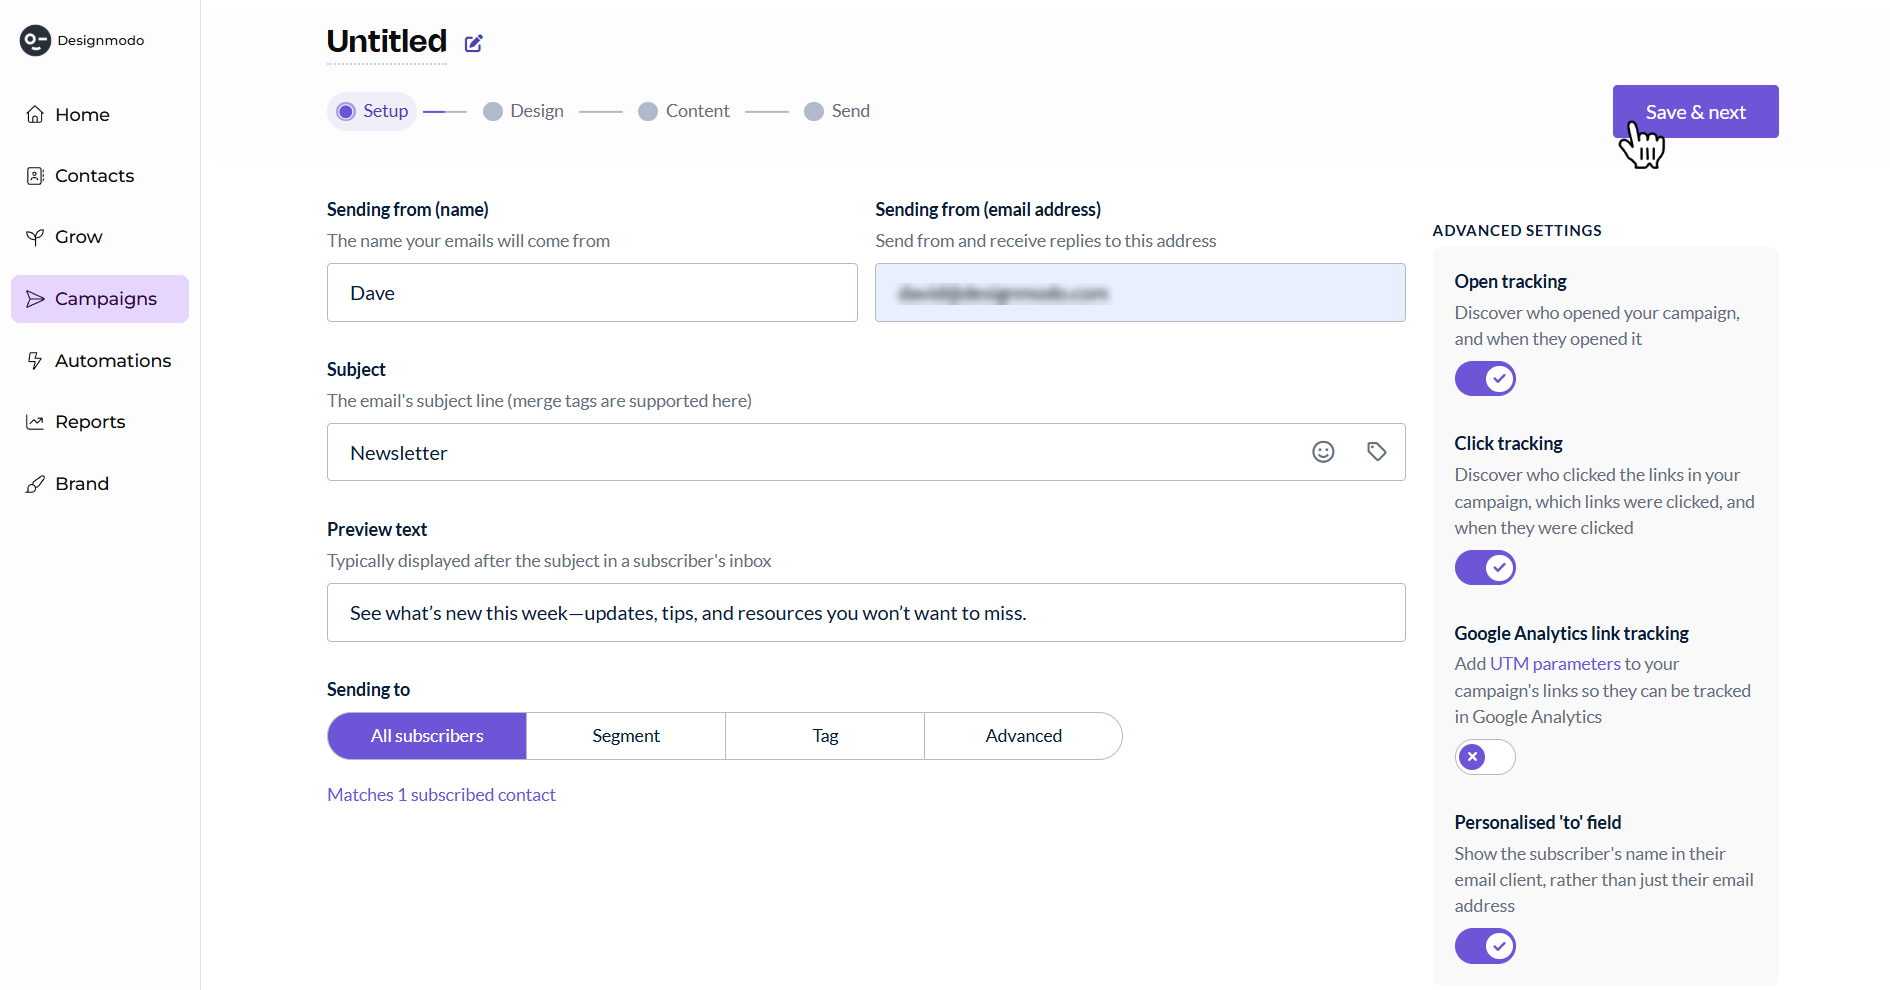
You will be redirected to the campaign setup page. Here you’ll need to fill in the basic campaign information:
- Sending name – the name recipients will see as the sender
- Sending address – the email address the campaign will be sent from
- Subject – the subject line of your email
- Preview text – the short text snippet that appears next to the subject line in inboxes
- Recipients – select the contact list you want to send the campaign to
After filling in the required information, click Save & Next in the top-right corner.
On the next screen, you’ll be able to choose or import the email template that will be used for your campaign. Once you're in the Design section of the campaign setup, look at the template options on the left side of the screen.
Select Code your own from the left panel. This option allows you to use your own HTML email template instead of the drag-and-drop builder.
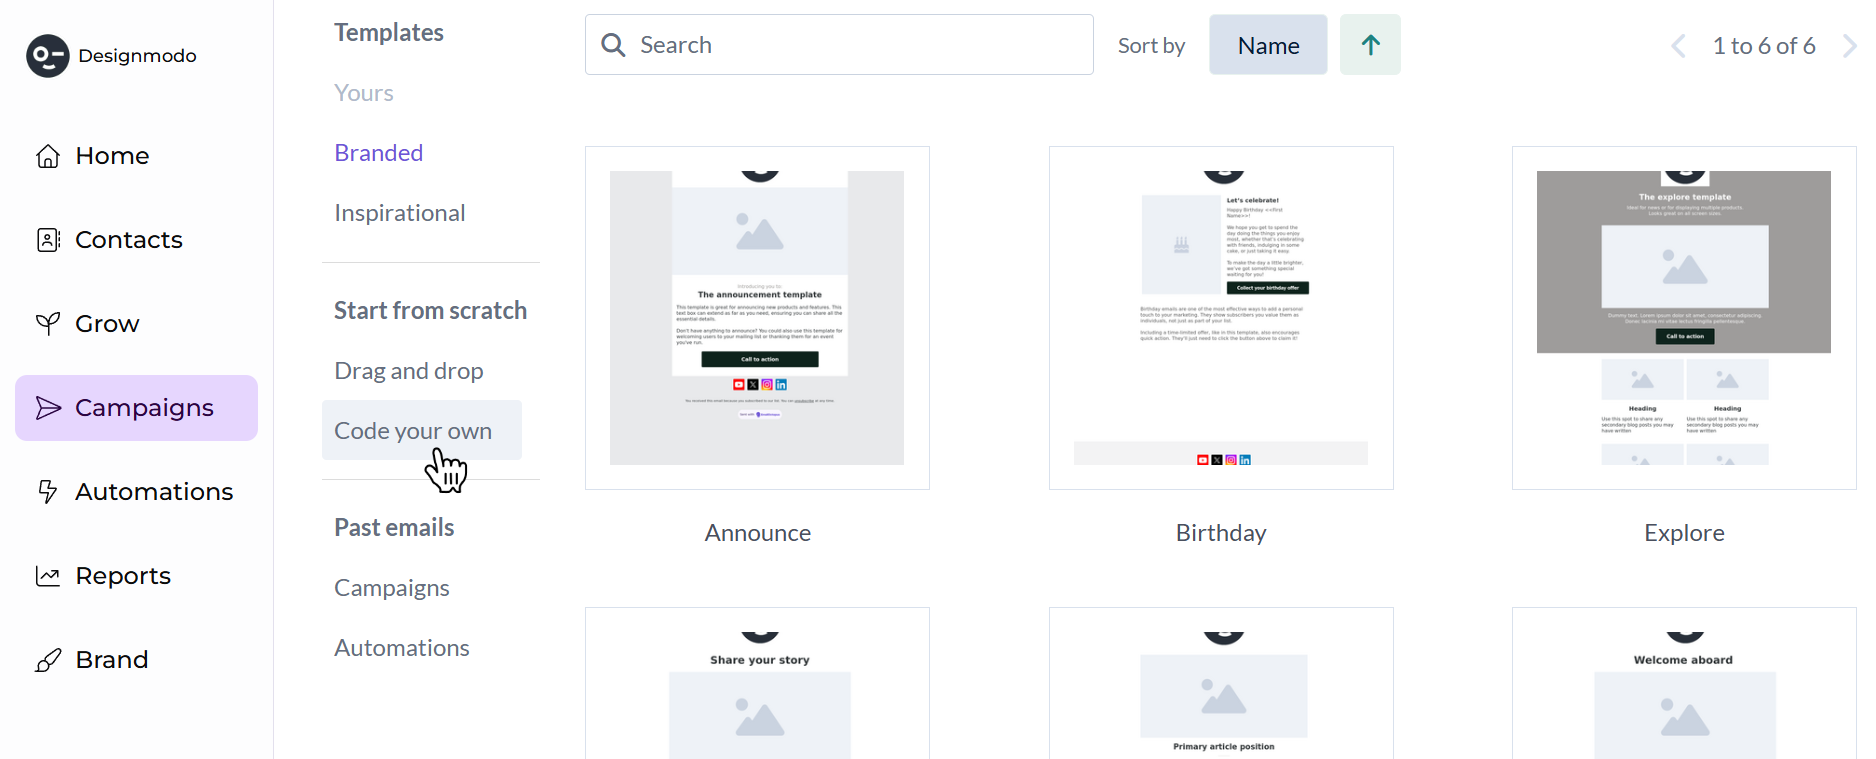
After selecting it, a large tile labeled “Code your own” will appear in the main area of the screen.
Once you click Code your own, you’ll be redirected to the Content section where the HTML code editor will open. This is where you can paste the HTML code generated by your Postcards template.
The editor shows the email structure on the left and a preview of the template on the right.
Step 3: Import the Postcards template into EmailOctopus
With this section open, the next step is to get your template’s HTML from Postcards.
Head over to Postcards, where you have two options to obtain the HTML for your template:
Option 1: Copy the email code (fastest method)
In Postcards, click Export → Copy Email Code.
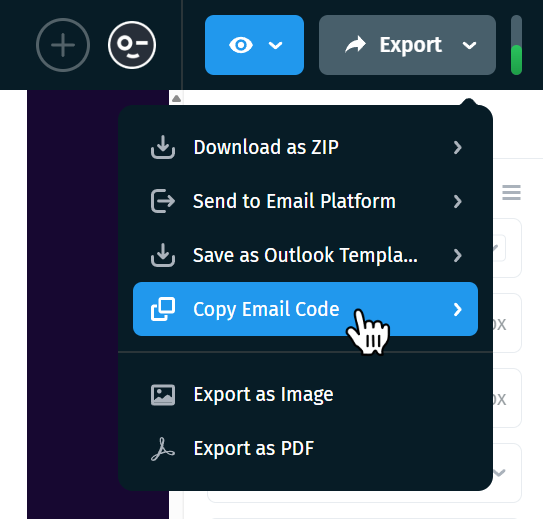
This will instantly copy the entire HTML of your template to your clipboard.
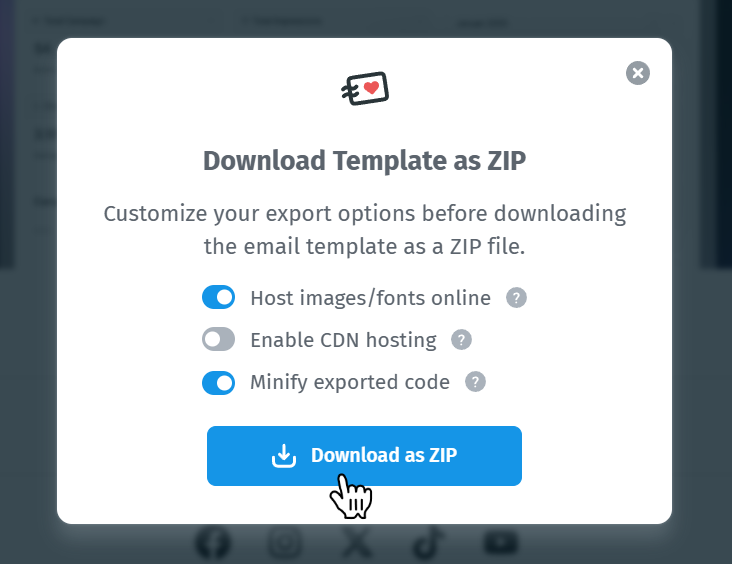
Option 2: Download the template as a ZIP file
You can also download the full template package.
In Postcards, click Export → Download as ZIP. Remember to enable the “Host images/fonts online” option when exporting your template from Postcards so that all images and fonts are properly hosted and accessible when the email is sent.
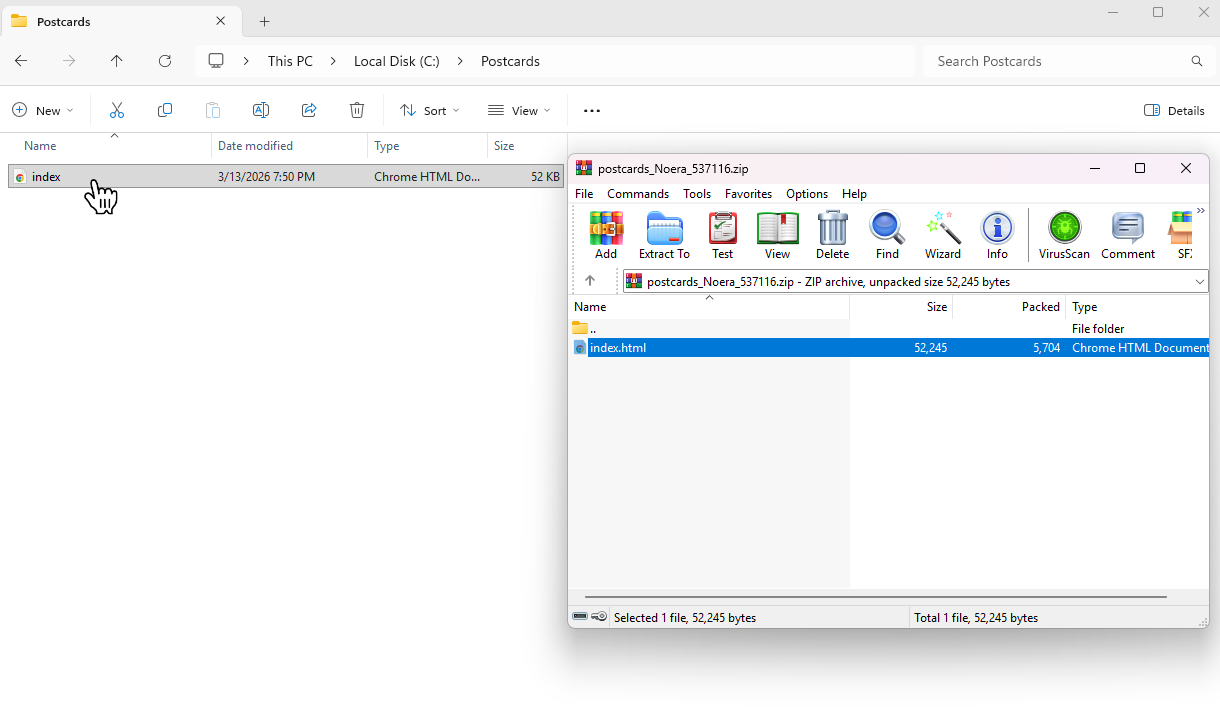
Once the file is downloaded:
- Extract the ZIP file to a folder on your computer.
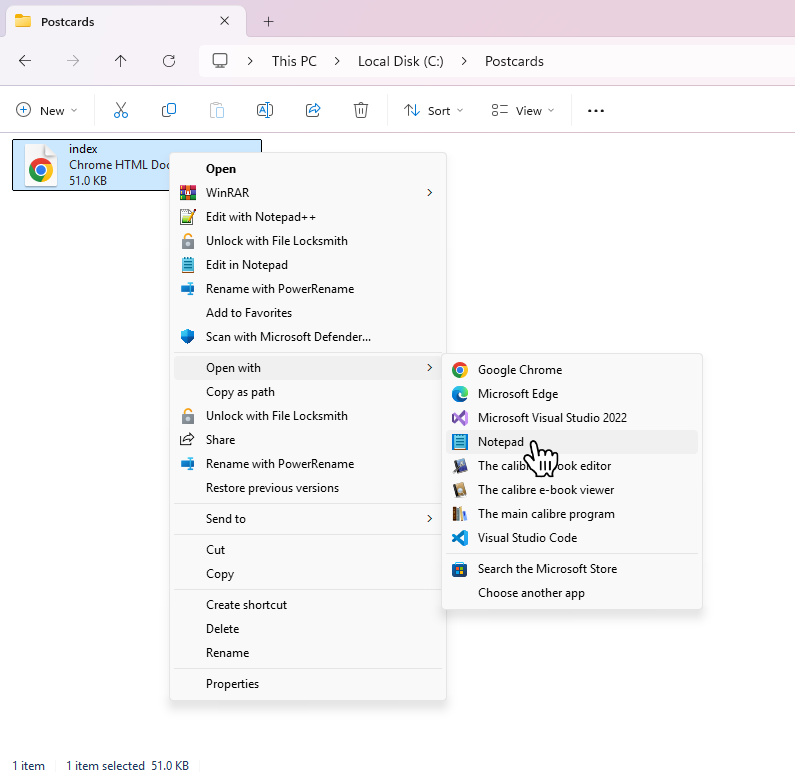
- Right-click the file and open it using a text editor such as Notepad, VS Code, or Sublime Text.
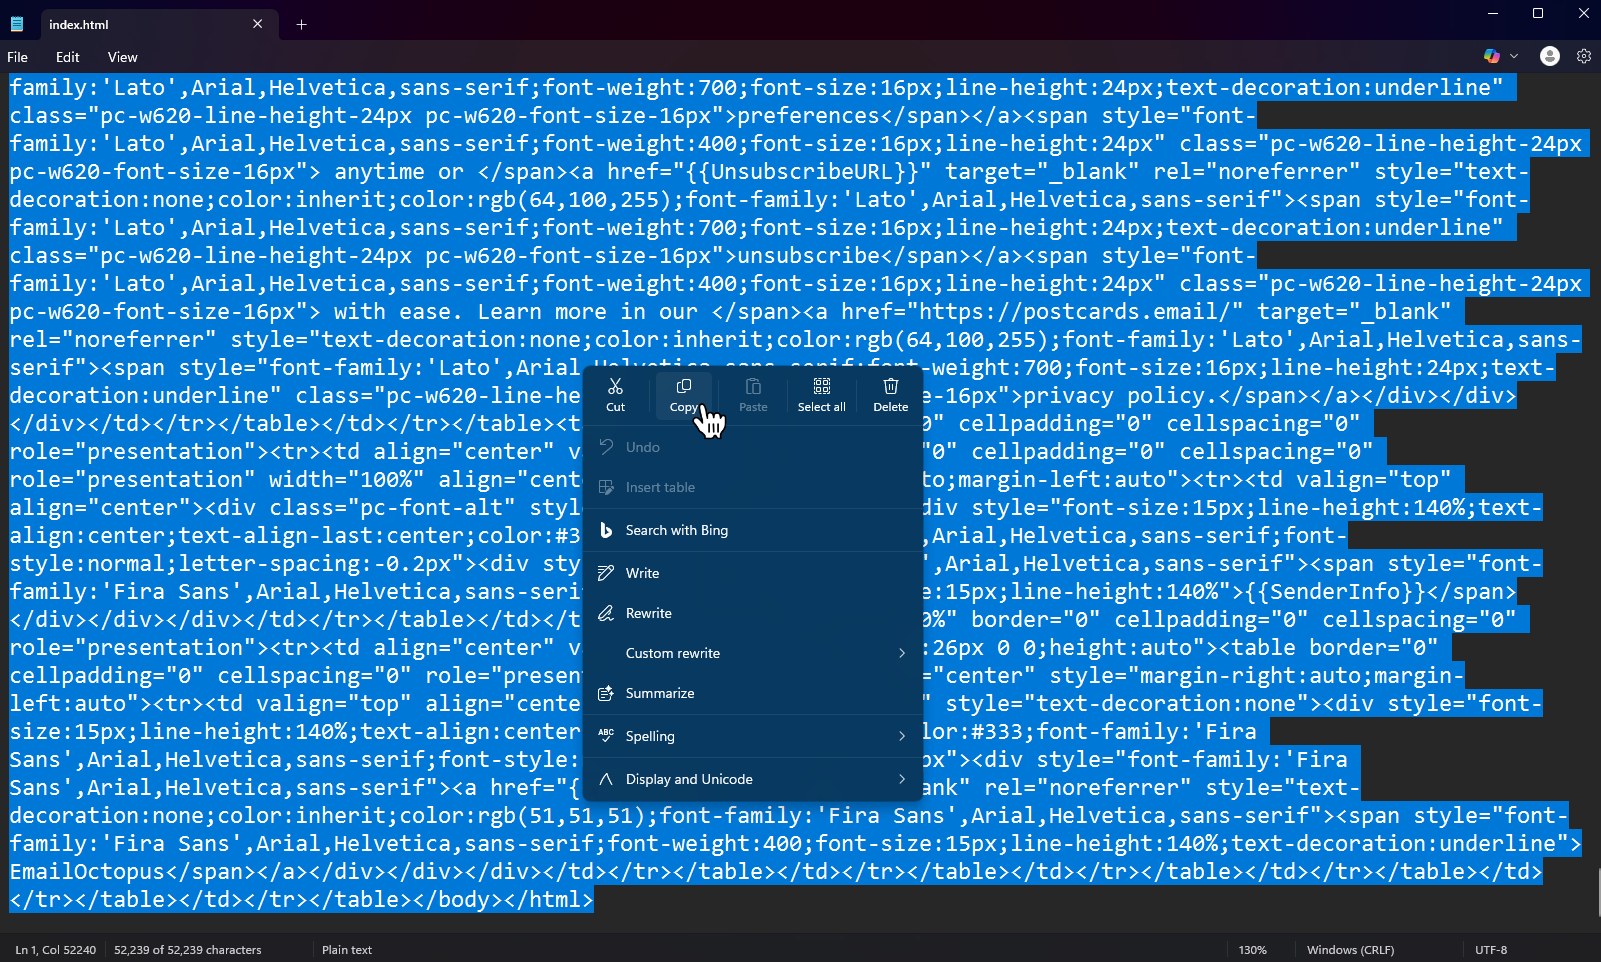
- Press Ctrl + A (or Cmd + A on Mac) to select all the code and copy the text.
With your HTML copied, head back to EmailOctopus. In the HTML editor, delete the placeholder code inside the code editor, then paste your template’s HTML.
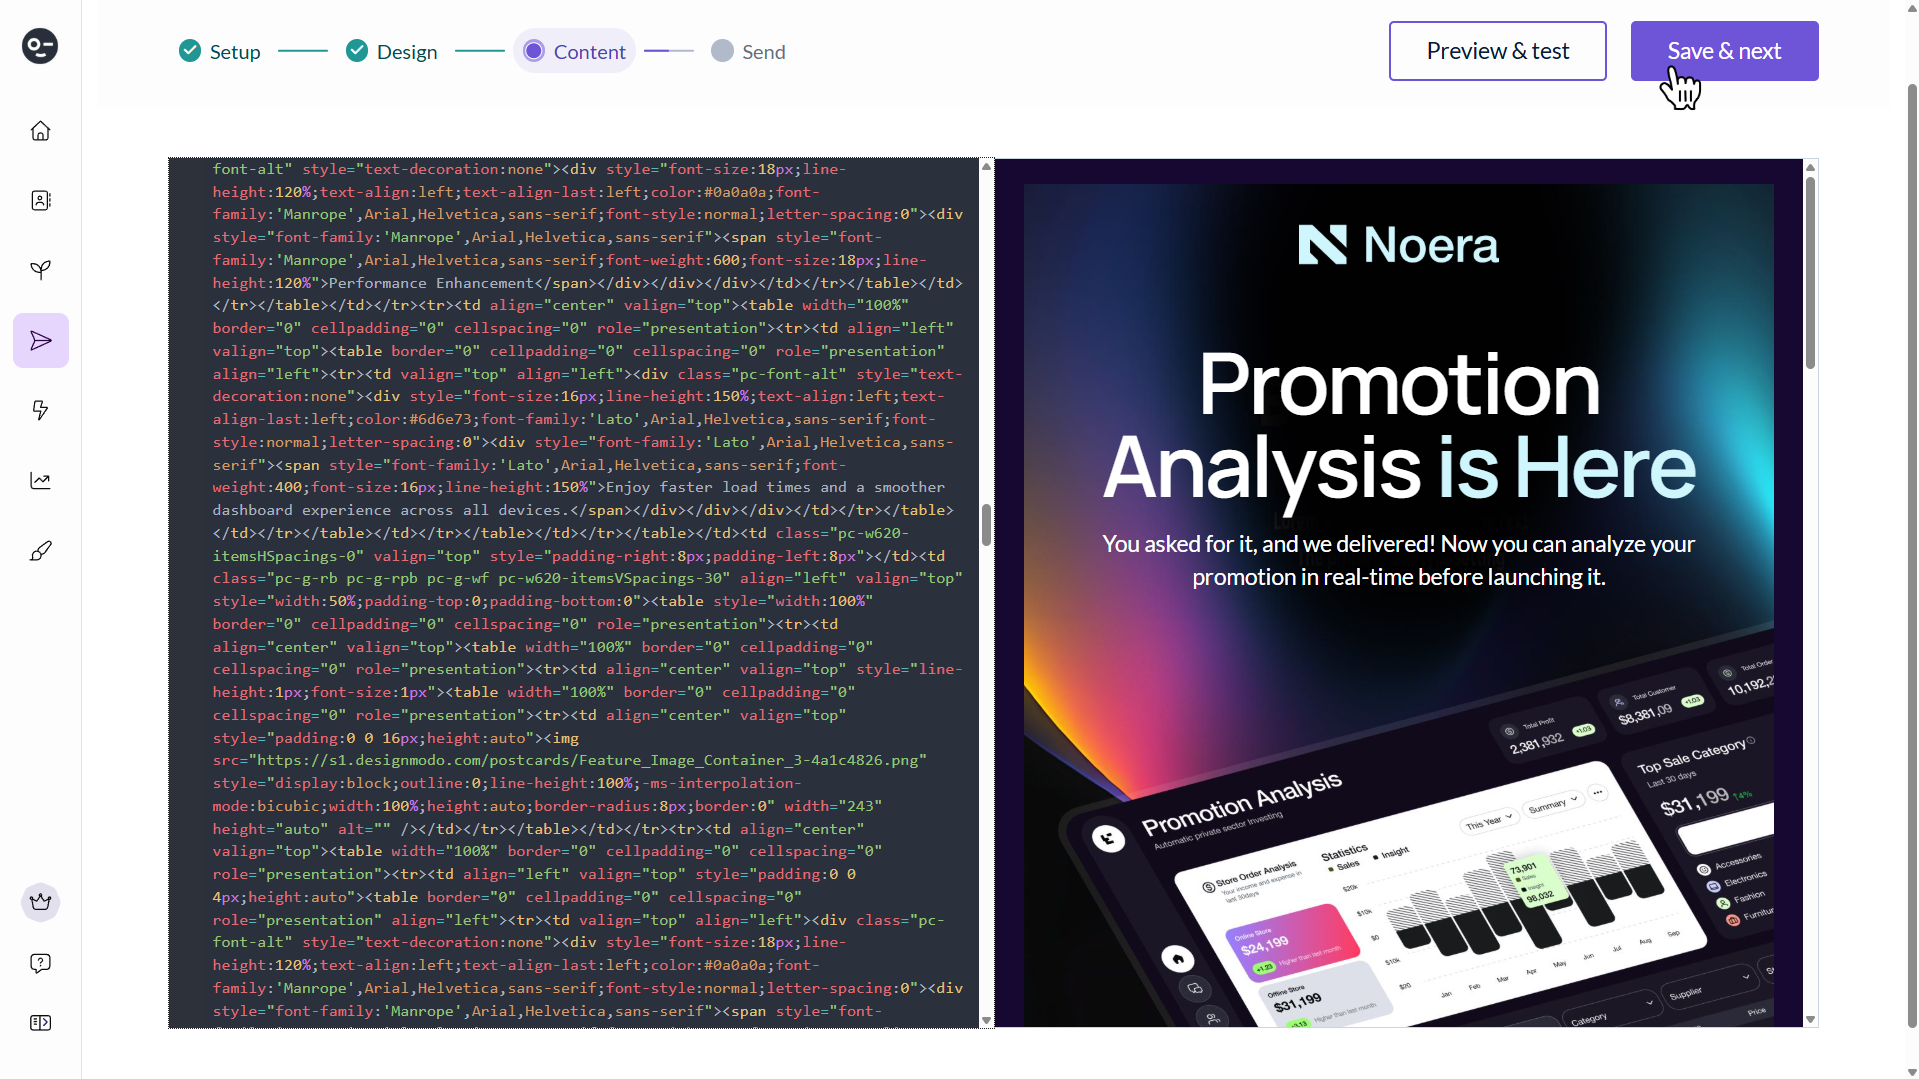
Once pasted, the preview panel on the right should update and display your Postcards template. Review the preview to make sure everything looks correct, then click Save & Next to continue.
You may see a message saying that the preview text was removed from the HTML. EmailOctopus automatically re-adds this code to ensure the preview text appears correctly in inboxes.

If this message appears, simply click Save & Next again to continue, as the preview text code has already been inserted automatically.
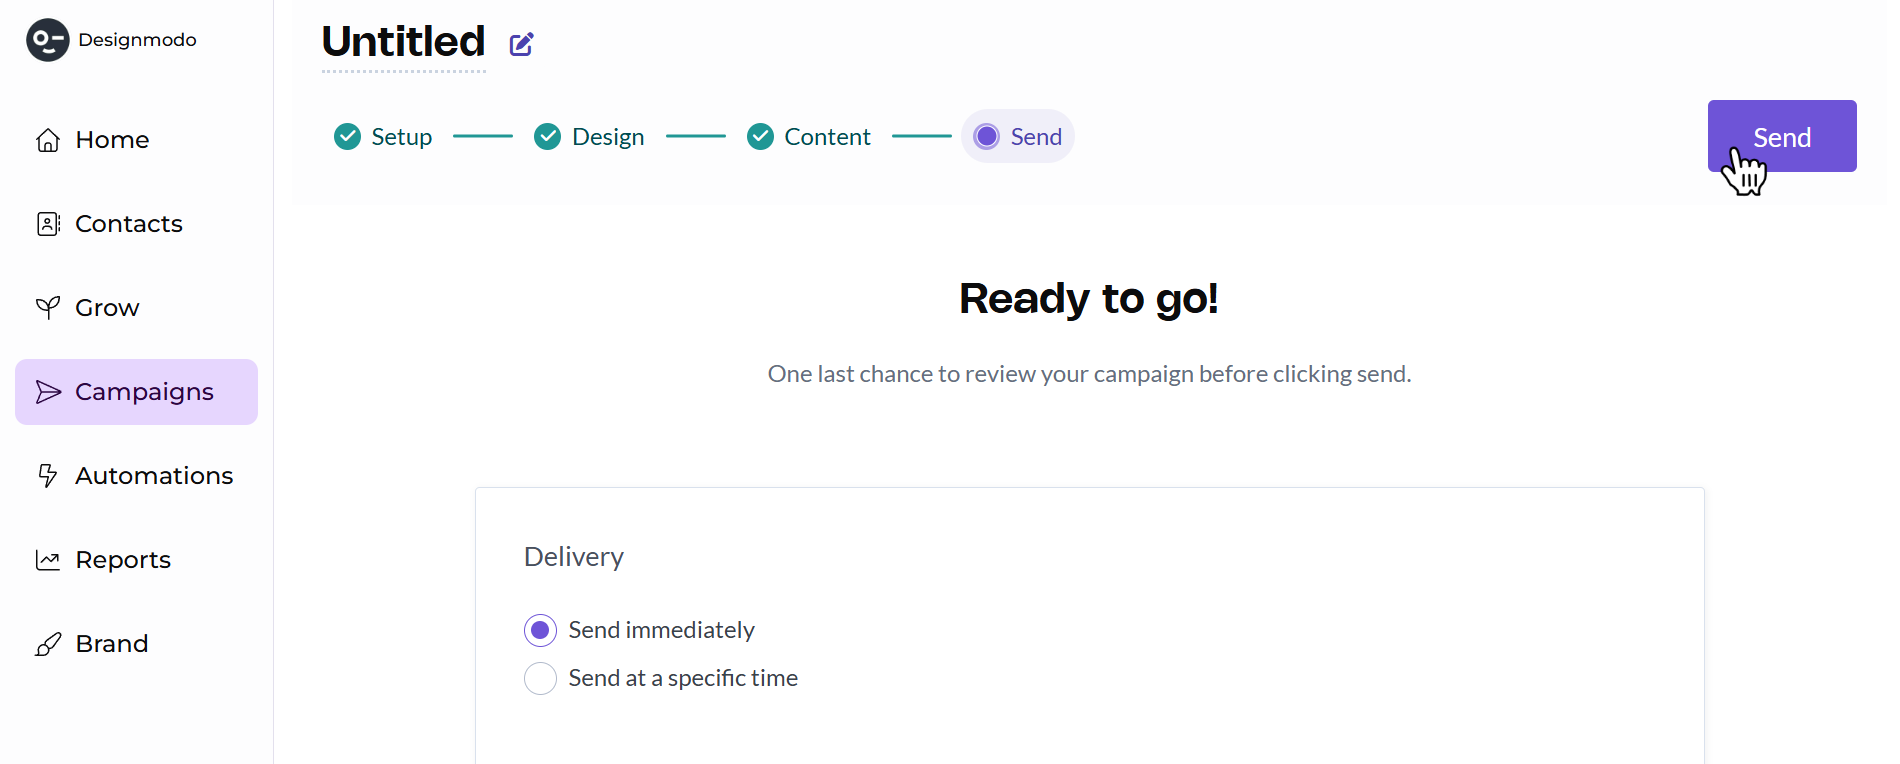
Step 4: Review and send your campaign
Now all that’s left is to complete the Send section of the campaign setup.
In this section, you can review your campaign before sending. Double-check that everything looks correct.
Once you’re satisfied that everything is set up correctly, click Send in the top-right corner to launch your campaign.
What we covered
In this tutorial, we covered:
- How to add the required EmailOctopus merge tags in the Postcards editor
- How to create a campaign in EmailOctopus
- How to import a Postcards HTML template using the Code your own option
- How to copy and paste your template’s HTML from Postcards into EmailOctopus
You can now use Postcards to design email templates and send them through EmailOctopus for your email campaigns.