
How to Upload an Email Template in Mailgun
In this guide, you'll learn how to get a Postcards email template into Mailgun.
There are two ways to do it:
- Connect Mailgun to Postcards with our integration and send your template across in one click — the fastest route.
- Export and paste manually — copy the HTML out of Postcards and build the template in Mailgun yourself.
We'll also cover how to add Mailgun's template variables so your emails can be personalized. These are added inside Postcards before you send, so we'll start there.
Prerequisites
- A Designmodo Postcards account
- A Mailgun account
- A text editor that can open HTML files (only needed for the manual route)
Step 1. Add Mailgun variables in Postcards
The first step is to create a Postcards template that includes Mailgun variables.
We’re adding Mailgun template variables at this stage so we don’t have to modify the code later. Instead, we can use the Postcards interface to manage them, which makes the process much easier.
Mailgun template variables allow you to add dynamic content to your emails, enabling personalization so that each recipient receives a slightly customized version.
In this example, we’ll use the recipient’s first name and the unsubscribe URL. They look like this:
%recipient_fname%
%unsubscribe_url%
In the Postcards app, I’ve created a template using Header and Footer. It looks like this:
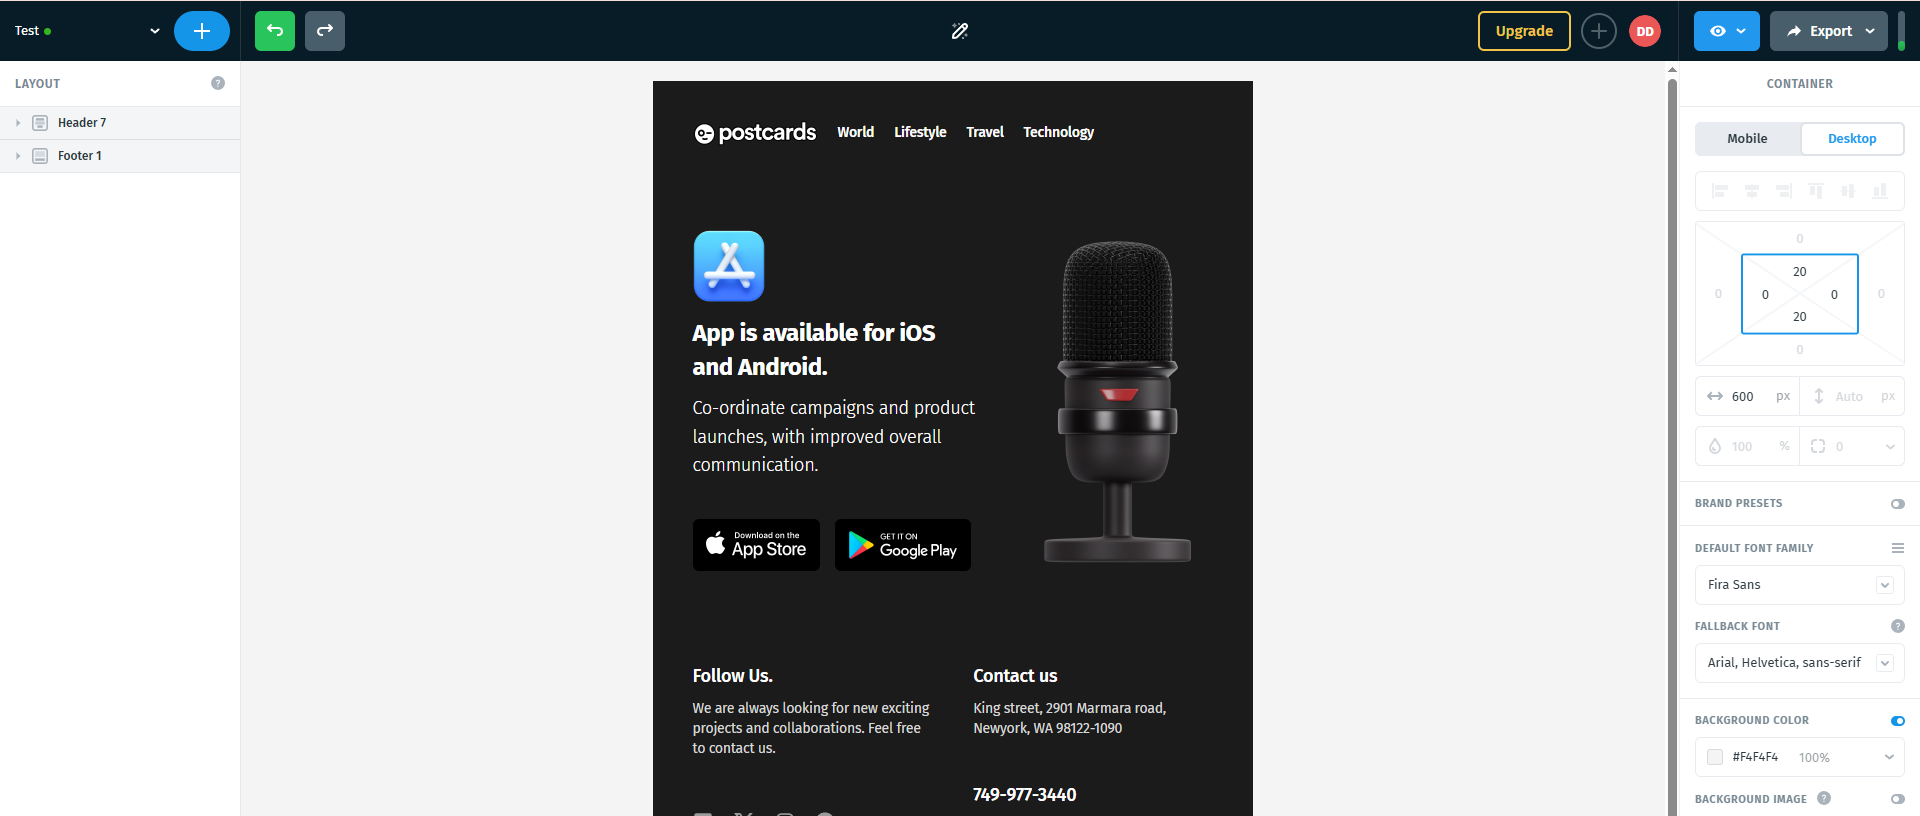
Next, we’ll add the first name variable to the Header area.
Click the Header, and that’ll open up the menu to edit the content. Then find the "TEXT" element.
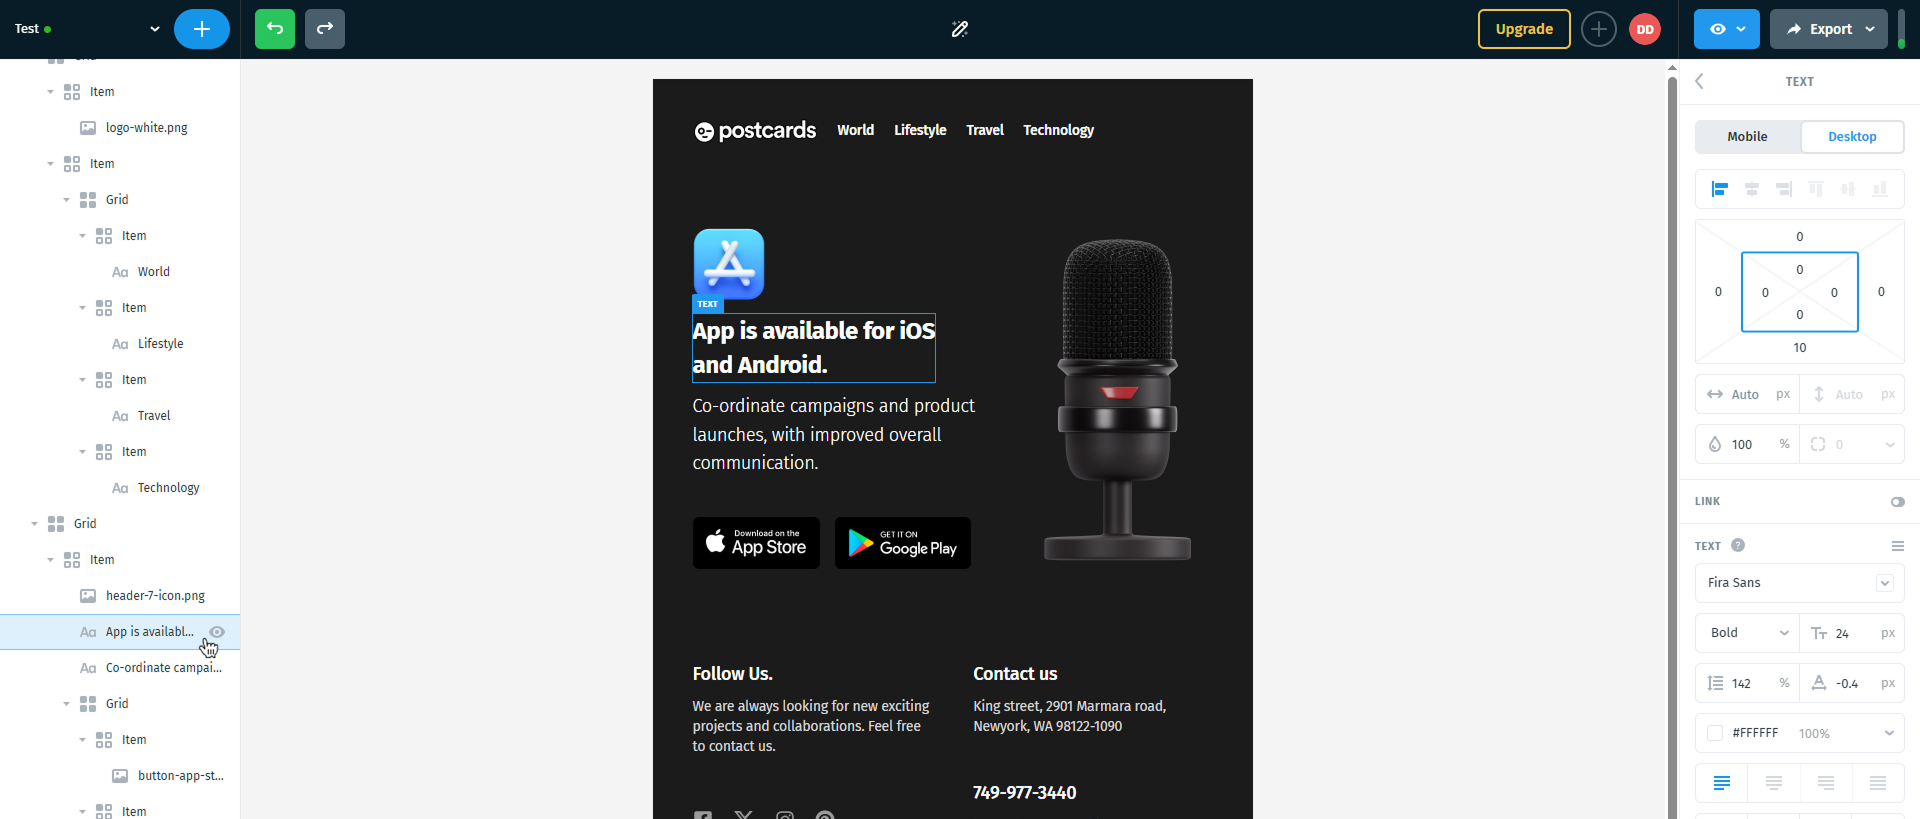
In the text editor, change the text to add the first name variable, like:
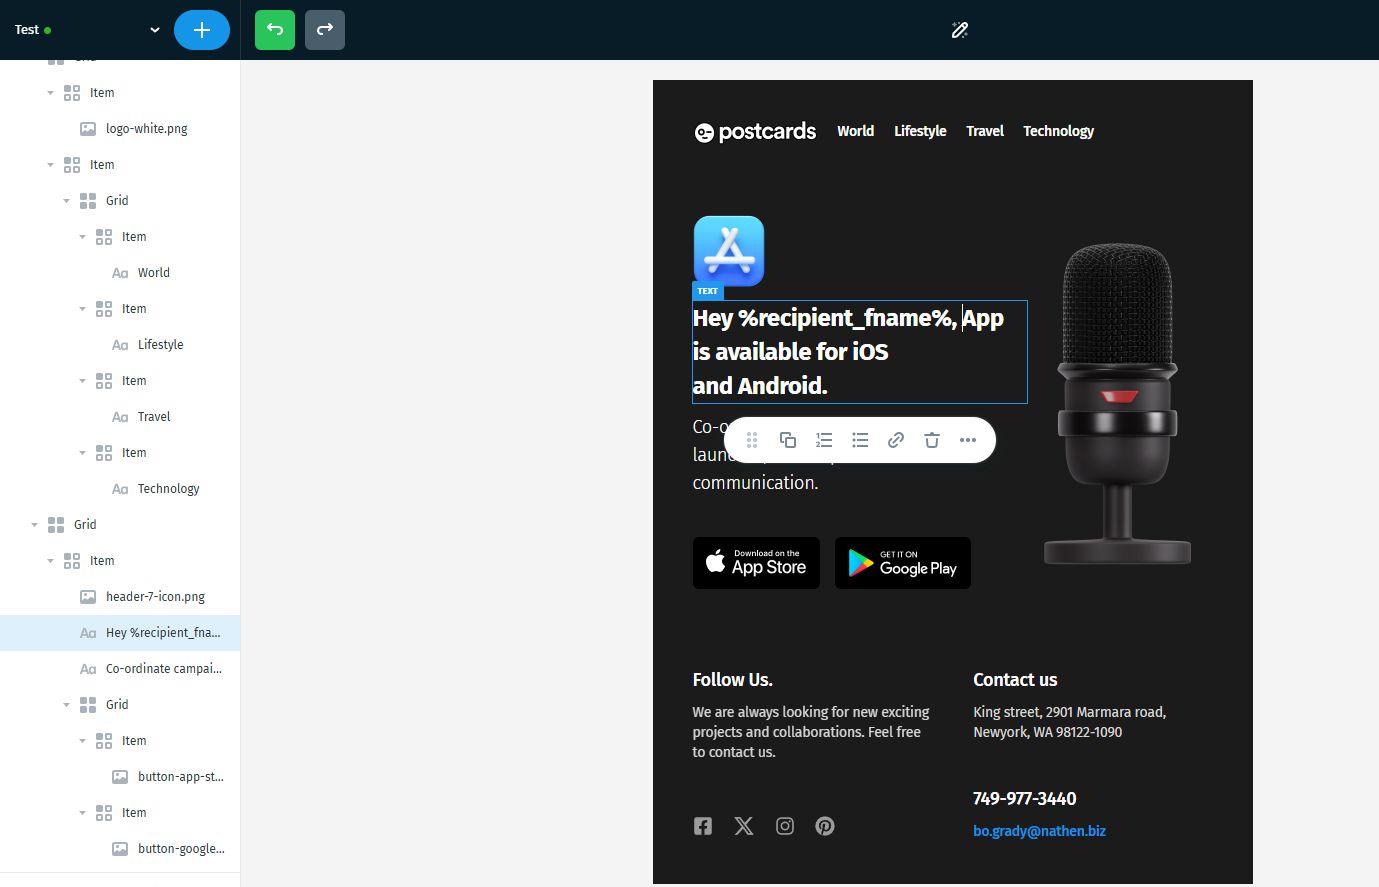
Wait a few seconds for auto-save.
Next, scroll to the Footer and click it, then select the element that will be used as the Unsubscribe part.
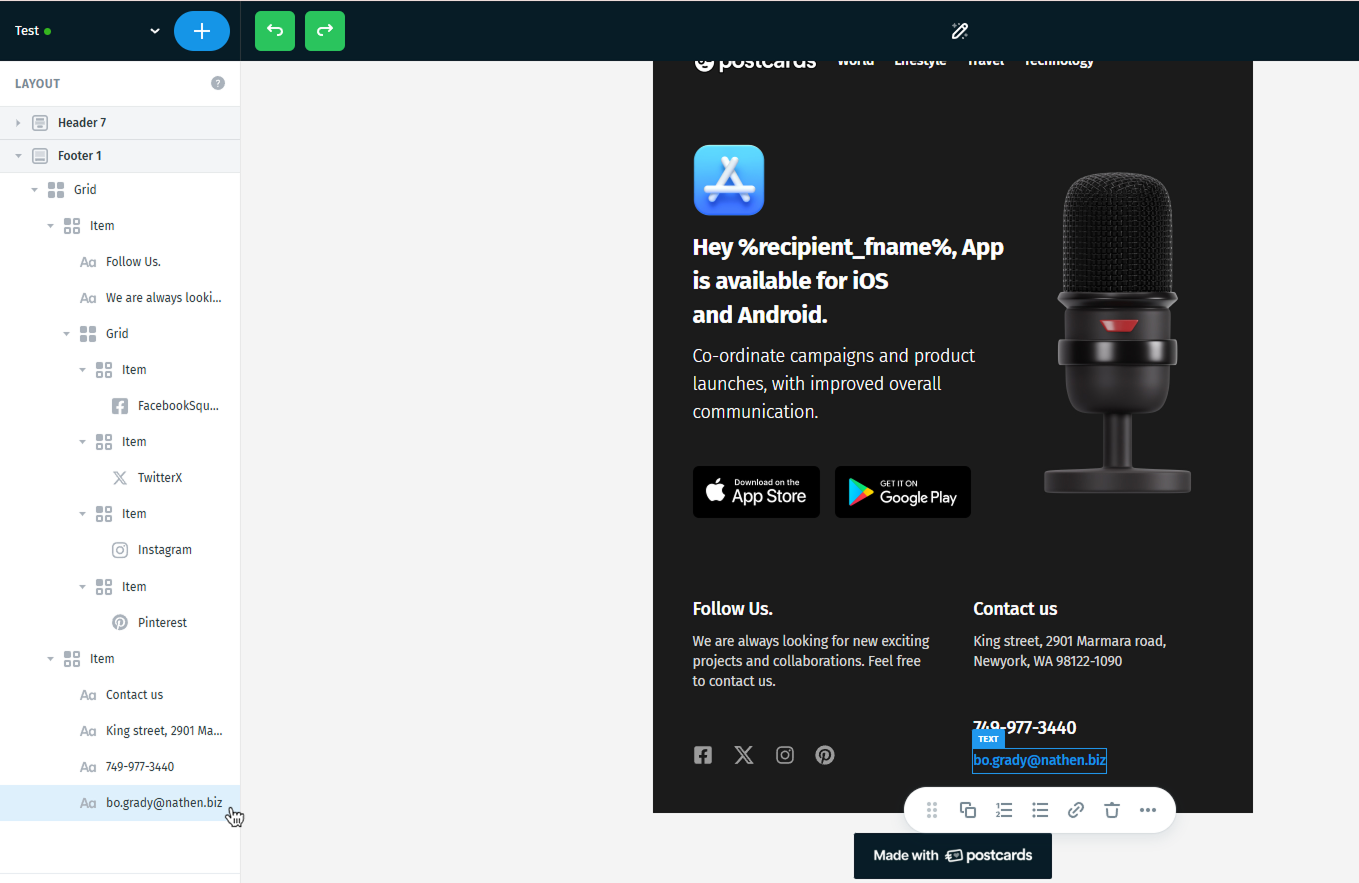
Change the text to “Unsubscribe” and add the unsubscribe URL variable "%unsubscribe_url%" to the URL input.

Now we have to export this file.
Step 2. Send your template to Mailgun
Choose whichever method suits you. Option A is recommended — once connected, it takes a single click.
Option A — Connect Mailgun and send directly (recommended)
With the Mailgun integration, Postcards sends your template straight into your Mailgun account. No exporting, no copying HTML, no rebuilding the template by hand.
Connect your Mailgun account (first time only)
1. Open the integrations list. In the Postcards editor, click Export (top right) and choose Send to Email Platform. Click Add new integration at the bottom, then find Mailgun in the list of available integrations and click the + icon.

2. The connection window opens. All you need is your Mailgun private API key.
Get your API key from Mailgun. Click the API Key link in the window

it takes you straight to the API keys page in your Mailgun account.
- If you don't have one, click Create key

Give it a name (for example, Postcards), and copy the key it generates.

Important: Mailgun only shows the full key once, at the moment you create it. Save it somewhere secure before closing the dialog.
4. Connect. Back in Postcards, paste the key into the API Key field. You can optionally give the connection an Integration Name.
Your Mailgun account is now linked and will be available for future exports — you only need to do this once.
Send your template
With Mailgun connected, click Export → Send to Email Platform → Mailgun and wait a moment while your template is sent across. You'll get a confirmation message with a link to Mailgun.

Note: That link opens your Mailgun dashboard rather than the template itself. To find your new template, go to Send → Sending → Templates. It'll be listed there, ready to preview, edit, and use.
Option B — Export and paste manually
Use this route if you'd rather not connect your account, or you want to edit the HTML before uploading.
Export the HTML from Postcards
Postcards gives you two ways to do this from the Export menu:
Copy Email Code — the quickest option. It copies clean, production-ready HTML directly to your clipboard:
- Click Export in the top-right corner
- Select Copy Email Code
- The full HTML is copied to your clipboard

- Download as ZIP — this downloads the full HTML package of your email, including the index.html file. Make sure "Host images/fonts online" is enabled before downloading, unless you plan to use your own hosted image and font files.
- Click Export in the top-right corner and select Download as ZIP.

- Click the "Download as ZIP" button.

- Open the ZIP and extract the contents into a folder.

- Inside the extracted folder, locate the index.html file.
- Open index.html in a text editor such as Notepad, Notepad++, or Visual Studio Code.
- Copy the full HTML code from that file. (CTRL + A - to select all, then, CTRL + C - to copy)
Extract the file into a folder you can work with. It should look something like this:
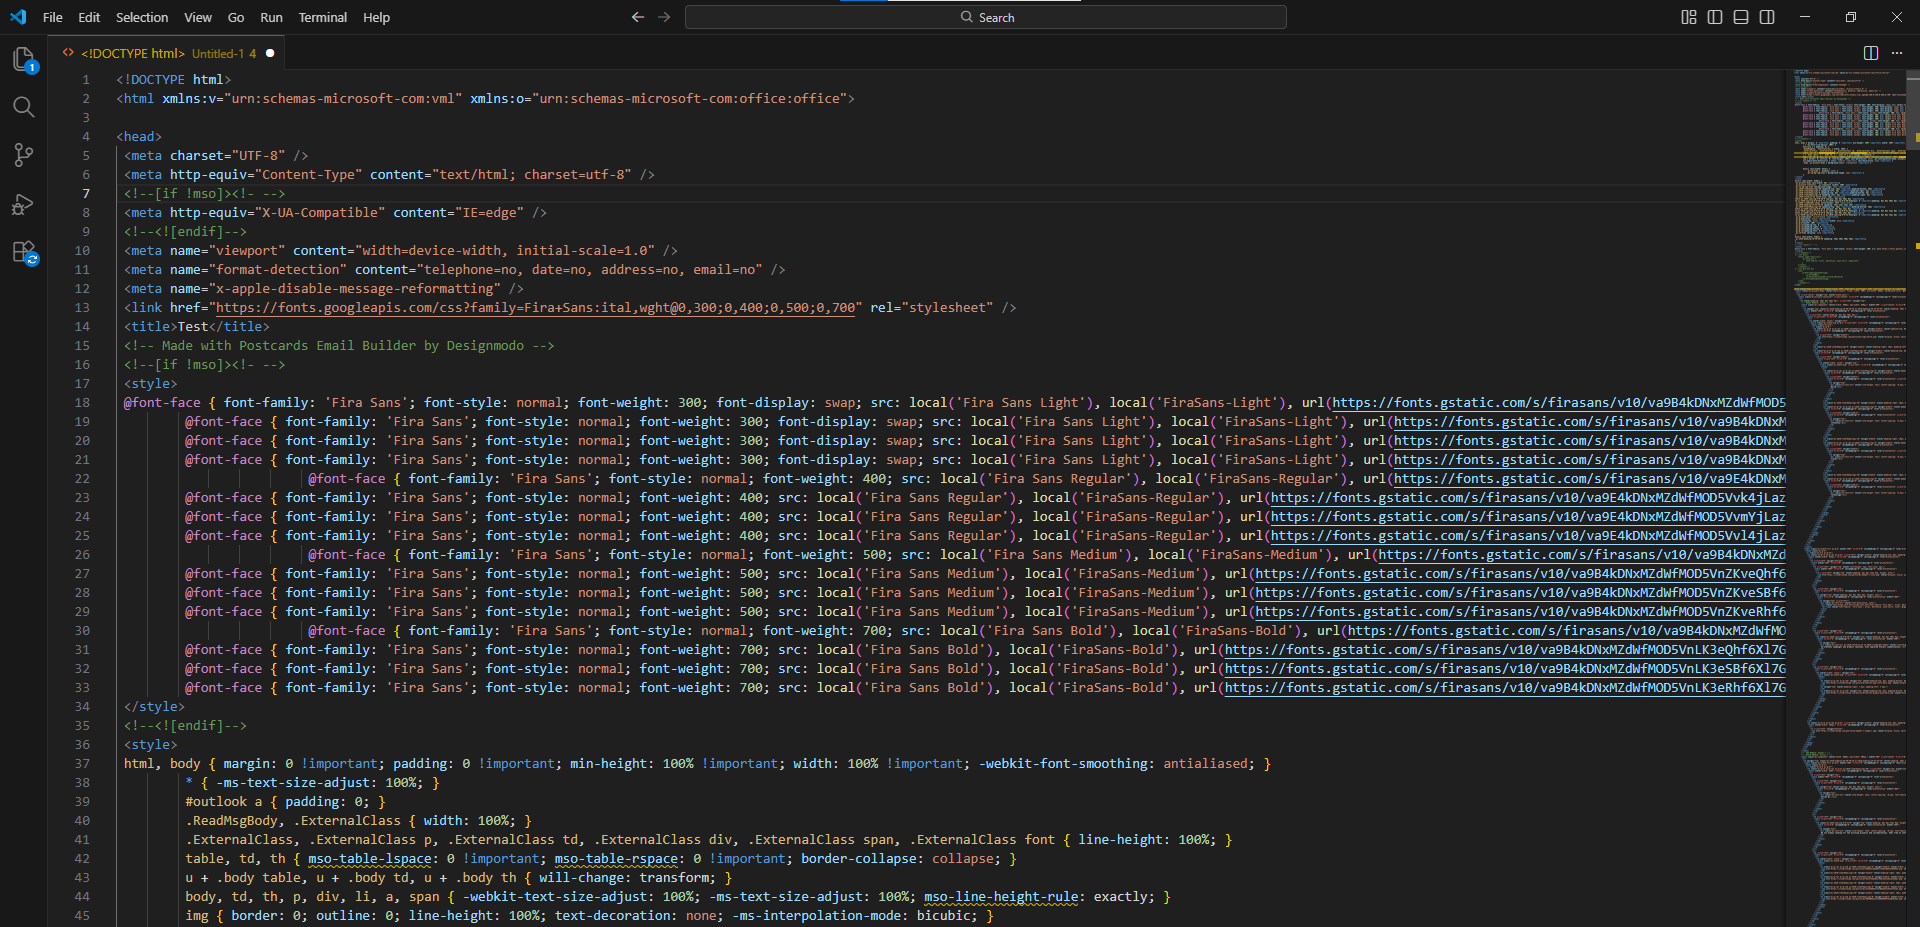
Now we have everything we need to create a custom email template in Mailgun.
2. Create an email template in Mailgun
In your Mailgun dashboard, under Send → Sending, select Templates.
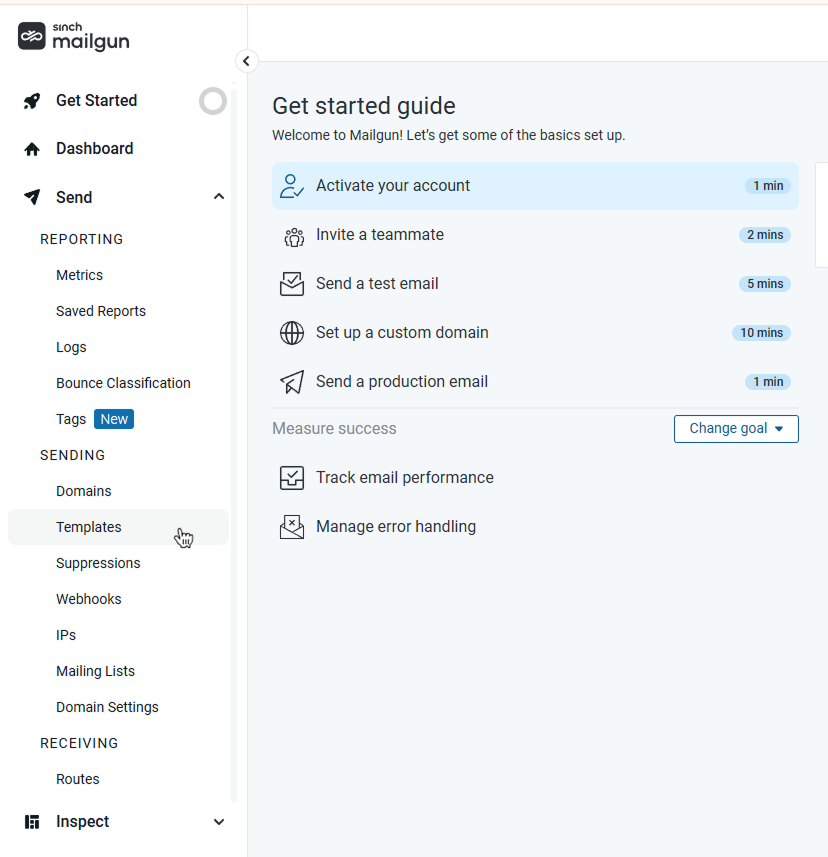
Under the “Create Template" option, you will have two additional options in the drop-down menu:

In this example, we will use the first option, "Account level".
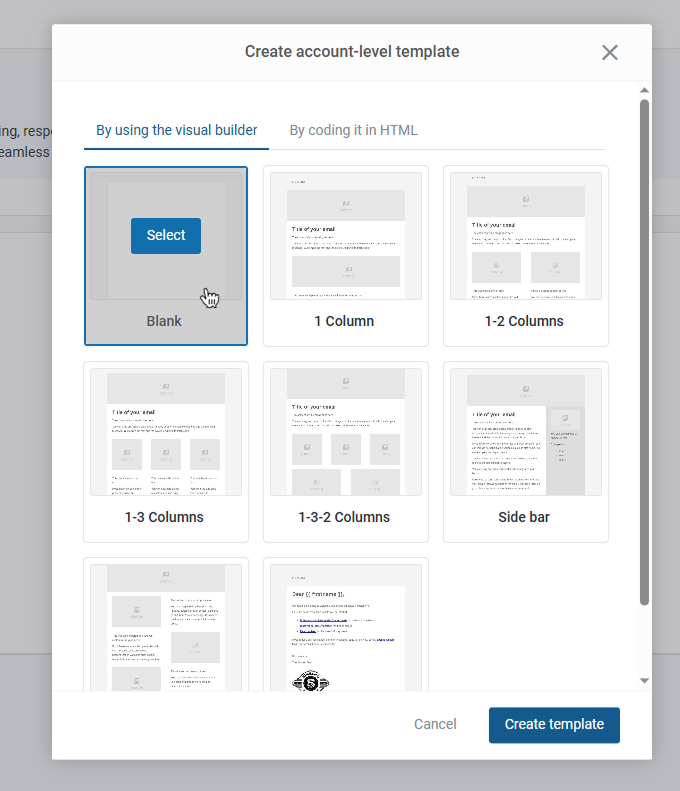
In the modal that appears, select “Blank" and click "Create template."
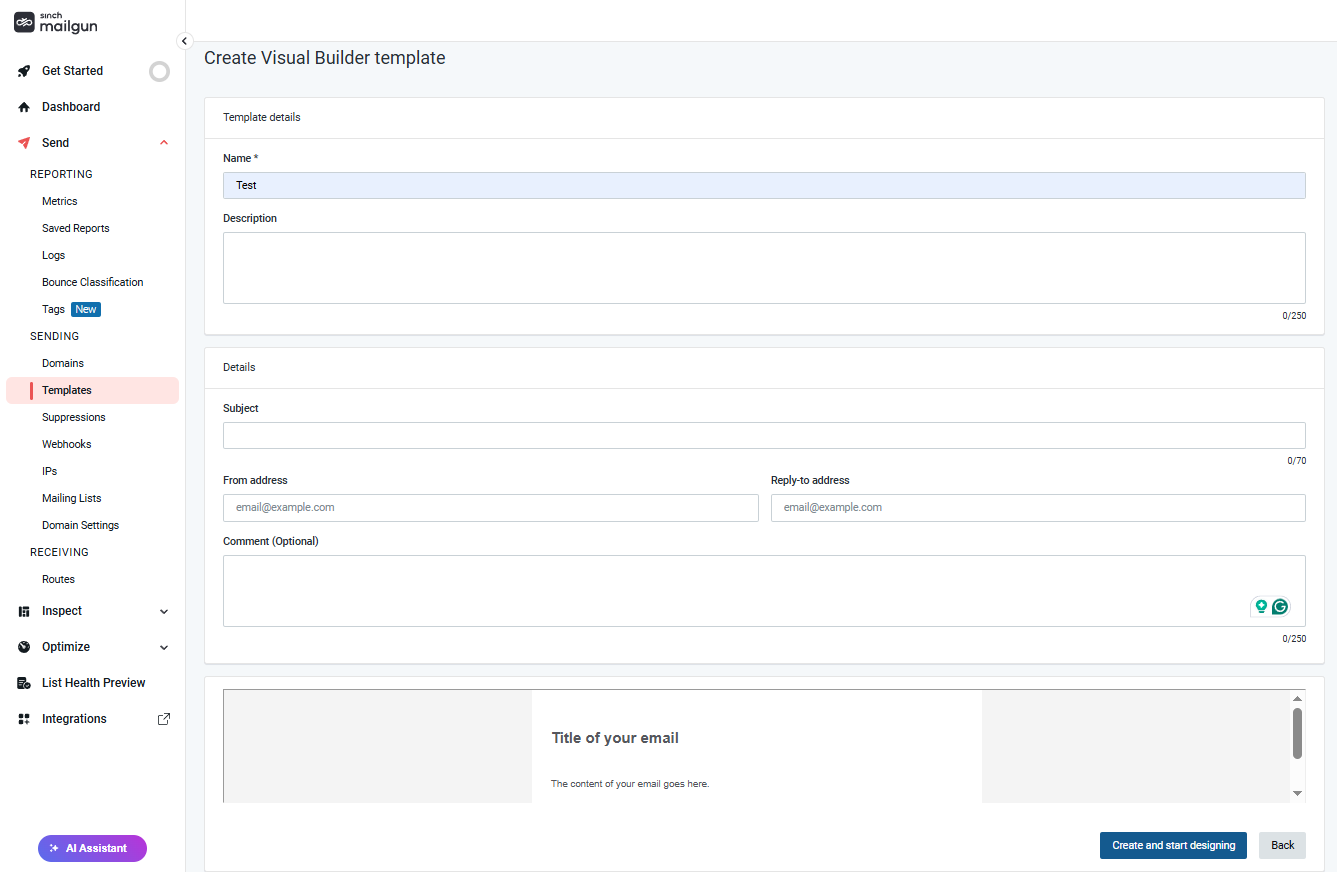
That’ll open the Mailgun email editor page with name, description, and editor inputs. Enter your name and description, and then click "Create and start designing".
After this, you will be redirected to Mailgun Editor.
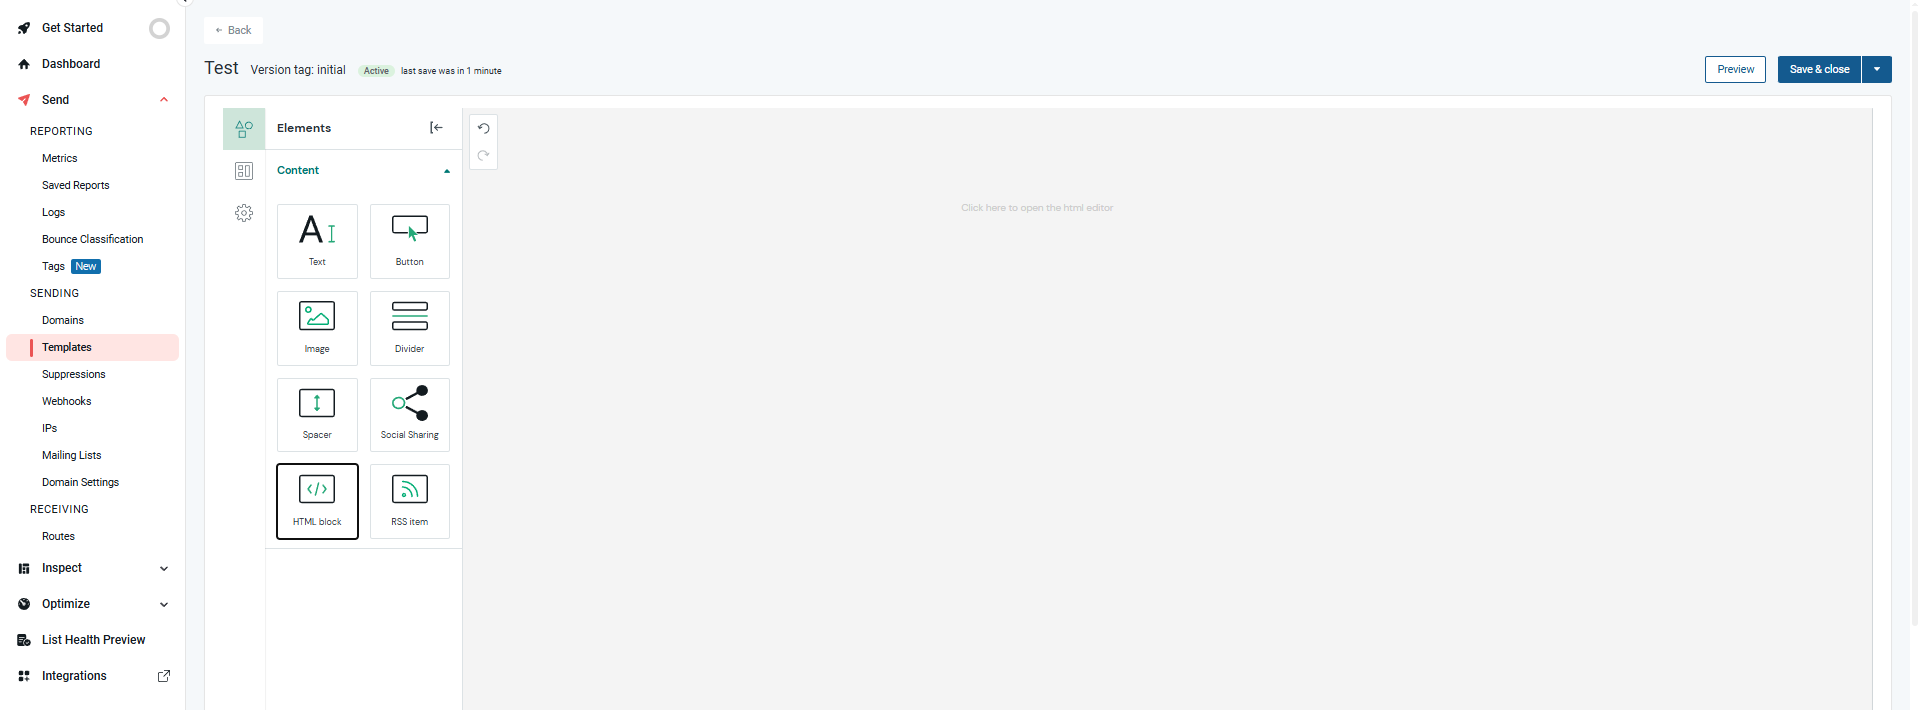
Drag and drop the "HTML Block" and follow its instructions.
Now, copy the HTML code from the Postcards template and paste it into the Mailgun Editor.
Your screen should look something like:
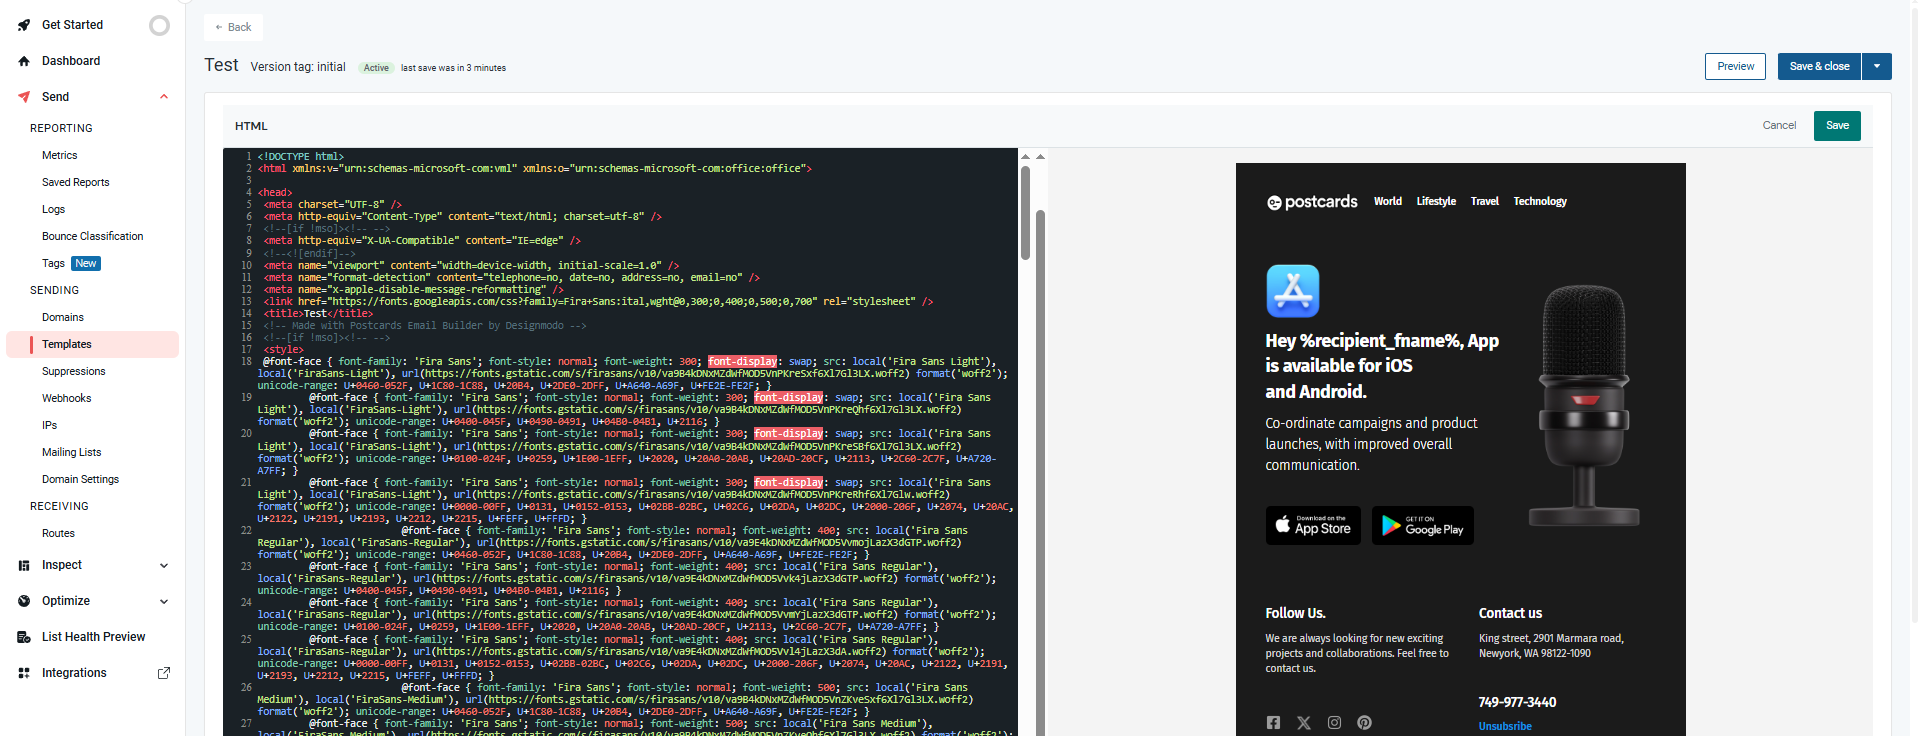
You can click the 'Preview' tab to see how your email will look. Once you're happy with the template, click 'Save & Close'.
Your screen should look like:
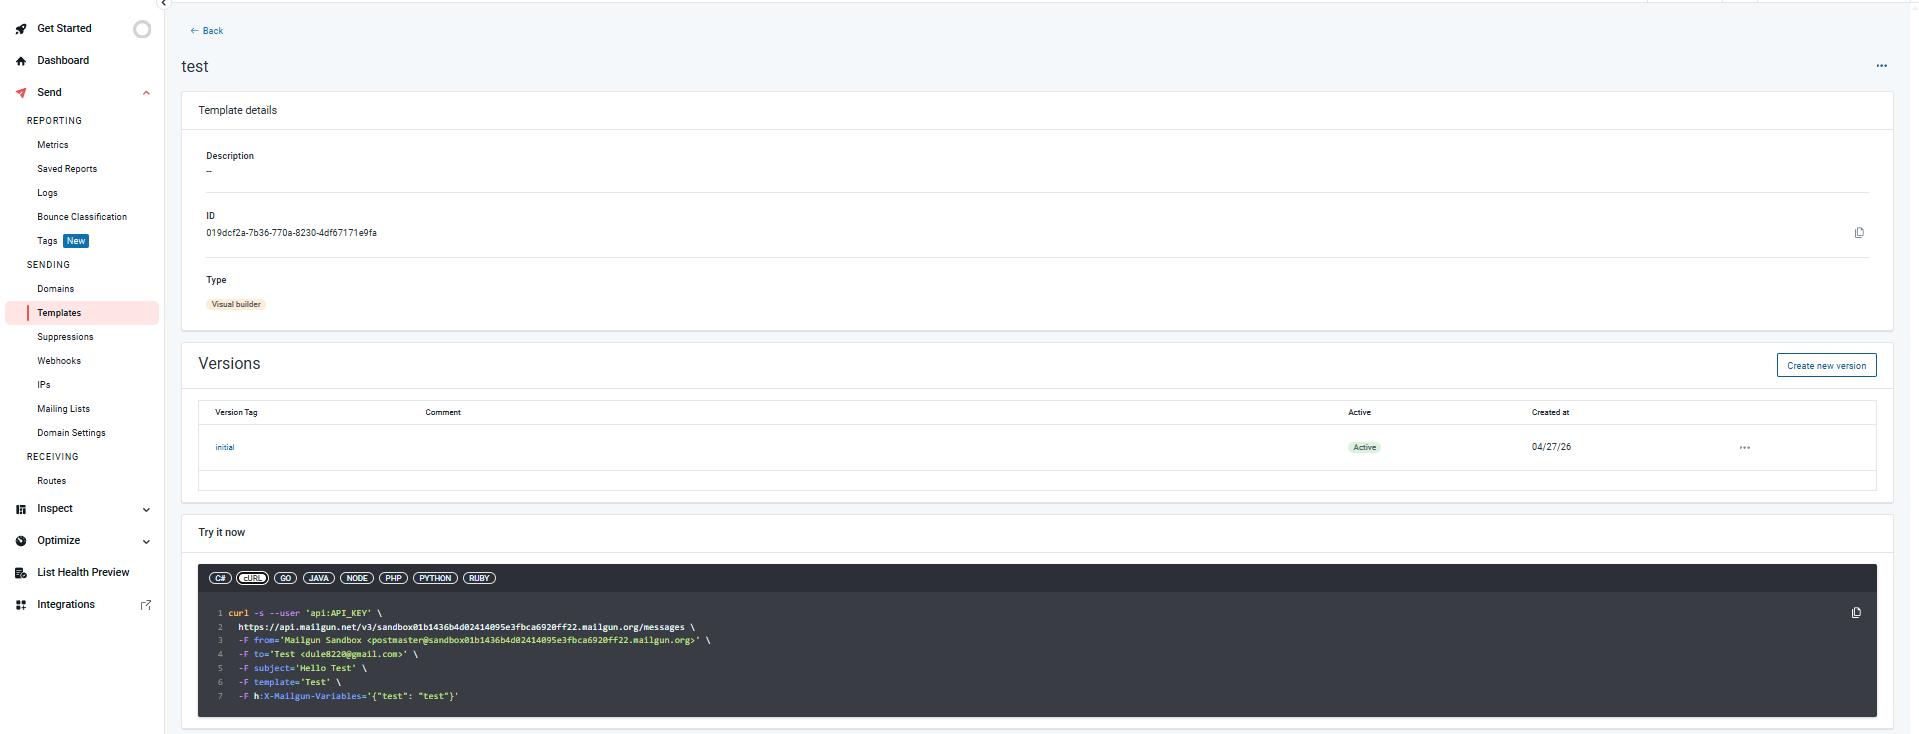
At this point, your template is ready to go! You can send yourself a test email using the Mailgun API to see if it’s working as intended.
I sent myself a test email to my Gmail, and this is what it looks like:
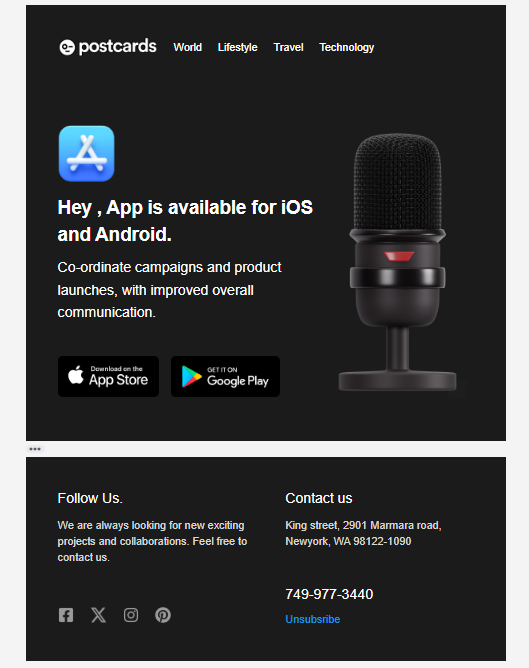
You may notice that the recipient’s first name isn’t showing. This is because this is sent to a test sandbox and not to a mailing list, so there is no first name value. But the unsubscribe URL variable works and takes the user to an actual unsubscribe page.
What we covered
- How to create a Postcards template.
- How to add Mailgun variables to a Postcards template.
- How to export a Postcards template.
- How to create a custom email template in Mailgun.
- How to add the Postcards template code to a Mailgun email template.